Packaging and Closer Look

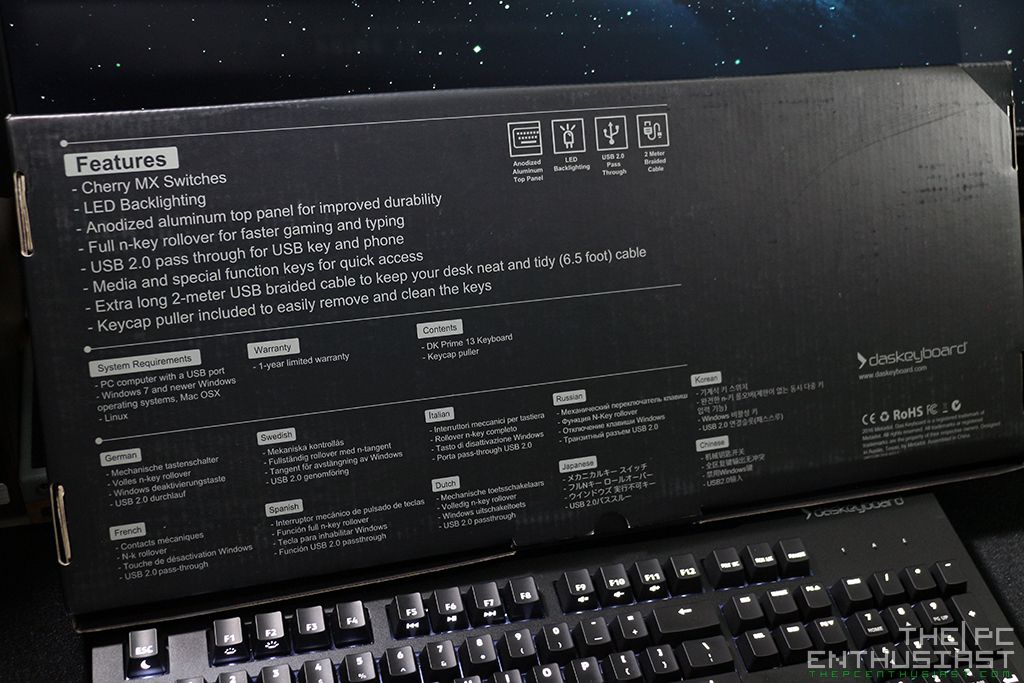
The Das Keyboard Prime 13 came in a black box, nothing fancy about it and the box has just the enough size to house the Prime 13 inside. As you can see from the photos above, the front and back are pretty much plain and simple with just the name of the product and key details regarding the keyboard is printed outside. There is no driver CD or installer since you don’t need one in the first place. The only accessory you get is a keycap puller, and there’s a reading material for additional instructions. At least they included a keycap puller. The puller is hidden somewhere in the smaller sections inside the box, so better check those and look for the puller.

Here’s a top full view of the Prime 13, as you can see it’s all black, it blends nicely if you have a large keyboard and mouse black mat. The >daskeyboard logo is printed in White, the same color with its backlighting. The Prime 13 measures 18.03mm x 6.77mm x 1.22mm and weighs around 1.32 kg.

The Prime 13’s cable is braided and measures 6.5ft, it is also non-removable or non-detachable. At some point towards the end, the cable splits into two cables. One cable is for the keyboard and the other is for the USB 2.0 pass through. Both USB ports are gold plated and the USB pass through is labeled as “EXT” or extension.
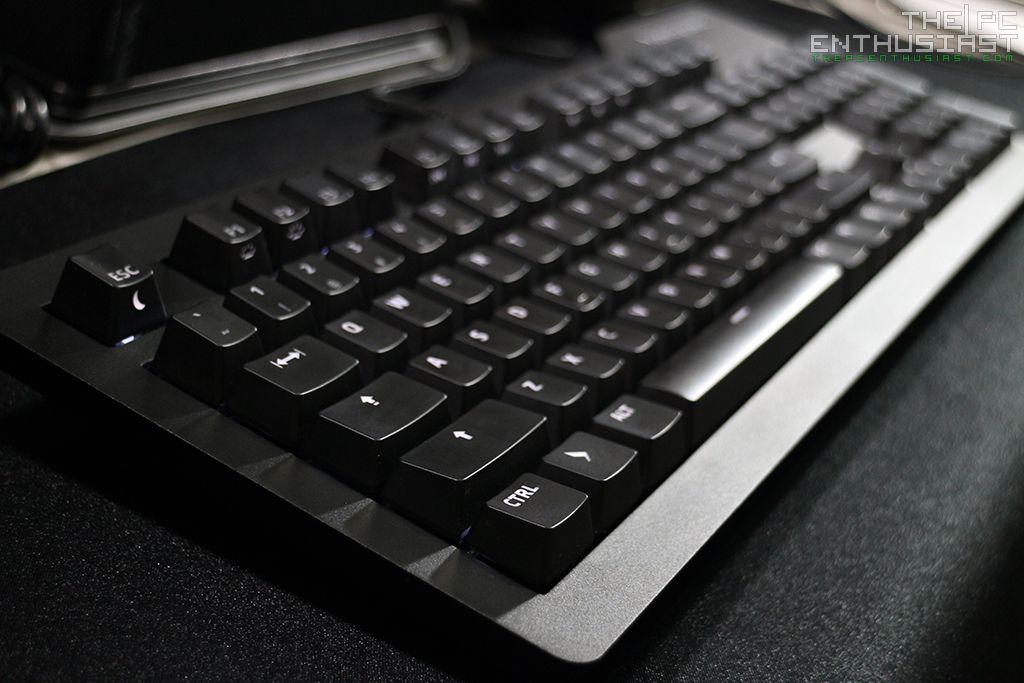
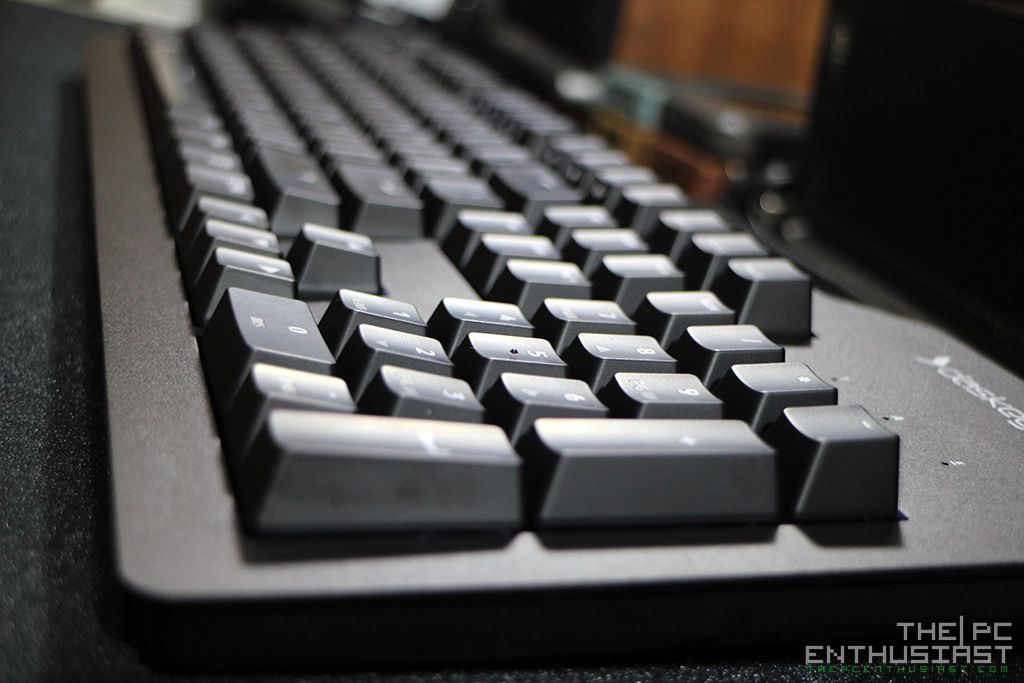
The Prime 13 has a total of 104 keys (105 keys for the UK) and it’s using an ANSI standard layout. There are tiny bumps on the keys F, J and 5; and generally speaking the key caps’ shape and surface are pretty much standard.
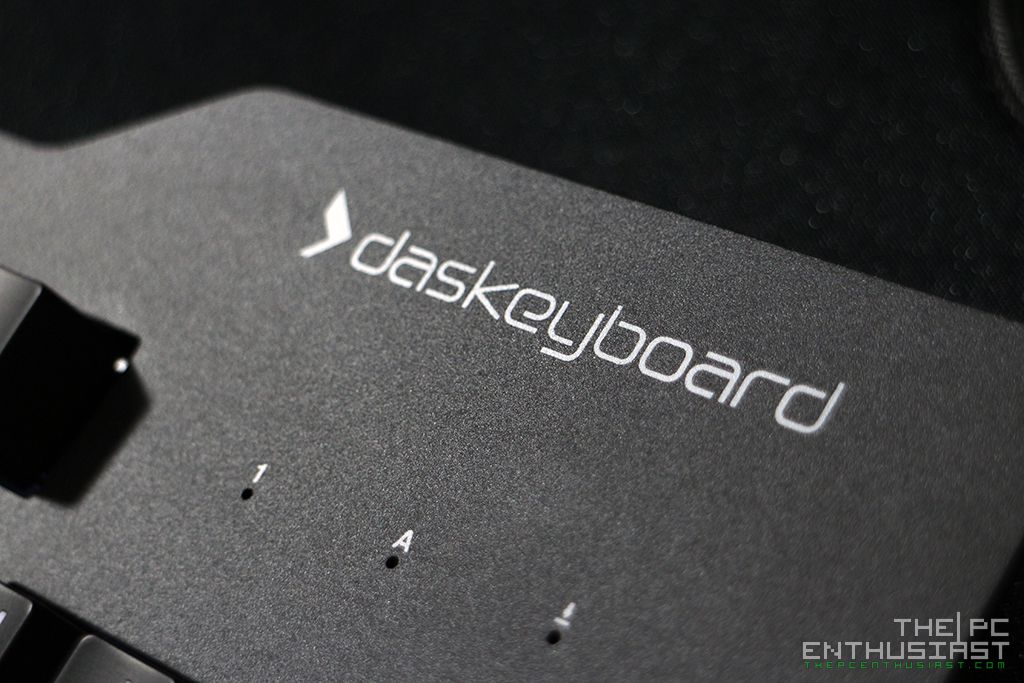

On the upper right hand corner just below the daskeyboard’s logo, you can see the usual indicators: Num lock, Caps lock and Scroll Lock. The print is small and there are tiny holes just enough for the white light to pass through. At the top edge of the logo is where the USB 2.0 pass through port is located. I’m not sure why they opted for a USB 2.0, but I think it would be better if it was USB 3.0 instead, just like on the Das Keyboard 4 Pro. By the way, you have to connect the other USB plug on the cable for this port to work.
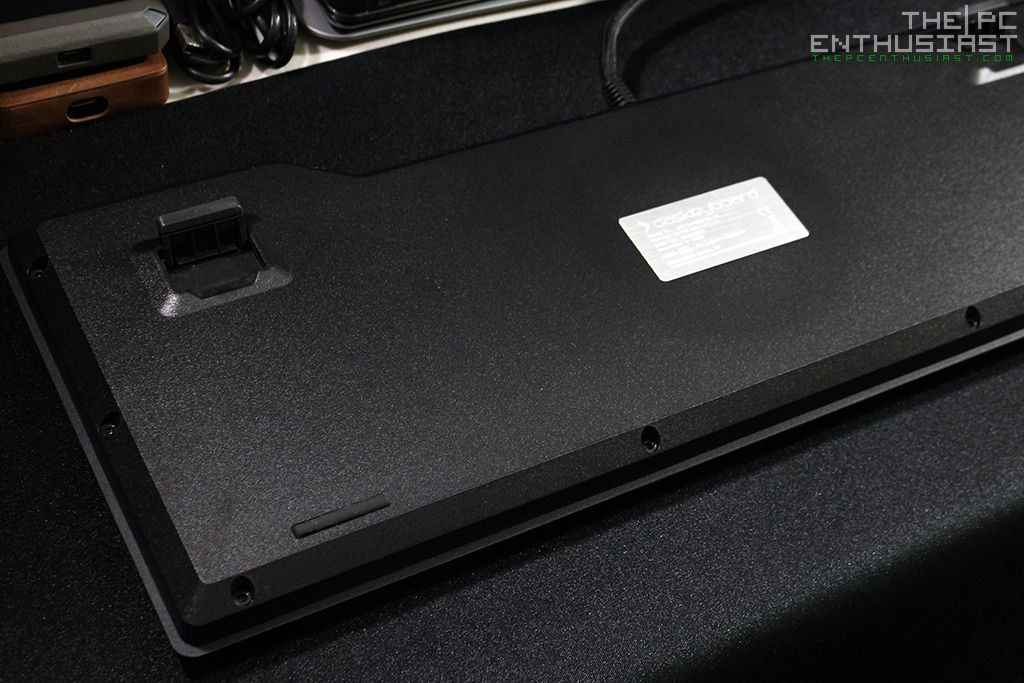
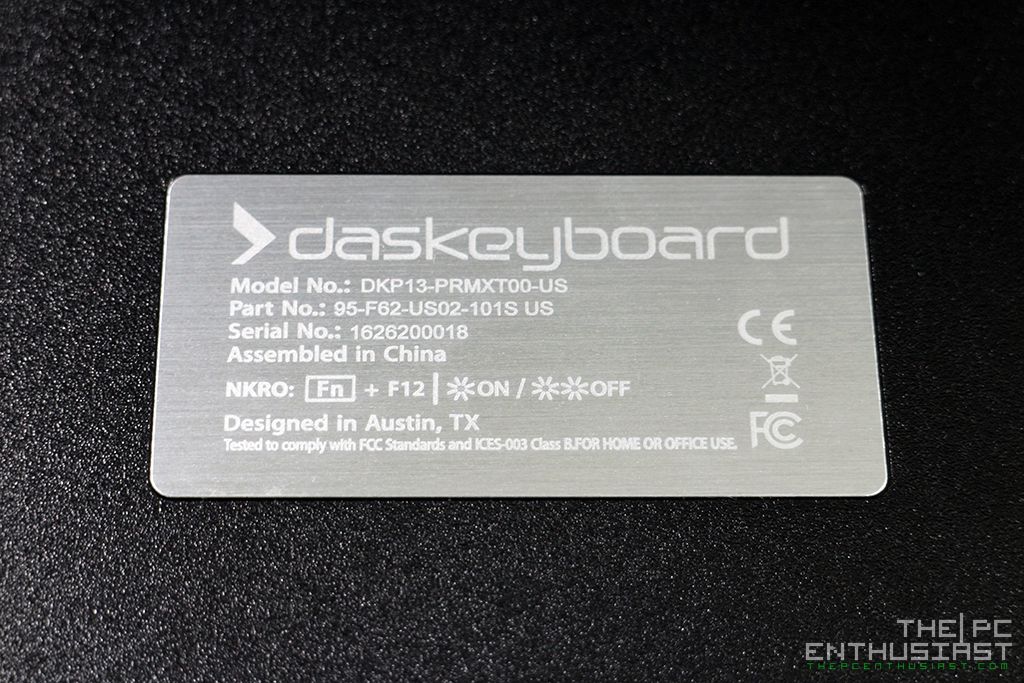
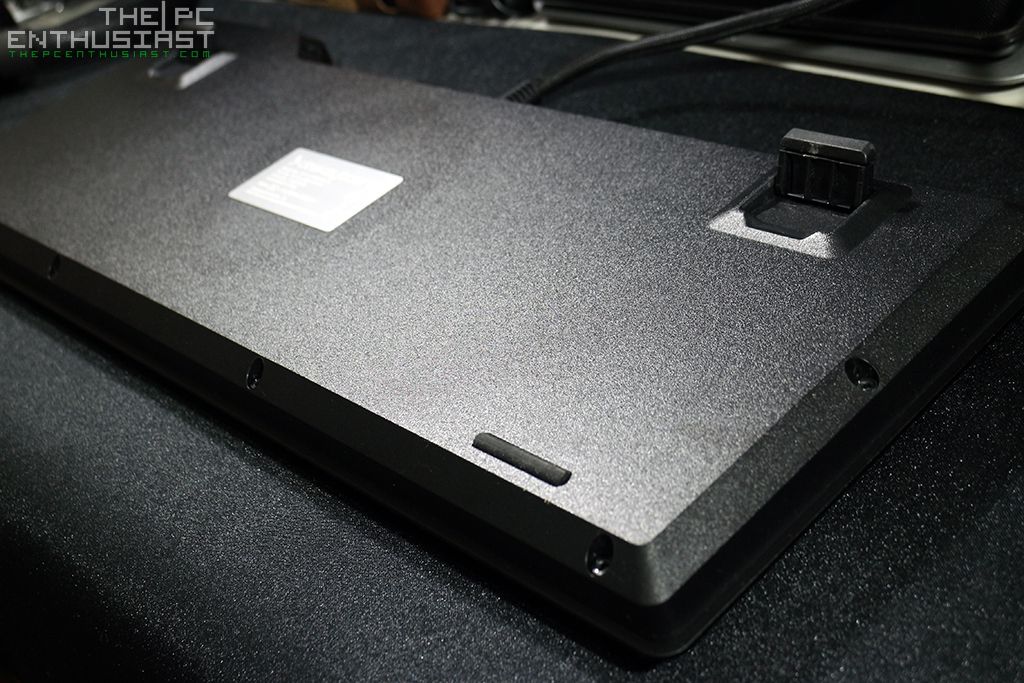
There are small rubber bumps under the Prime 13, on the left and right side, to prevent it from slipping. And there are also two flip out feets to increase the angle of the keyboard. At the center, you can read some information regarding the keyboard, including the instructions for the NKRO in case you failed to read it from the manual. The bottom cover is made of hard plastic and only the top surface is aluminum part.
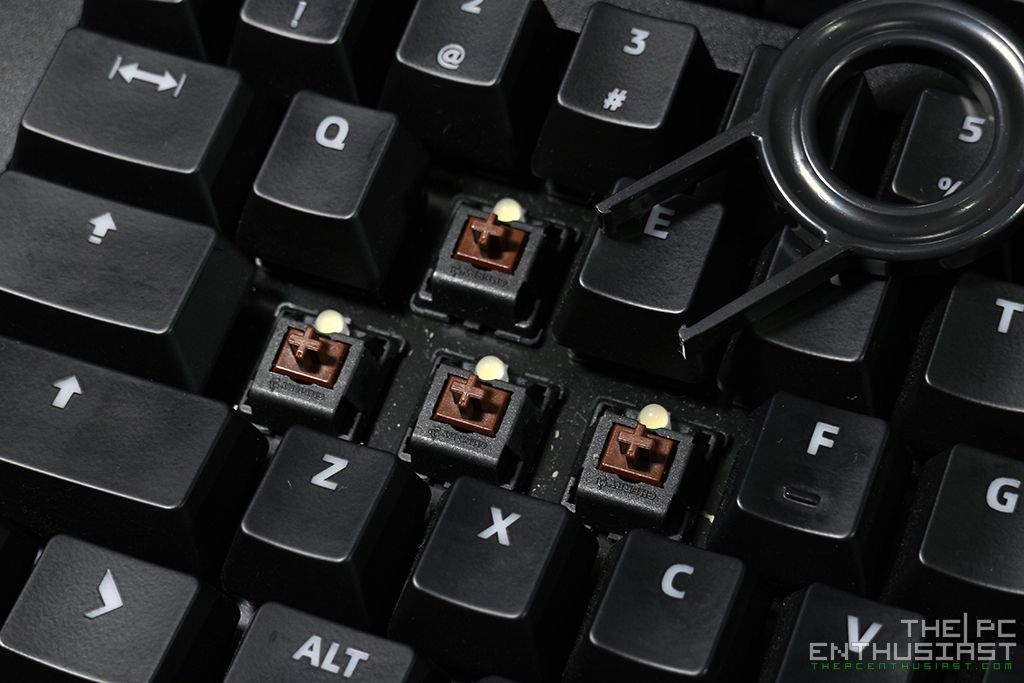
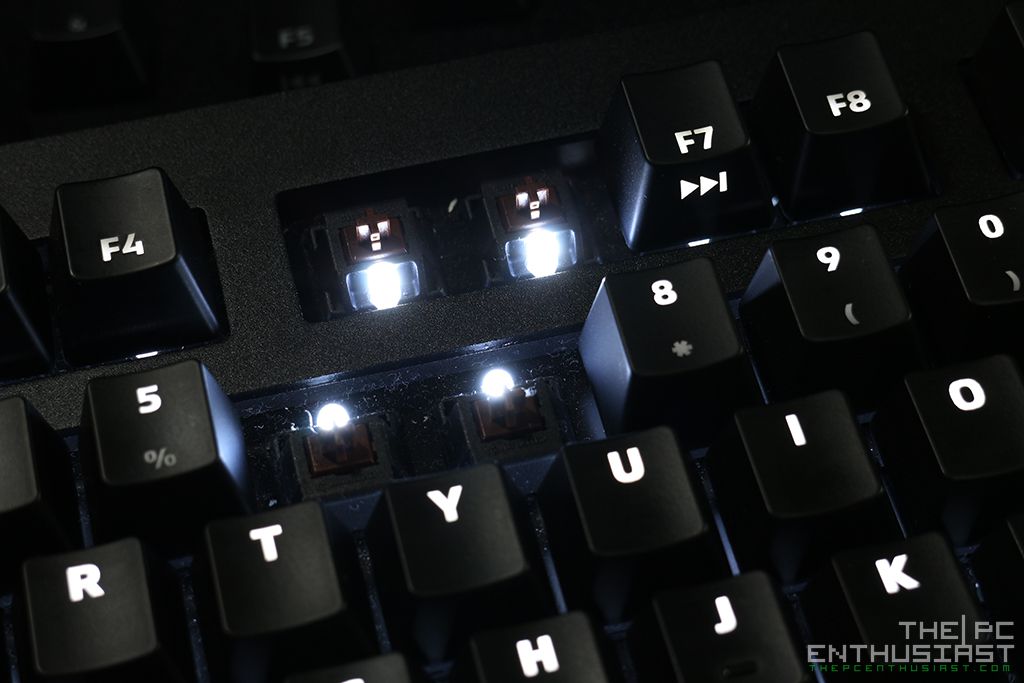
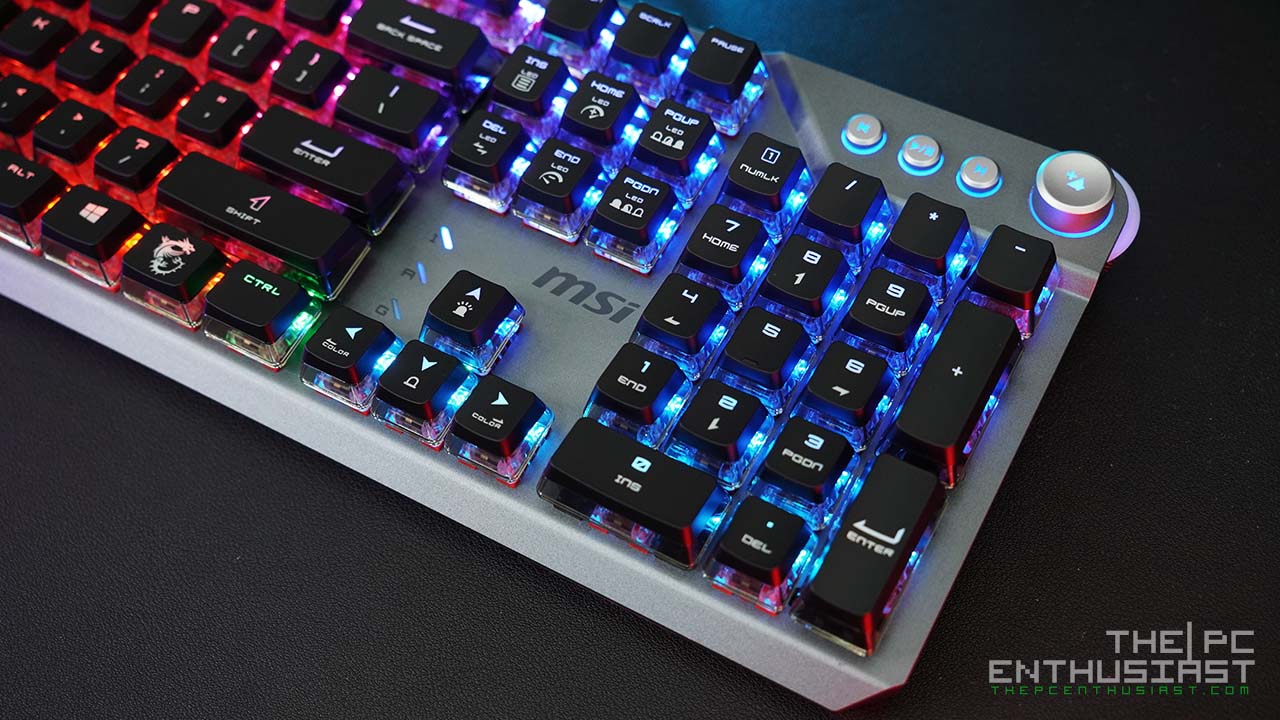
The Das Keyboard Prime 13, again, has Cherry MX Brown switch and each key is individually lit by a white LED. The keys looks evenly lit, but that’s not the case for the numeric keys just above the letters due to the positioning of the LED. The function keys looks evenly lit because the LED is on the bottom portion and the light can pass through on the top and the side.
However, for the numeric keys and some other keys that have two characters, the lower characters don’t get enough light since it is obstructed by the switch’s slider or stem. The uneven light on some keys is not limited on the Prime 13, and is actually pretty common with most mechanical keyboards that have the same setup or layout.
The brightness of the LEDs is adjustable by pressing the FN + F1 or F2 keys. The brightness level can be adjusted by 6 stops plus you can totally turn them off. Now let’s put the keyboard to the test…
Check latest pricing and availability of Das Mechanical Keyboards here