It’s been a while since I last saw a cube type micro ATX case. Today we are going to look at a newly released micro ATX case that comes with a touch of Scandinavian design – the Fractal Design Node 804. Fractal Design is known for their minimalistic or simplistic yet elegant PC cases, power supplies and fans. Their products are designed and engineered in Sweden and are known for quality and fine craftsmanship. The Fractal Node 804 is a cube type micro ATX case that focuses on cooling performance and maximum flexibility. Let’s find out more about the Node 804 in my review below.
Fractal Design Node 804 Review
Unlike other micro ATX case, you would be surprise to find out that the Fractal Design Node 804 can be configured in several different ways. It features a dual chamber layout, where the motherboard section is separated from the PSU and storage drives. Speaking of storage drives, you can actually install a total of up to 12 HDD/SSD drives (8 x 3.5″, 4 x 2.5” or up to 10 x 3.5”, 2 x 2.5″) inside this case.
In terms of cooling solution, you can install up to 8x 120mm or 140mm fans (or more), and all air intake areas are protected with removable dust filters. The Node 804 supports both air and water cooling, and even custom water cooling as well. It supports 120mm, 140mm, 240mm and 280mm radiators. Fractal Design has also included a fan controller near the motherboard/CPU area that could control 3 fans in low/medium/high speeds.
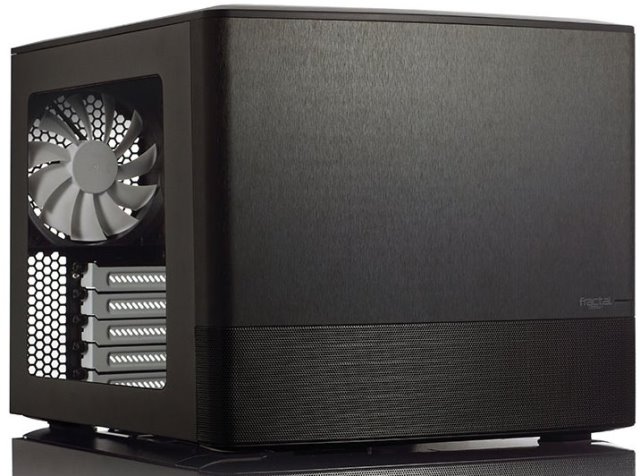
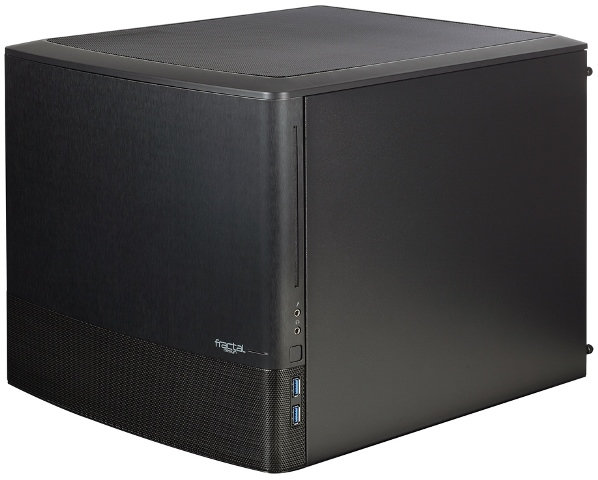
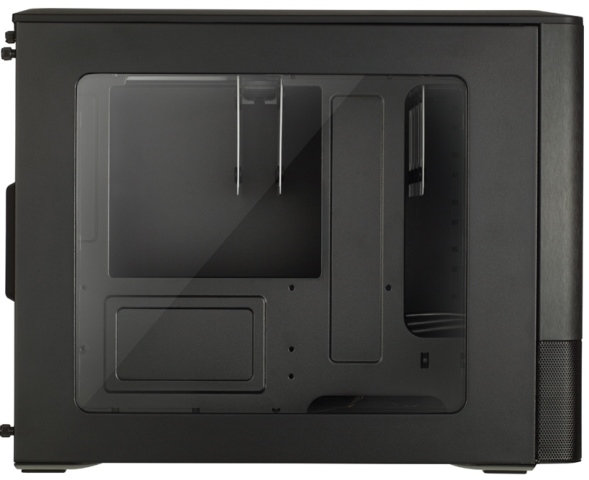
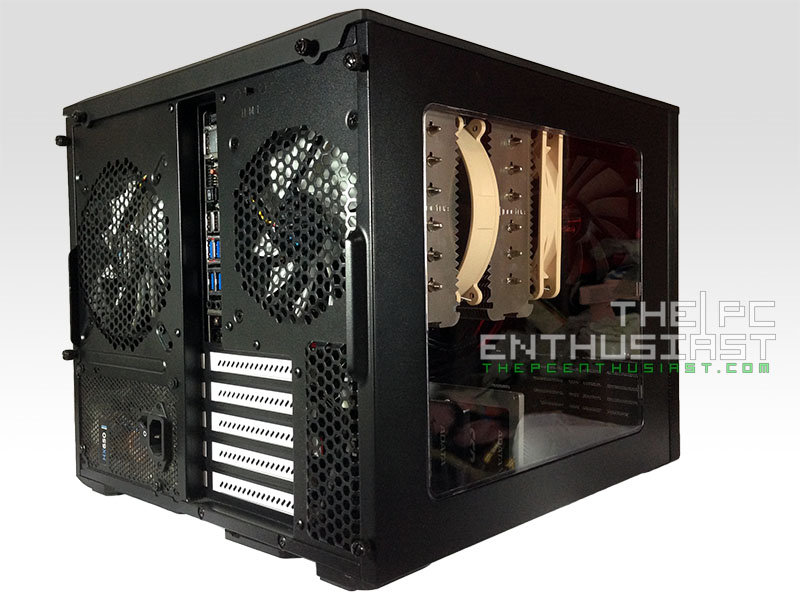
On the external, the Node 804 features a minimalistic design with brushed aluminum front panel and a windowed side panel. Unlike other microATX case, this one has 5 expansions slots for multiple graphics card setup. I’ll talk more about its features as we take a closer look at the case itself below.
Fractal Design Node 804 Specifications
- Micro ATX and Mini ITX motherboard compatibility
- 8 – 3.5″ HDD positions
- 2 – 2.5″ dedicated SSD unit positions
- 2 – Extra positions for either 3,5″ or 2,5″ drives
- 5 expansion slots
- 10 – Fan positions (3 x 120mm Silent Series R2 fans included)
- Filtered fan slots in front, top and bottom
- CPU coolers up to 160 mm in height
- PSU compatibility: ATX PSUs up to 260 mm deep
- Graphics card compatibility: Graphics cards up to 320mm in length. Graphics cards up to 290 mm in length may be installed if a fan is installed in the lower position in the front.
- Velcro strap for easy cable management
- Clear Window side panel included
- Colors available: Black
- Case dimensions (WxHxD): 344 x 307 x 389 mm
- Net weight: 6 kg
- Package dimensions (WxHxD): 370 x 468 x 412 mm
- Package weight: 7.7kg
Cooling system
- Front: 4 – 120mm fans (included is one hydraulic bearing 120mm Silent Series R2 fan, 1000 RPM speed)
- Rear: 1 – 120/140mm fan (included is a hydraulic bearing 120mm Silent Series R2 fan, 1000 RPM speed)
- Rear: 1 – 120mm fan slots (included is 1 hydraulic bearing 120mm Silent Series R2 fan, 1000 RPM speed)
- Top: 4 – 120x140mm fans (not included)
- Fan controller: 1 – Integrated fan controller for up to 3 fans (included)
Water cooling compatibility
- Front (right chamber) – 240 mm radiator configurations up to 60 mm thick (with fans) and 278 mm tall are allowed.
- Front (left chamber) – 240 mm radiator configurations up to 60 mm thick (with fans) and 278 mm tall are allowed. Using a radiator in this position prevents the use of a fan in the top position just next to it.
- Top (right chamber) – 240/280 mm radiators up to 130mm thick (with fans) may be fitted if the HDD drive bays are taken out or placed elsewhere. No limitation to thickness.
- Top (left chamber) – 240 mm radiator configurations up to 130 mm thick (with fans) will fit. Radiators in this position limits the height of memory modules to 48 mm tall.
Note: Maximum radiator configuration: 1x240mm,1x280mm and 2x120mm radiators simultaneously.
Official Gallery
Below are photos of the Node 804 from Fractal Design’s official gallery.


Packaging and Closer Look
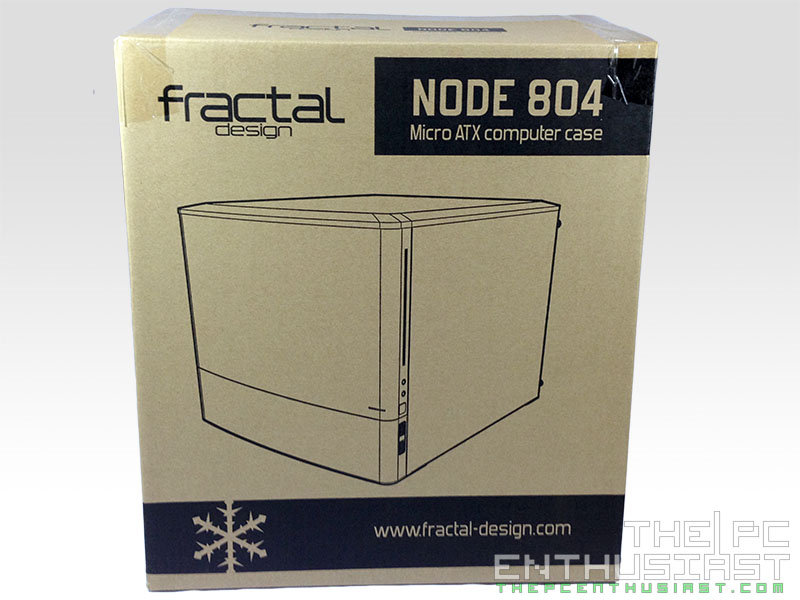

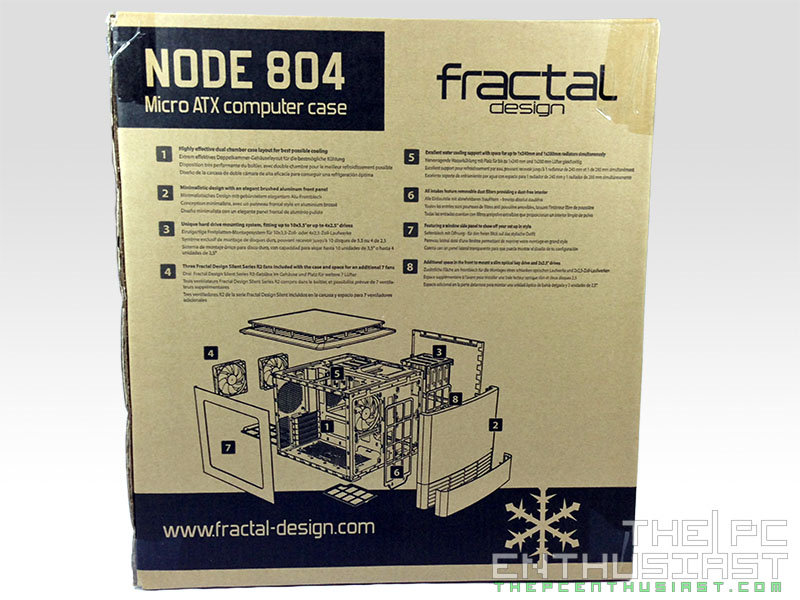
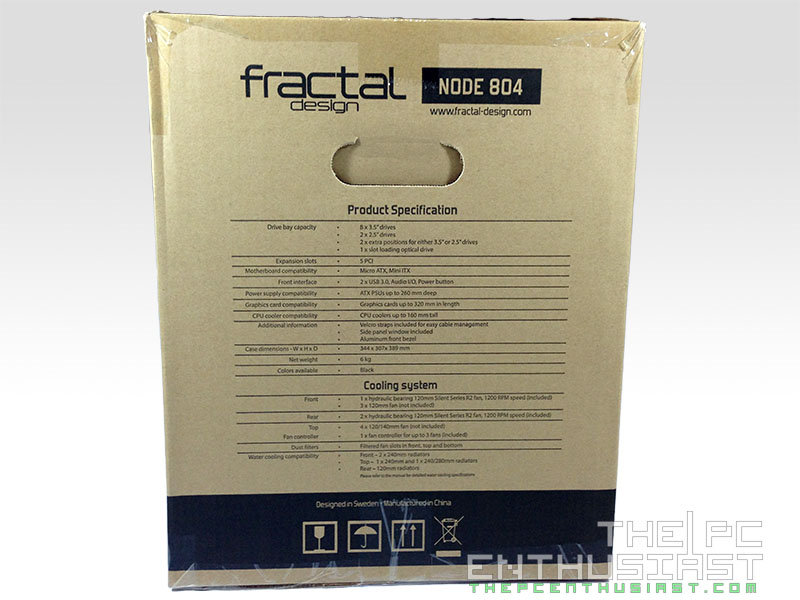
Above is the box of the Fractal Design Node 804. In front of the box, you see an illustration of the case, on the other side is an illustration showing its drive cages; on the rear side is a list of features together with an illustration of a dismantled Node 804, and finally on the other side is the product specification and cooling system of the case.
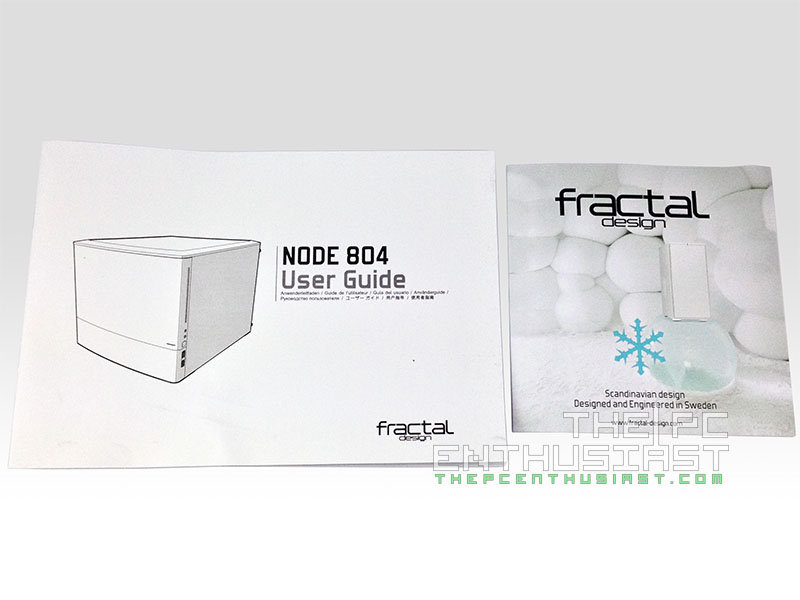
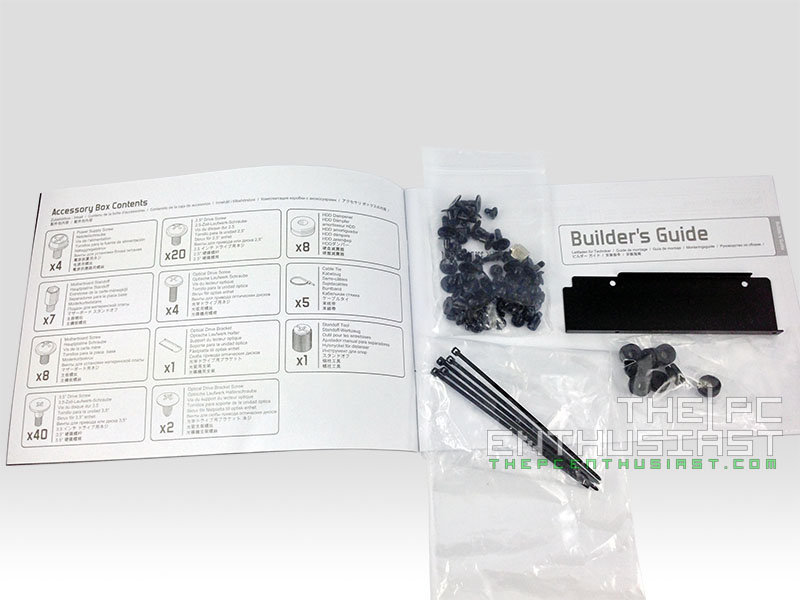
Aside from the case itself, you also get a well-illustrated user guide, a pamphlet showcasing the company’s other products, and all the screws, bolts and cable ties that you will need to install your hardware into this case.
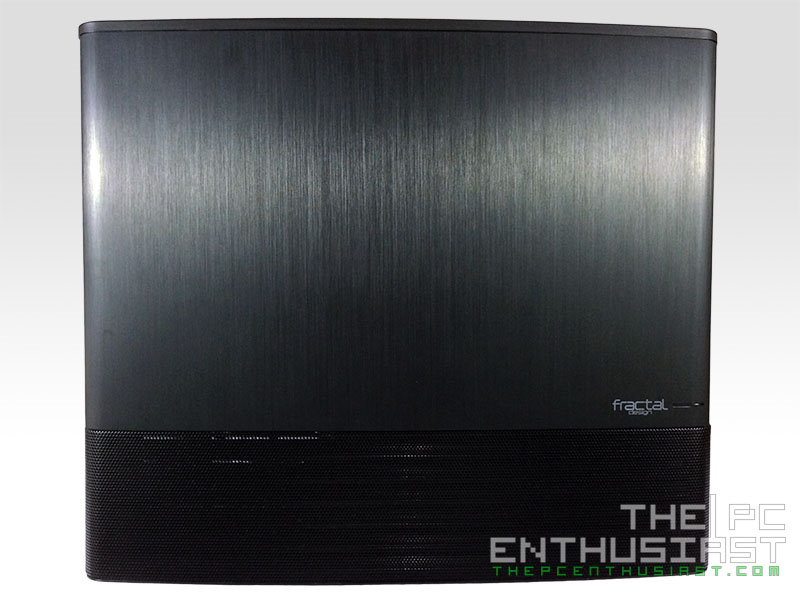
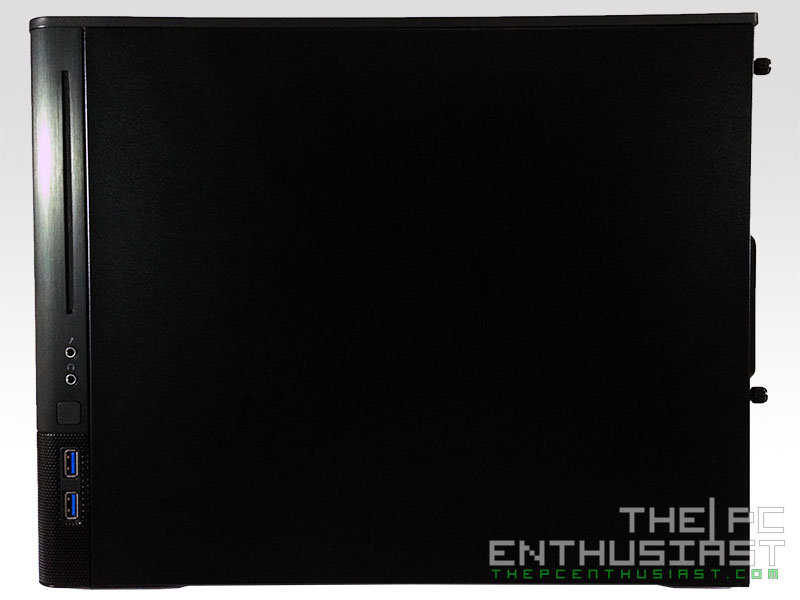
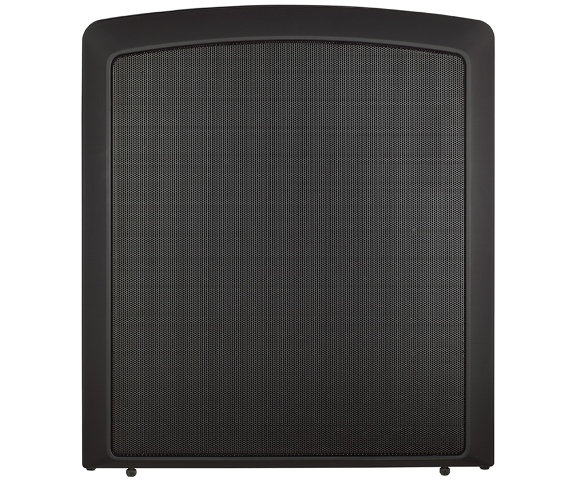
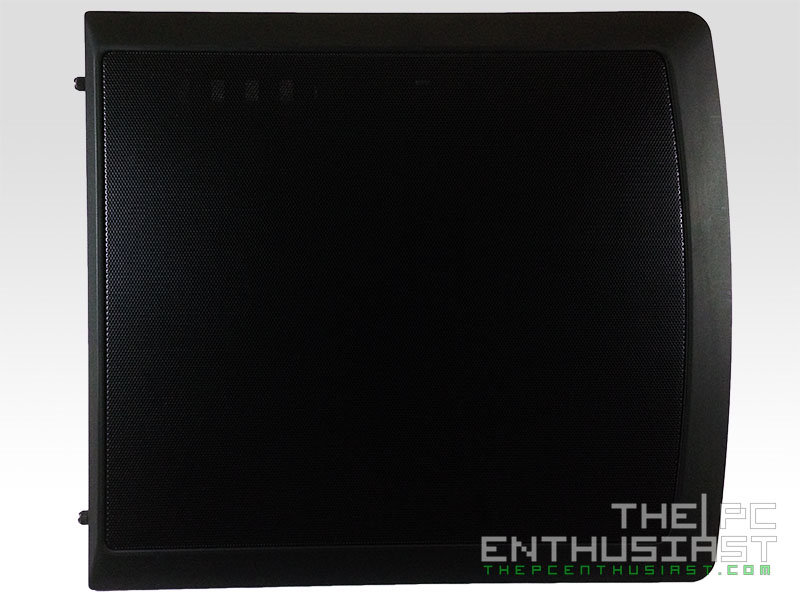
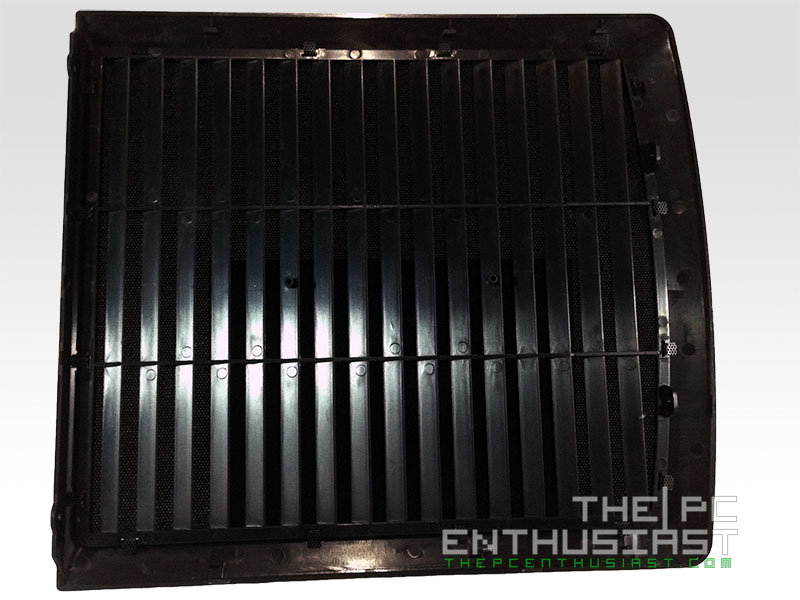
The Node 804 features a clean and elegant looking aluminum brushed front cover with mesh for air ventilation at the lower portion. Only the motherboard chamber is windowed, I wish they also made the storage/PSU chamber windowed as well.
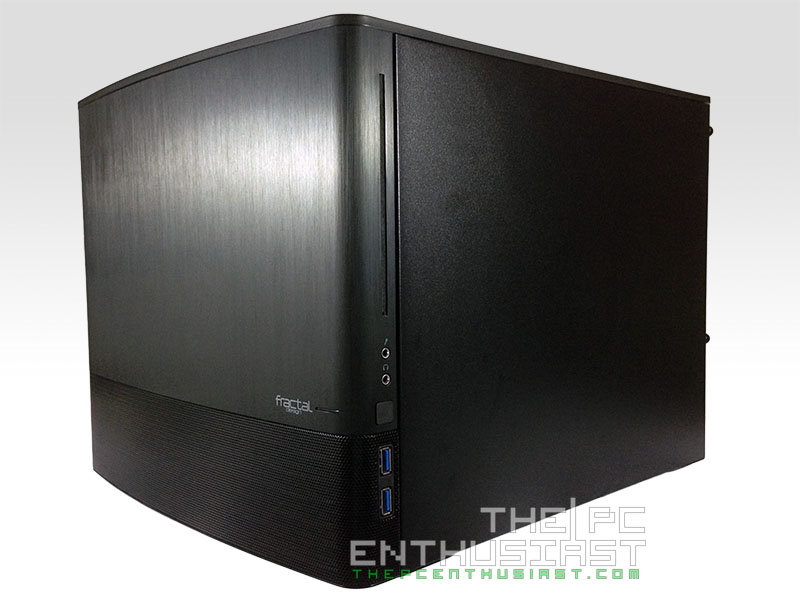
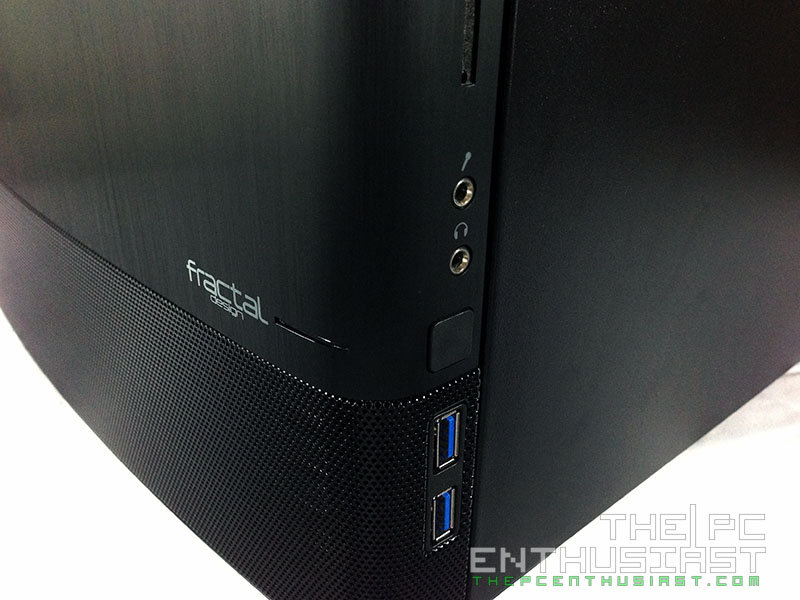
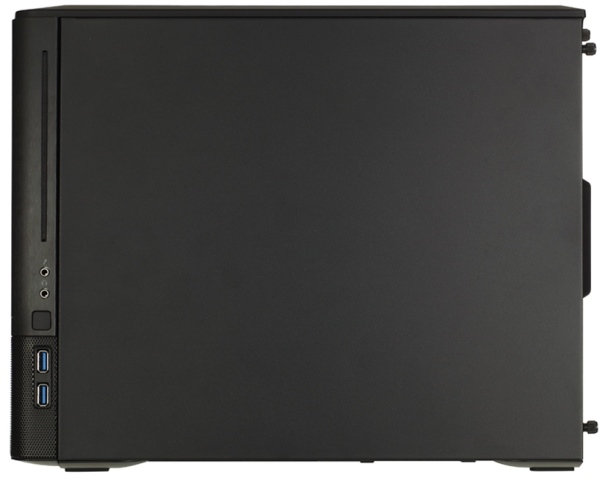
There are no drive bays, but you can install a slim-line slot load optical drive. For its front panel I/O ports, it has mic in and audio out, two USB 3.0 ports and a power button. There is no reset button on the Node 804. Not sure why they decide not to include the reset button; but come to think of it, I didn’t use the reset button even with my other cases. But I still think they should have included a reset button.
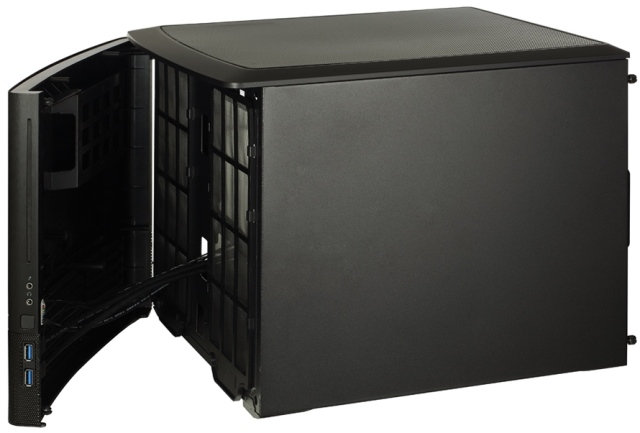
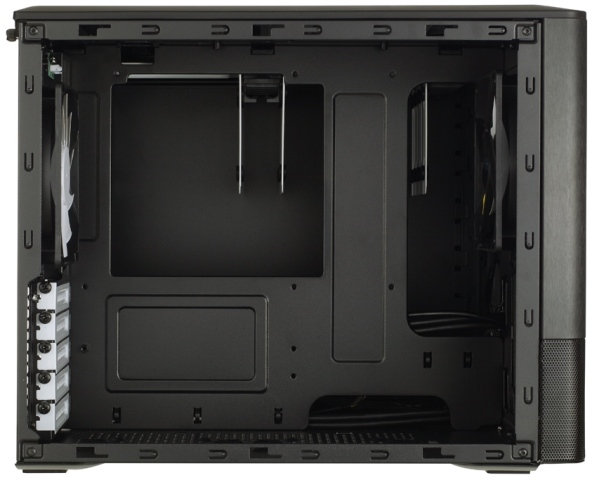
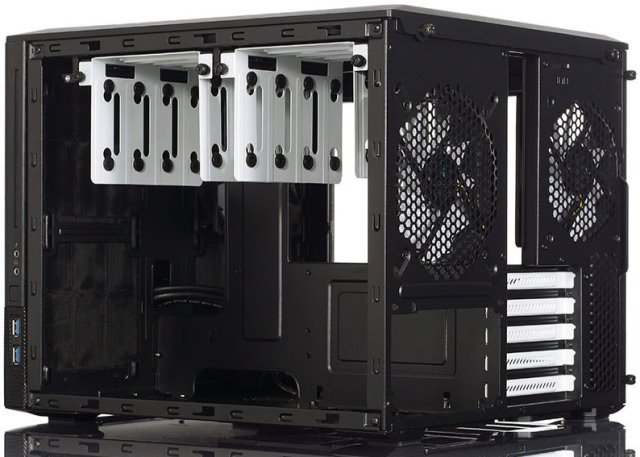
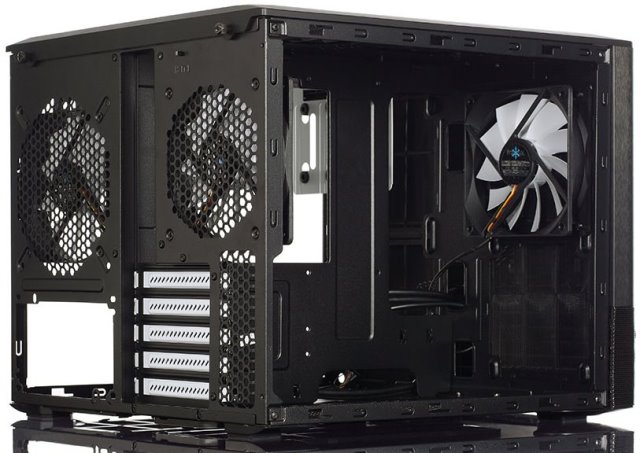
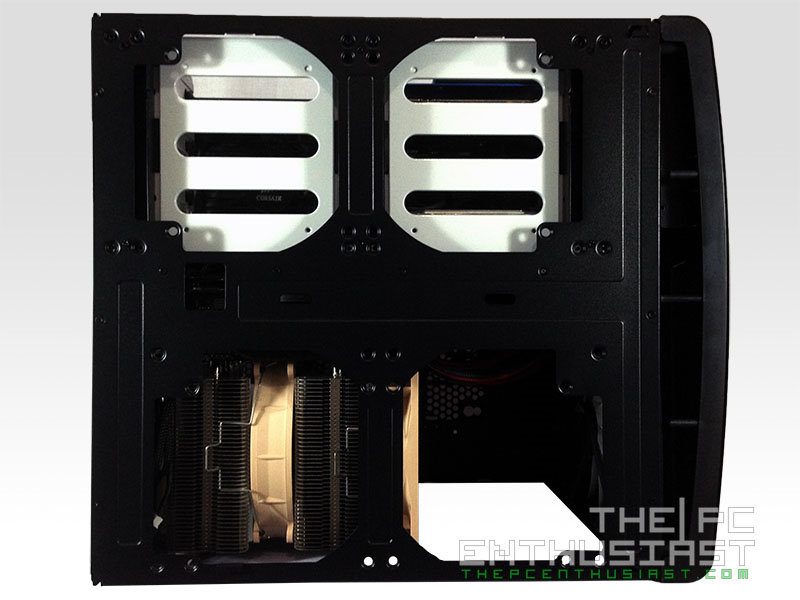
Here’s a view of the storage and PSU chamber. You can install a total of 8 drives in those cages, another two on the front panel (the one located on the upper right hand on the second photo above), and another two on the bottom of the motherboard chamber.
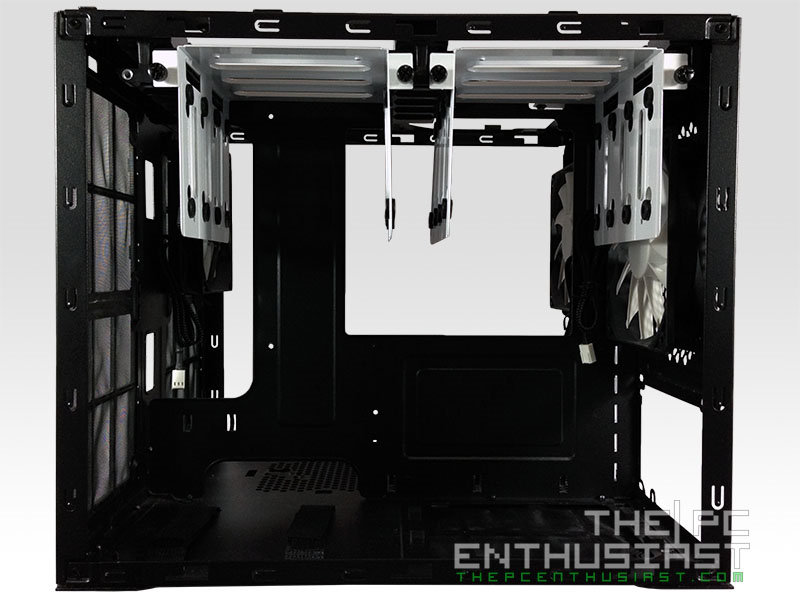
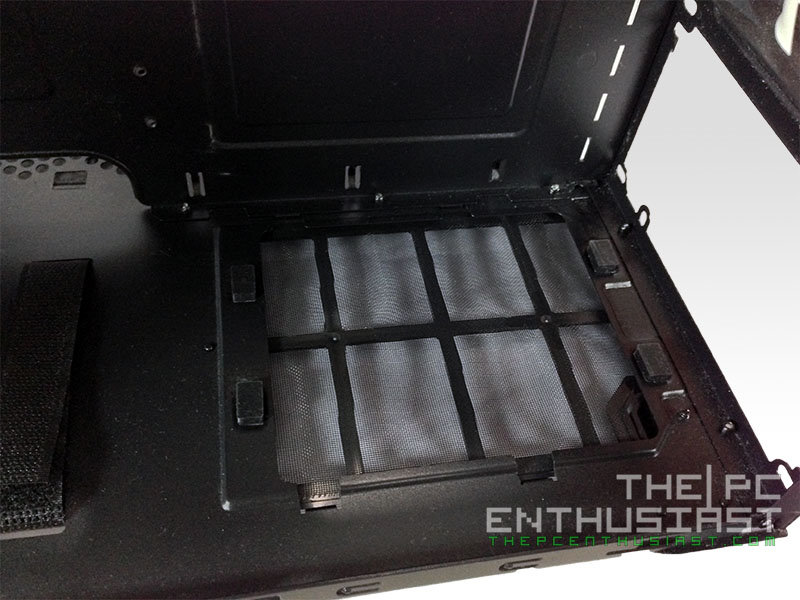
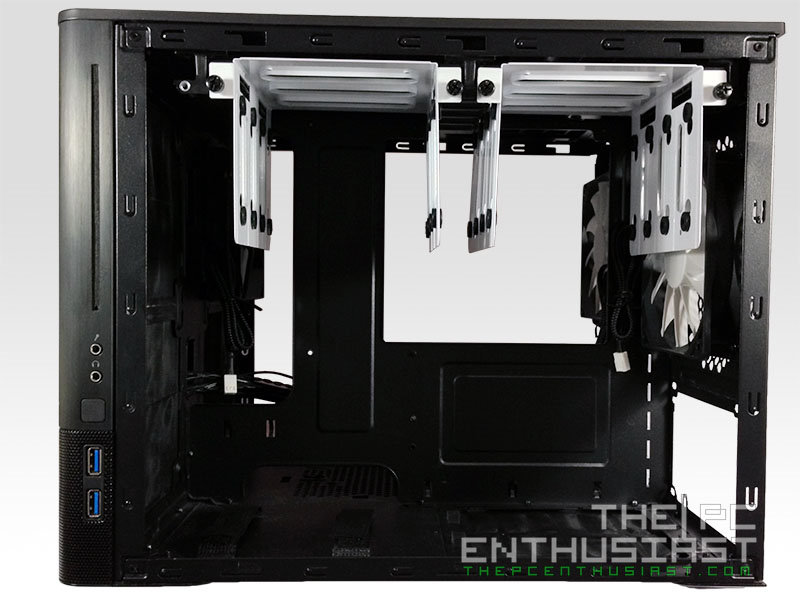
Above are photos of the motherboard chamber and storage chamber without the front cover. Beneath the power supply is an air ventilation with a removable dust filter.
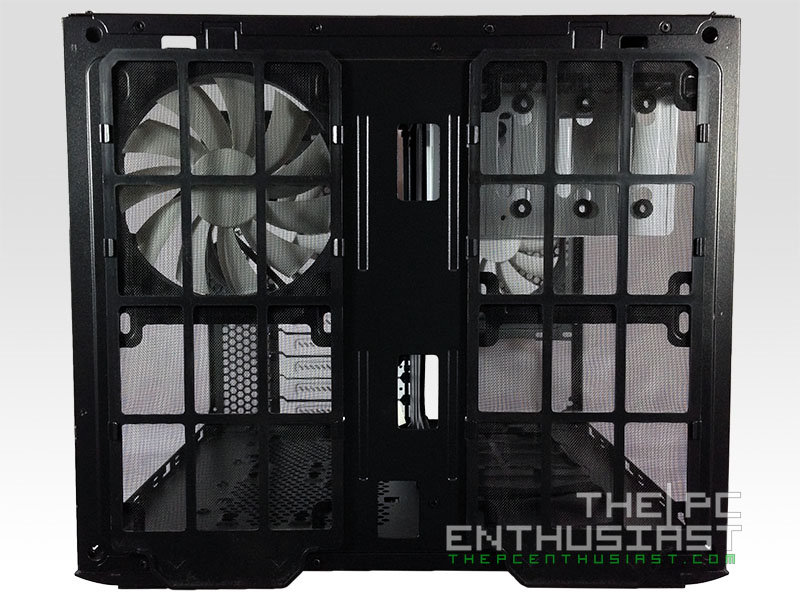

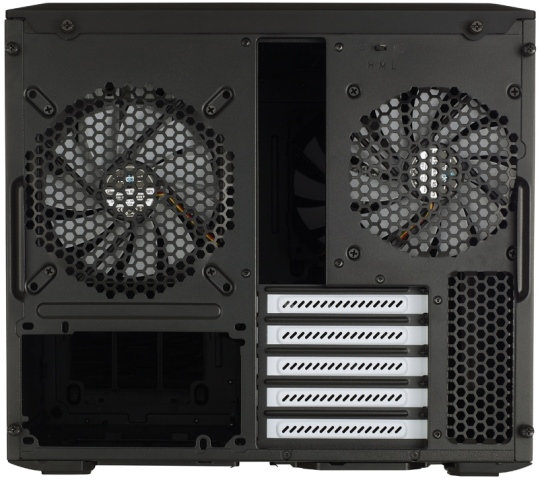
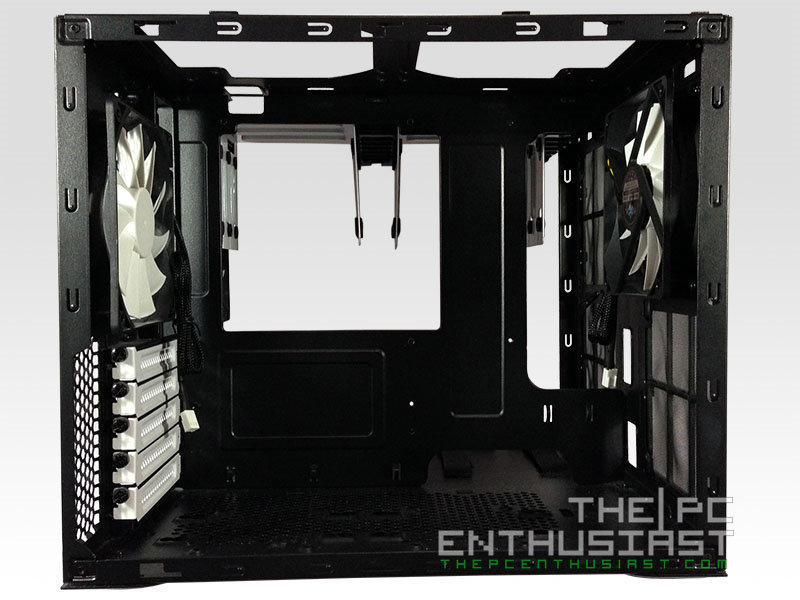
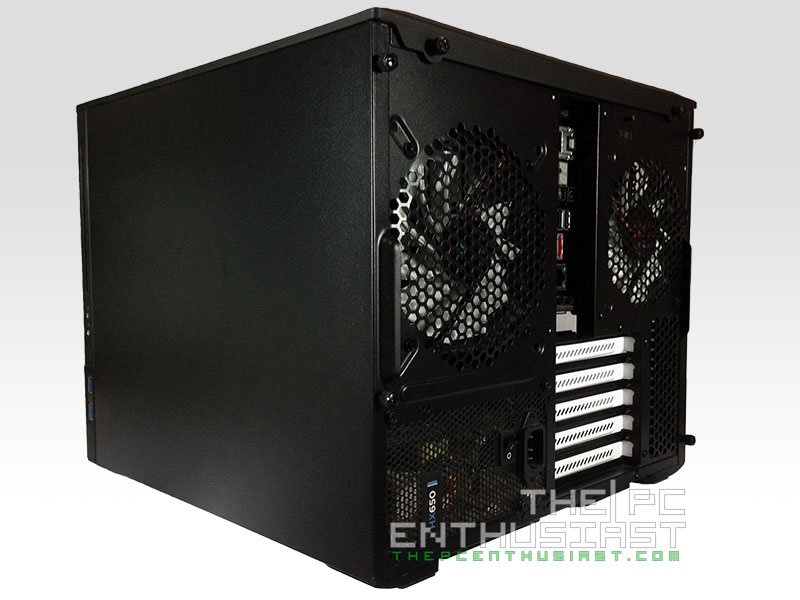
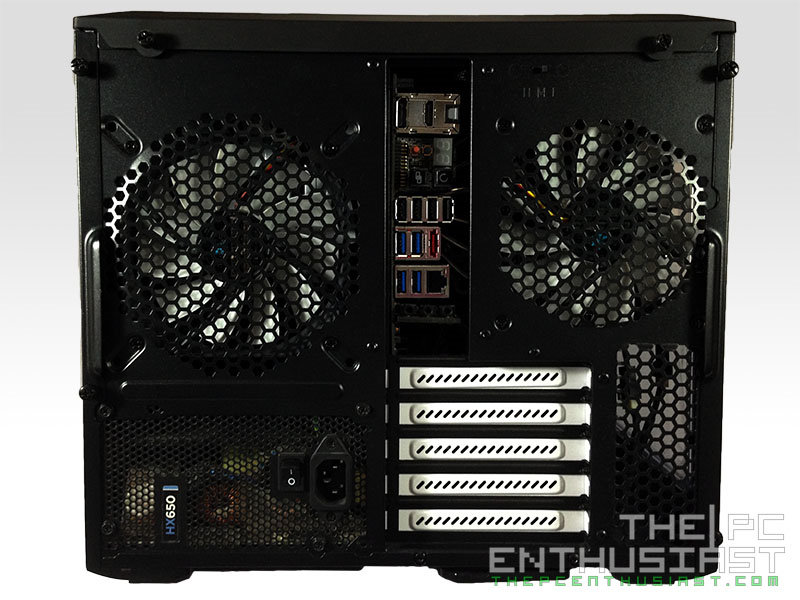
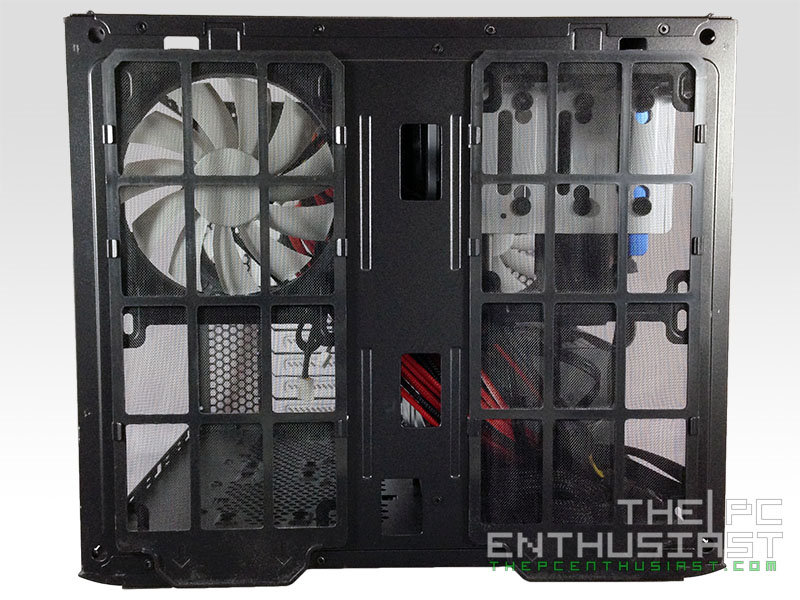
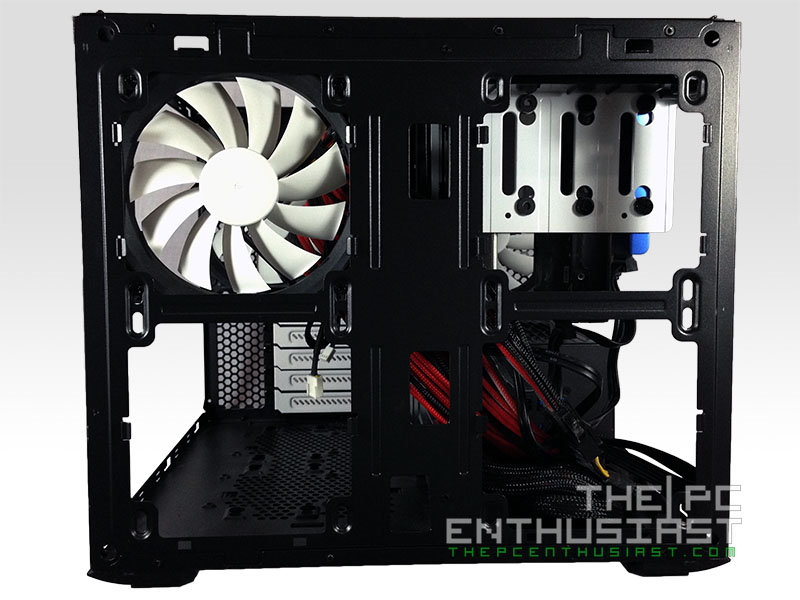
Above are photos of the front (with the front panel removed) and rear view of the case. Both left and right chambers are protected by dust filters in front of the case. On the rear side, the rear exhaust of the storage/PSU chamber supports 120mm or 140mm fans, while the other chamber only supports 120mm fan exhaust.
The top cover is removable and it also acts as exhaust ventilation. Between the mesh and those “angled air vent blades” is a foam-like filter that prevents dust from coming in. Or I could be wrong, and it’s actually a noise dampening foam that keeps the system nice and quiet.
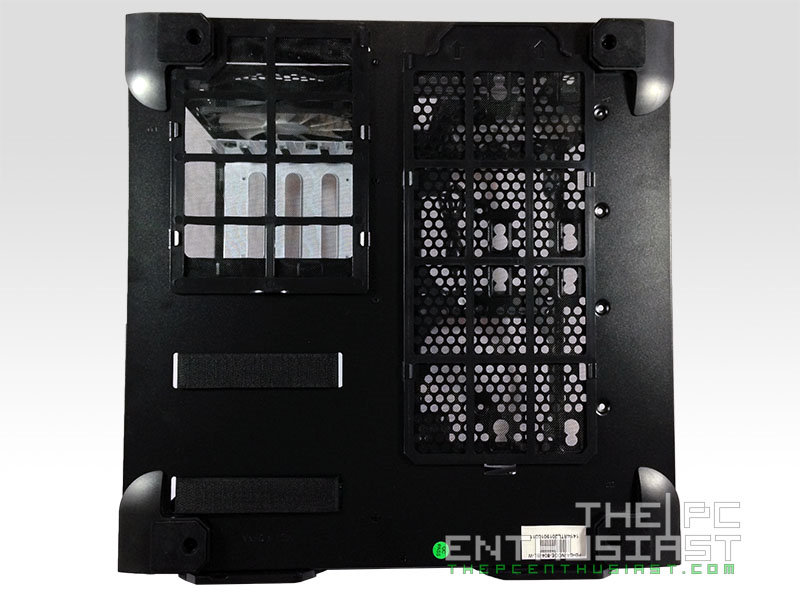

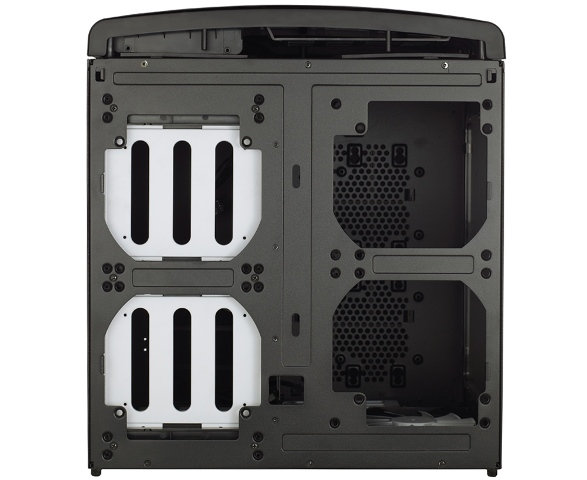
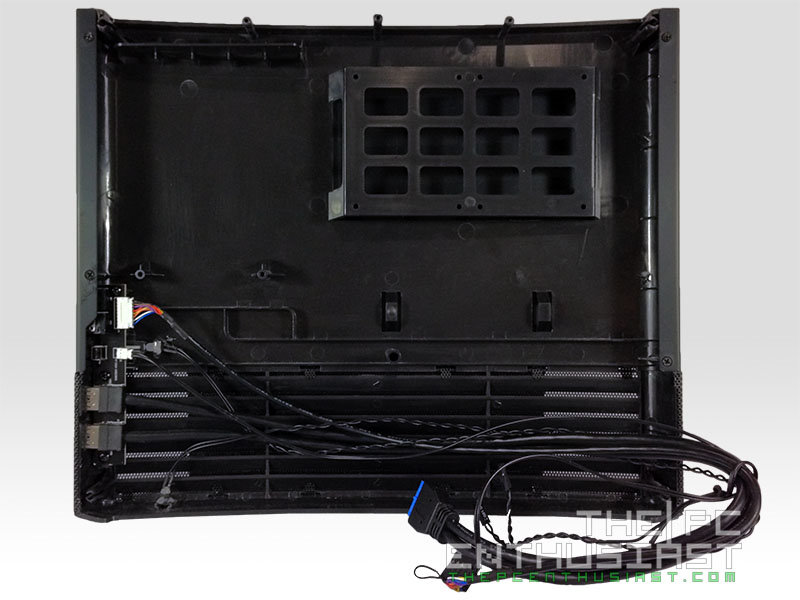
Underneath the Node 804 are four rubber feet, and additional ventilation with removable dust filters as well. If you notice there are straps underneath, those are actually for cable management from the inside. From the top, you can see four large openings, two on each chamber. You can install additional exhaust fans or radiators on those locations.
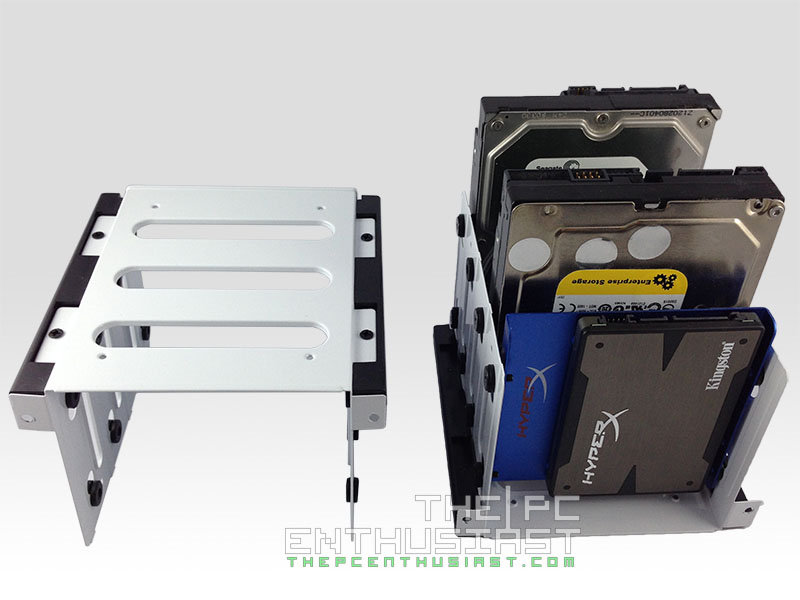

Here we have a closer look at the drives cages. These cages can support 4 HDD or SSD each cage and comes with anti-vibration rubber pads. However, these cages do not feature a tool-free installation. You need to screw each drive, and I think Fractal Design could further improve this area and make it tool-free installation instead. It’s not also easy to install or remove a hard drive, because you have to disconnect all drives and remove the whole cage just to add or remove a drive. Meanwhile, the other picture is actually the fan controller. I removed the fan controller for you to have a better look.
Fractal Design Node 804 Case Build
Below are photos of the Node 804 with hardware installed.

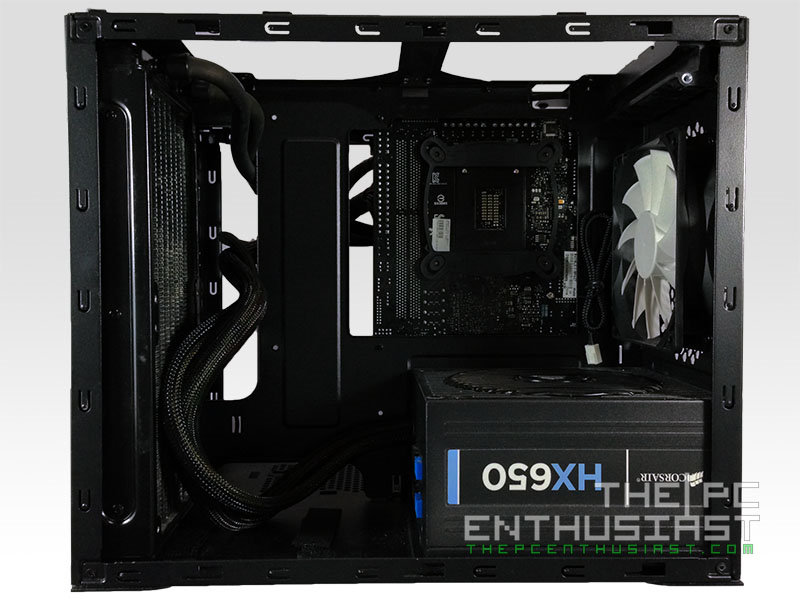
I have installed an Asus Maximus VI Impact with Noctua NH-D14 CPU cooler. The two exhaust fans are the stock Silent Series fans. The Node 804 supports large CPU heatsinks, however I haven’t tried Cryorig’s R1 Ultimate yet.

Here we have a closer look at the fan controller. The fan controller is actually very discrete and comes with high, medium and low settings. The fan controller draws its power from a SATA power connector.
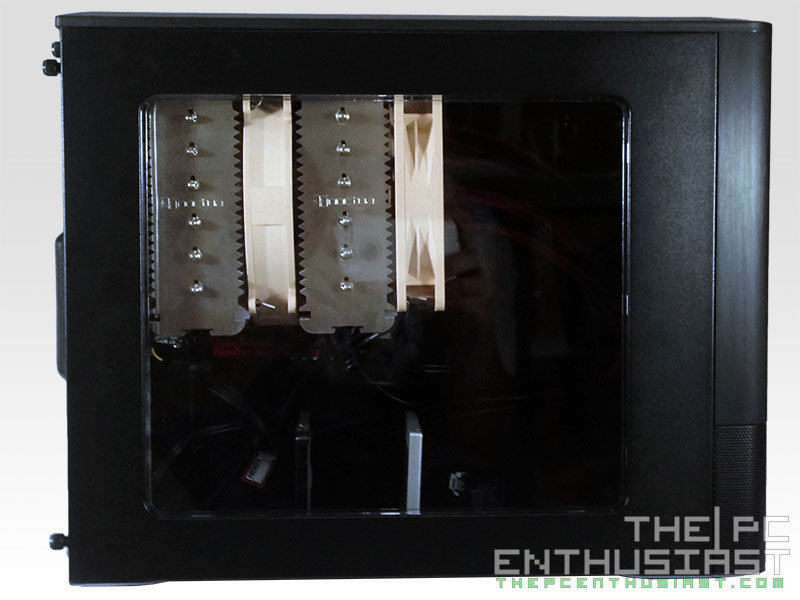
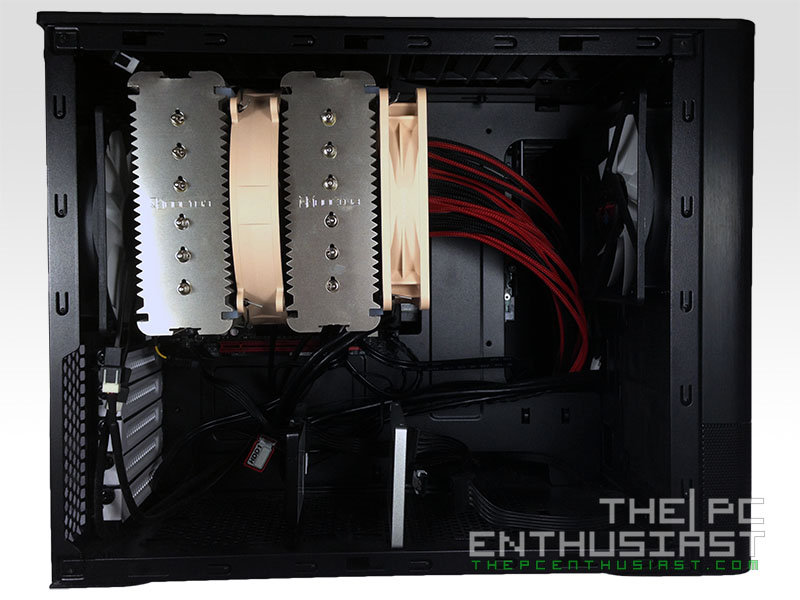

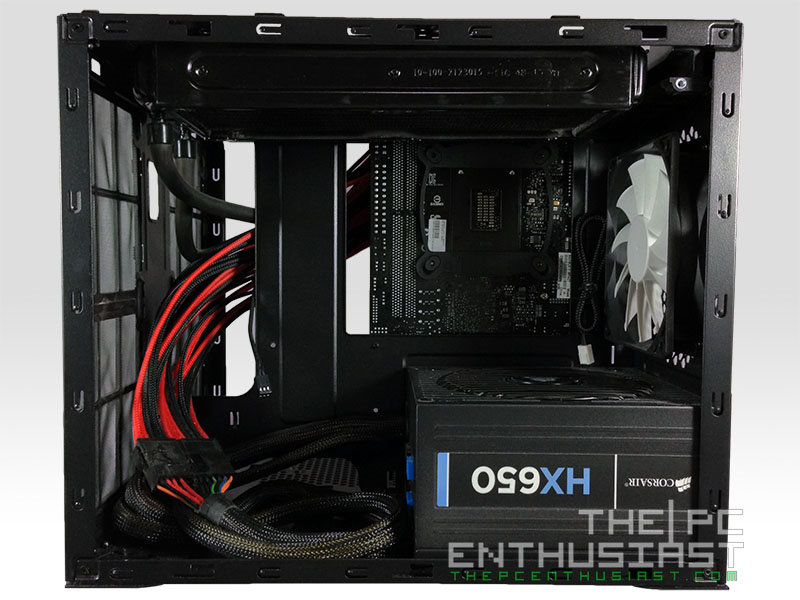
Above are photos of the left and right sides of the Node 804. You might be wondering why those two SSDs are installed in a vertical position. Well, you can install two SSD or HDD on the base of the motherboard chamber. However, there’s not enough clearance or room for you to properly connect the SATA power, since those SATA power cables have a 90° angle orientation. Unless you have a modified straight SATA power cable, you will have to change the orientation of your storage drive if you want to install them in this part of the chamber.
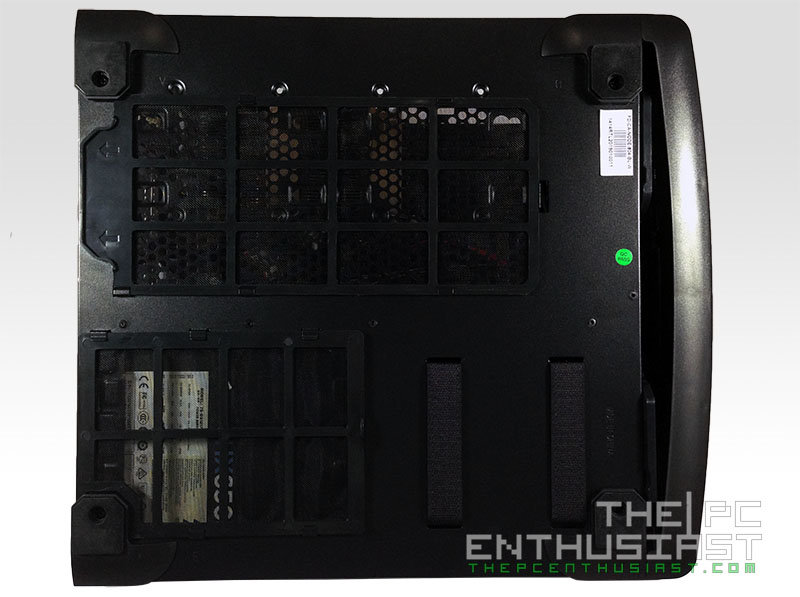
Again, above are the top and bottom view of the Node 804 with hardware installed. Oh, almost forgot to mention this, there is an HDD white led indicator located in the bottom portion of the front panel.
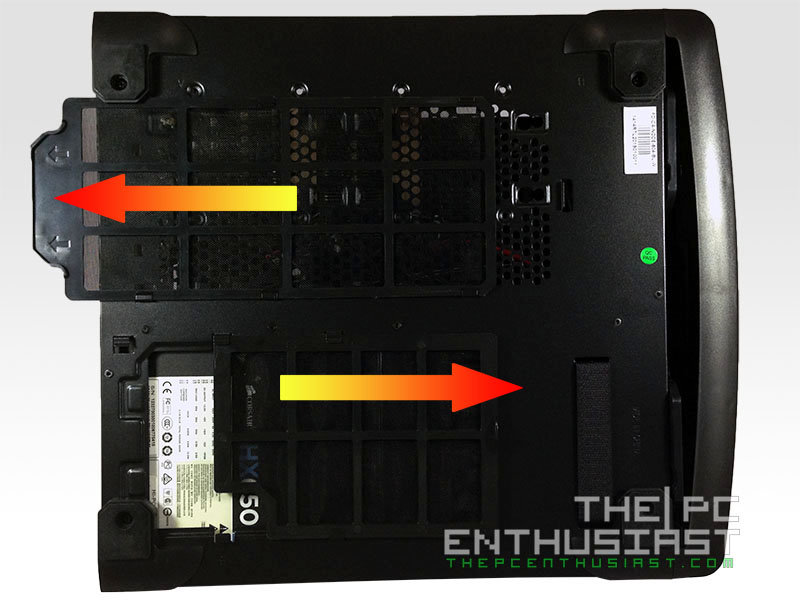
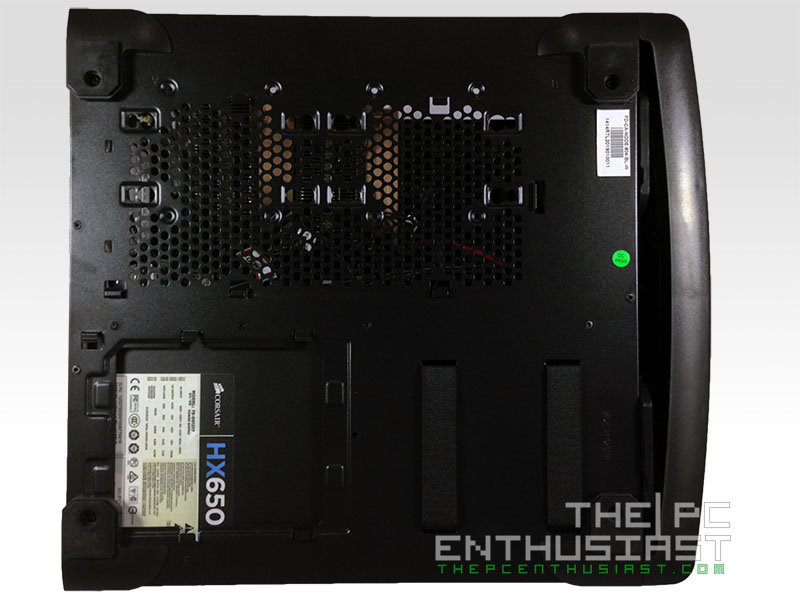
The dust filter underneath the motherboard area is easy to remove, since you only need to pull it towards the rear. However the dust filter for the PSU can only be removed towards to opposite direction.
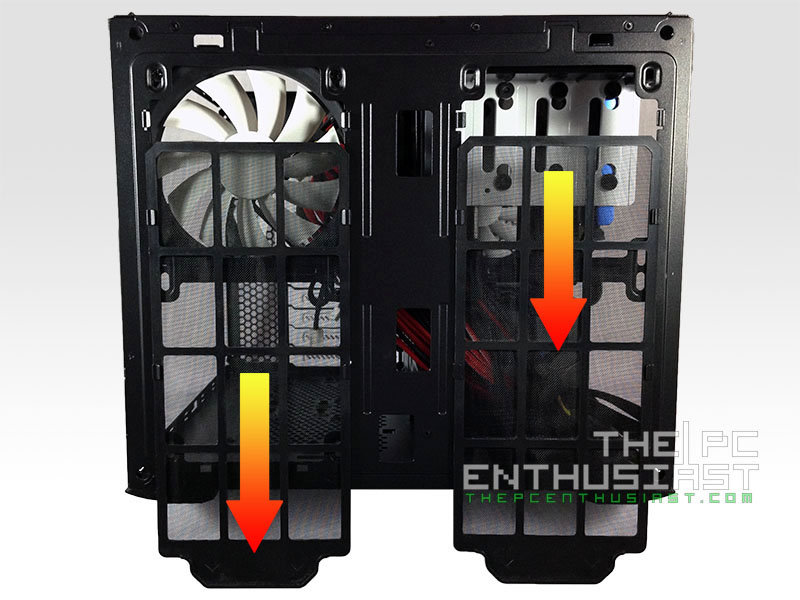
The front panel dust filters can be easily removed by sliding it downwards. But you will have to remove the front cover for you to do this.

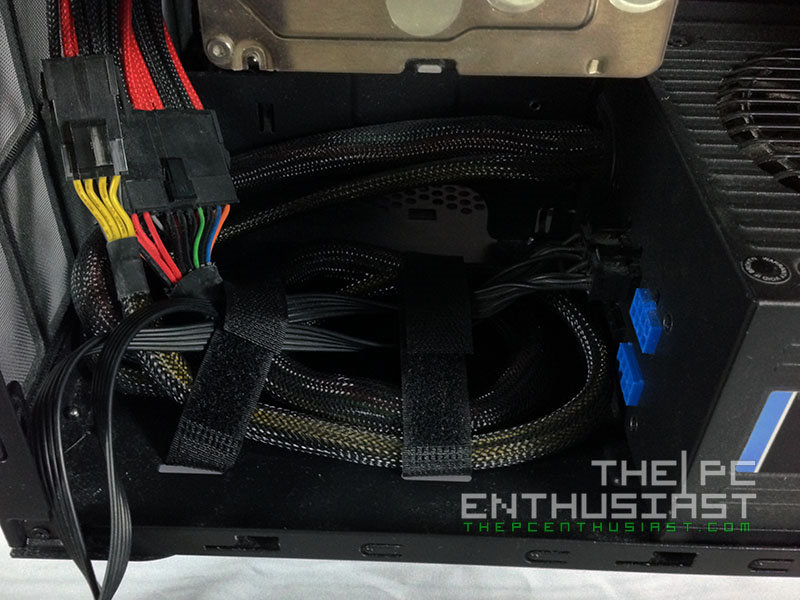
Remember the straps you saw earlier? Well, here’s what it is for. You can strap the PSU cables, which is really useful specially if you are not using a modular PSU. You can neatly tuck in all those cables and prevent it from spreading in any direction.


The Node 804 supports water cooling solution as well, both AIO closed loop and custom water cooling. I used a Corsair Hydro H105 to demonstrate the areas where you can install the radiator. You can install a 240mm radiator on top or in front of the motherboard chamber. One limiting factor when installing the radiator with fan on top of the case is the heatsink of your memory. If you are using a memory with tall heatsink, it might interfere with the fan or radiator. If that is the case, you will need to place the radiator and fan in other location.
Here we see the radiator installed in the PSU/storage chamber. You will have to remove both drive cages if you want to place the radiator on the top portion of this chamber. What is good about this setup is that the heat of the CPU is actually separated from the motherboard chamber. But make sure that your water cooling tubes are long enough so that you can install the radiator in this location.
Price and Availability
The Fractal Design Node 804 micro ATX case is now available. Currently it retails for around $127. Some retailers sell the Node 804 for a lower price of around $100 to $110 but don’t come with free shipping. Retail prices are subject to change, please visit the link to get the current retails price.
Fractal Design Node 804 Review: Conclusion
There are actually several things that I like about the Fractal Design Node 804. First, the black simplistic design is elegant and would blend in easily; the case itself is very sturdy and well-made; it has lots of storage options and several configuration for both air and water cooling solutions; and finally it’s a very flexible and space efficient case. When I say flexible, you can use this case to build an HTPC, a NAS system, a compact gaming PC, or a custom water cooled PC.
But there are also things that I think Fractal Design should improve if ever they decide to make another similar case in the future. One thing that I did not like about the Node 804 is its drive cages. Yes, it has anti vibration rubber mounting and it looks organized, but it’s not tool-less. Users might also find it tedious since you will have to remove the whole cage(s) itself so that you can add or remove a drive. Another thing is the SATA power cable for the fan controller, I find it short and I think it should be longer so that you can easily connect it on the PSU/storage chamber. Finally, this case doesn’t have a reset button. It’s very odd for a PC case to not have a reset button. But honestly, I don’t use the reset button that much anyway.
At the end of the day, a PC case like the Node 804 is really a matter of personal preference and will also depend on the type of setup that you want to build. There’s no “one size fits all” in terms of PC case and you can’t benchmark it like a graphics card or solid state drive. But so long as you understand of what you are getting into when you buy this case; its features and capabilities, as well as its disadvantages or short comings, then you won’t have a problem along the way. Personally, I prefer tower type cases since it suit my needs. But when it comes to cube type cases that are currently in the market, I would definitely choose the Node 804.
The Fractal Design Node 804 is one unique case. There aren’t much cube type micro ATX cases in the market today, since it targets a very specific niche or a certain community who are into this kind of form factor. But all I can say is, so far this is the best looking cube type micro ATX case I’ve seen, not to mention the flexibility and options that it offers. The Node 804 deserves The PC Enthusiast’s Editor’s Choice award.