A Closer Look At The Asus Radeon R9 290 DirectCU II OC

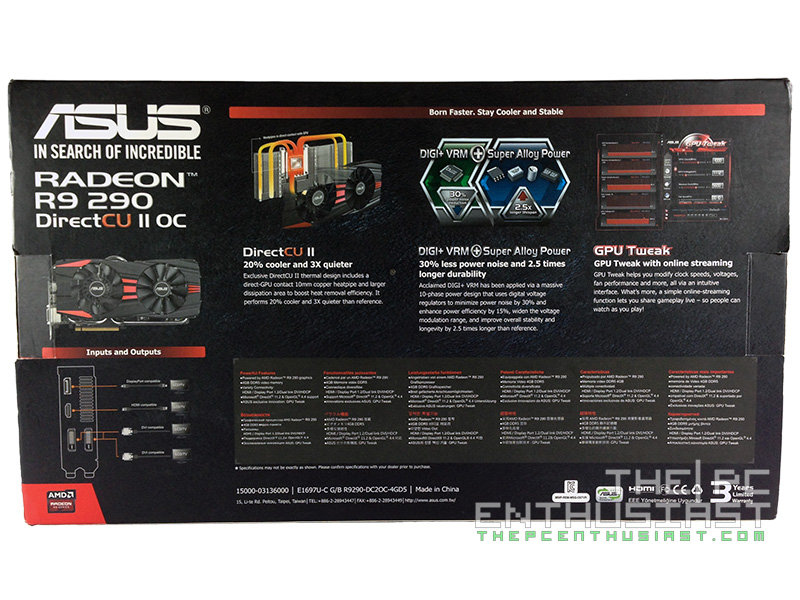
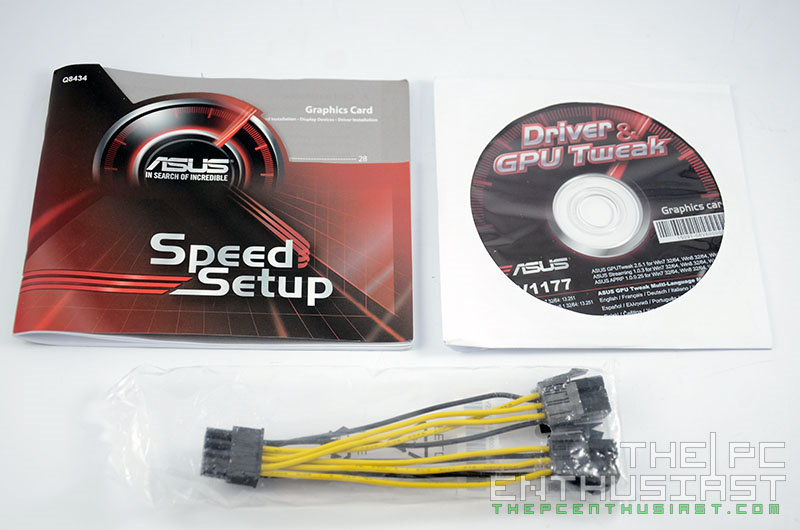
The Asus Radeon R9 290 comes in a very familiar Asus packaging. Asus has been using the same layout design for quite some time now. There is nothing fancy about the packaging either. Inside the box you get a quick start up guide, a driver CD and a PCIE power adapter. If I were you I wouldn’t use the driver CD included since it’s probably outdated anyway. Go to Asus’ site and download the latest driver and software versions.


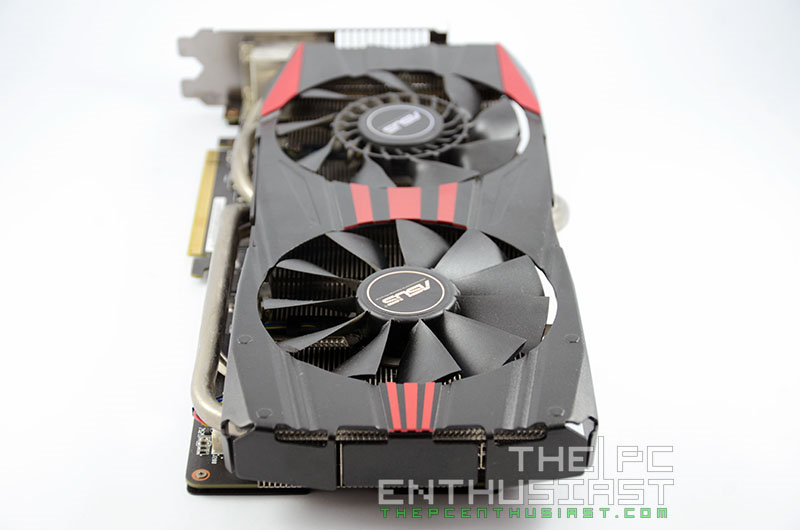
Here we have the front and rear view of the R9 290 DirectCU II. It looks nice and aesthetically sexy. The card is also pretty solid thanks to its sturdy shroud and aluminum backplate.
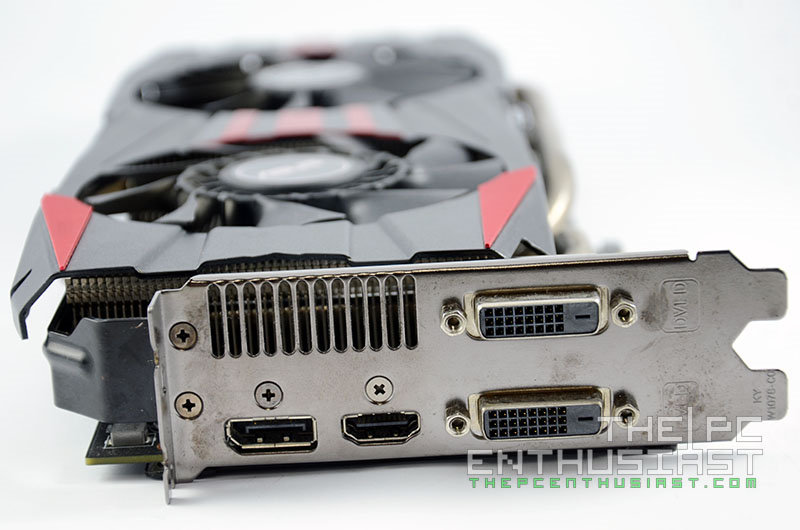

On its output ports, it has two DVI ports, one HDMI port and one DisplayPort. If your monitor has a DisplayPort, I would recommend that you use it since it’s better than the HDMI and DVI ports, specially in 4K display resolution.


The Asus Radeon R9 290 DirectCU II OC can consume up to 300W of power, and draws its power from an 8+6 pin PCIE power connector. The power connector socket is reversed so that you can easily remove the cables when needed. There is also a LED indicator that turns Green or Red, indicating if power is properly connected or not. Also near the power connector, you can see some voltage points to directly monitor the voltage of the graphics card. Although I honestly find this feature rarely used at all.


Above you can see the rear and front view of the backplate. The aluminum backplate may not be able to help lowering the graphics card’s temperature but it supports the whole body of the card and it prevents it from bending. Not to mention, it also protects the back of the PCB from unwanted scratches or bumps.


Here is the Asus’ DirectCU II cooler removed from the PCB. The shroud is composed of a metal shroud, a coolTech fan, 5 heat pipes and a large heatsink. The metal shroud adds more weight to the card but at the same time makes it sturdy. I have dismantled the same DirectCU II cooler on my Asus GTX 780 Ti DirectCU II review here.

The photo above shows where exactly the Hawaii GPU chip touches the copper heat pipes. As you can see the chip doesn’t fully touches all the heat pipes. Instead only three heat pipes are in direct contact with the GPU. There are also gaps between the heatpipes which may (or may not) affect the efficiency of heat dissipation.


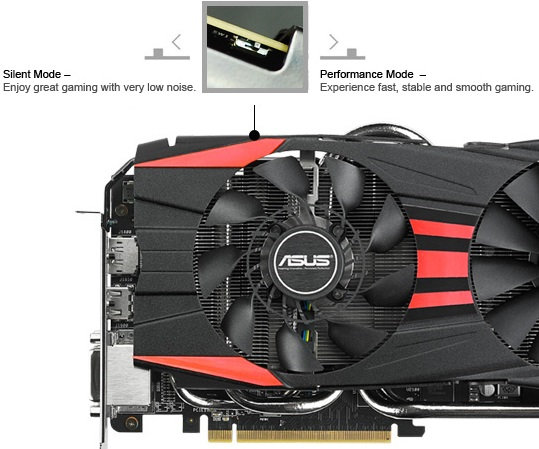
Above we have a closer look at the front and rear view of the Asus R9 290 DirectCU II OC’s PCB. I almost forgot to point this out, but if you take a closer look at the upper portion of the graphics card, where a CrossFire finger is supposed to be, you will notice a tiny switch. That is the switch I mentioned earlier where you can put the graphics card to run on a Silent Mode or Performance Mode. Below is an illustration of the BIOS switcher.


Asus is using a DIGI+ VRM with Super Alloy Power that has been applied via an 8-phase power design that uses digital voltage regulators to minimize power noise by 30%, enhance power efficiency by 15%, widen voltage modulation tolerance, and improve overall stability and longevity by 2.5 times over reference. There are also POSCAPs to lower power noise, enhance overclocking, and improve stability far beyond standard analog designs.


Above you can see the DIGI+ VRM ASP1300 which is located just above the 8+6 pin power connector. Asus is also using 16 Elpida W2032BBBG-6A-F memory chips for a total of 4GB GDDR5 memory. But I was somewhat disappointed to see Elpida chips, I would prefer if Asus used SK Hynix since they overclock or perform better than Elpida, generally speaking. Surrounded by the Elpida memory chips is the 28nm Hawaii graphics core that is powering this R9 290. Unlike the GPU used in the R9 290X, AMD has disabled or locked some of the cores in this chip. Aside from that, the chip features 2560 shading units, 160 TMUs and 64 ROPs.