Packaging and Closer Look
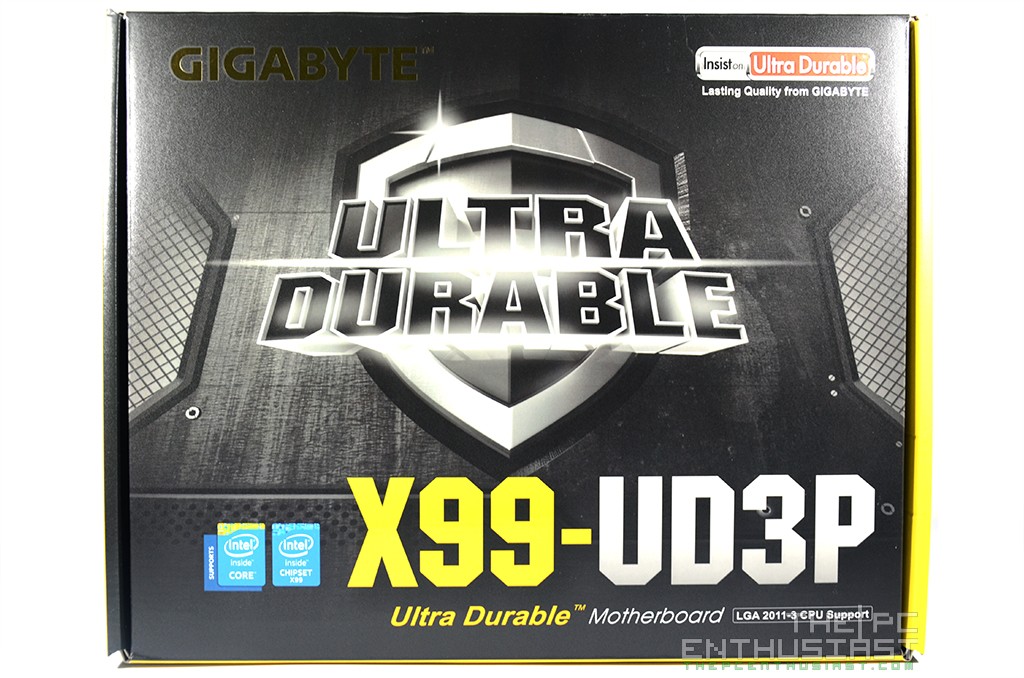
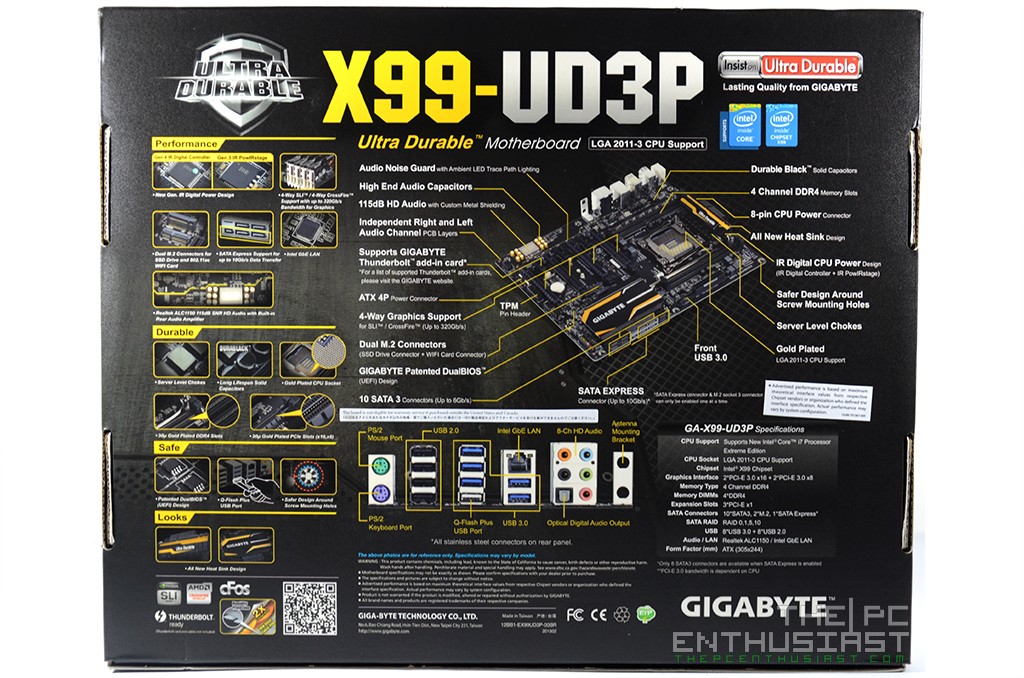
The Gigabyte X99-UD3P comes in a simple, but well-designed box. The Black and Yellow colors are dominant, signifying its Ultra Durable trade mark. In front, you can directly identify the name and series of the motherboard, “Gigabyte Ultra Durable X99-UD3P”. At the back, you can see the its highlighted features, providing you with the essential details about the motherboard.
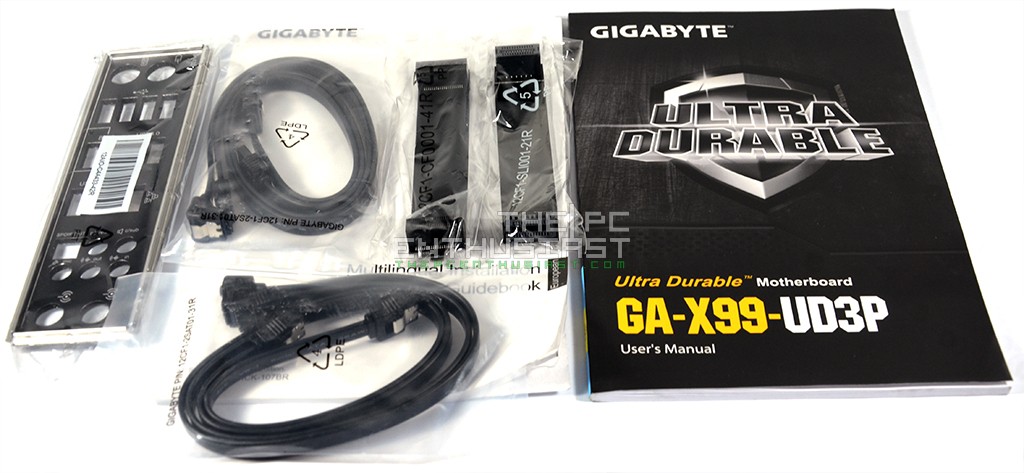
The package includes four SATA cables, a rear I/O shield, 2-way SLI and CrossFireX bridge, a manual and a driver CD.
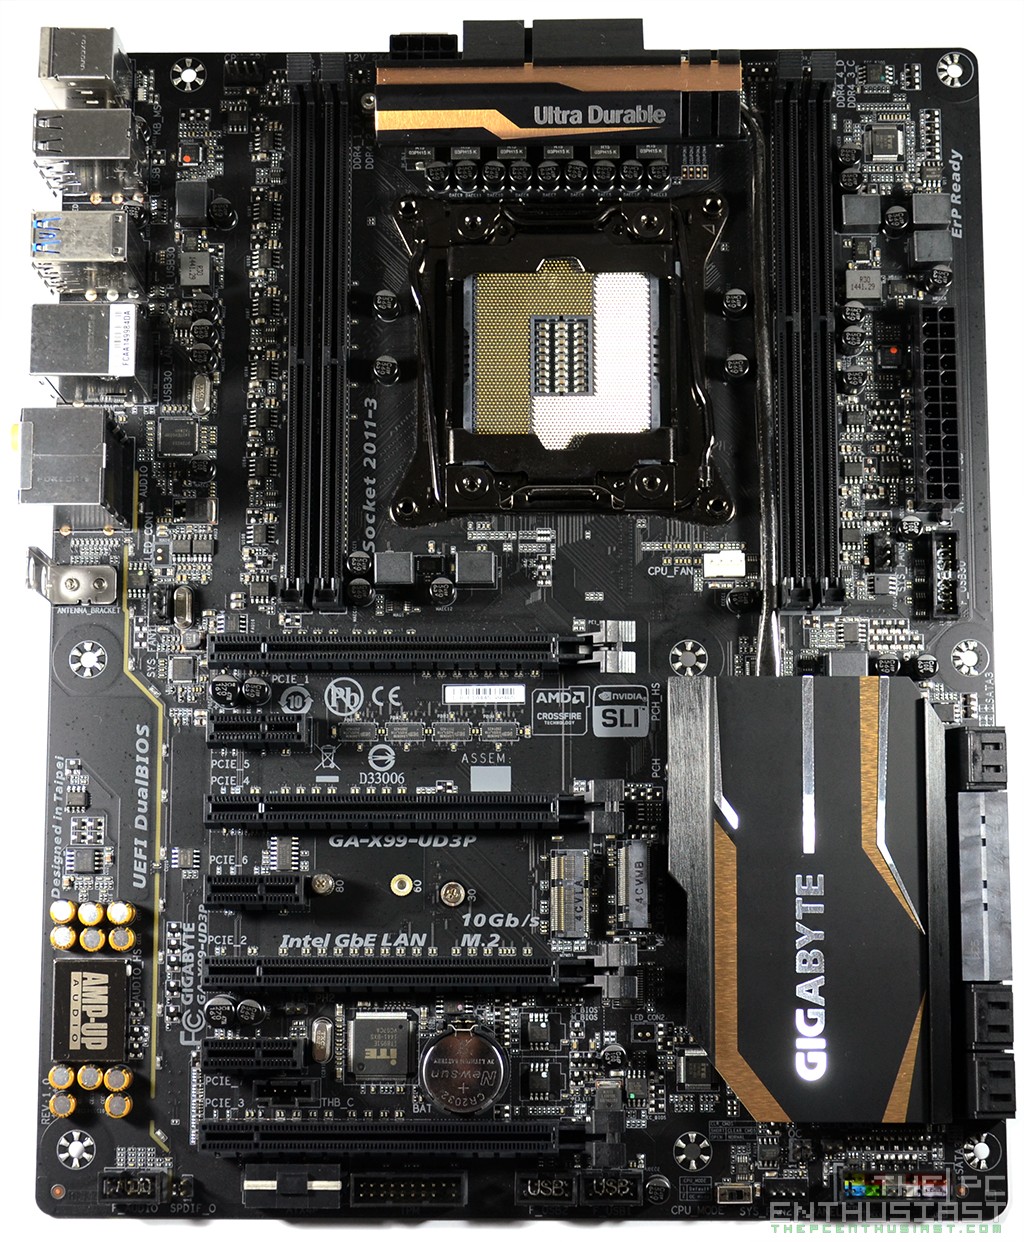
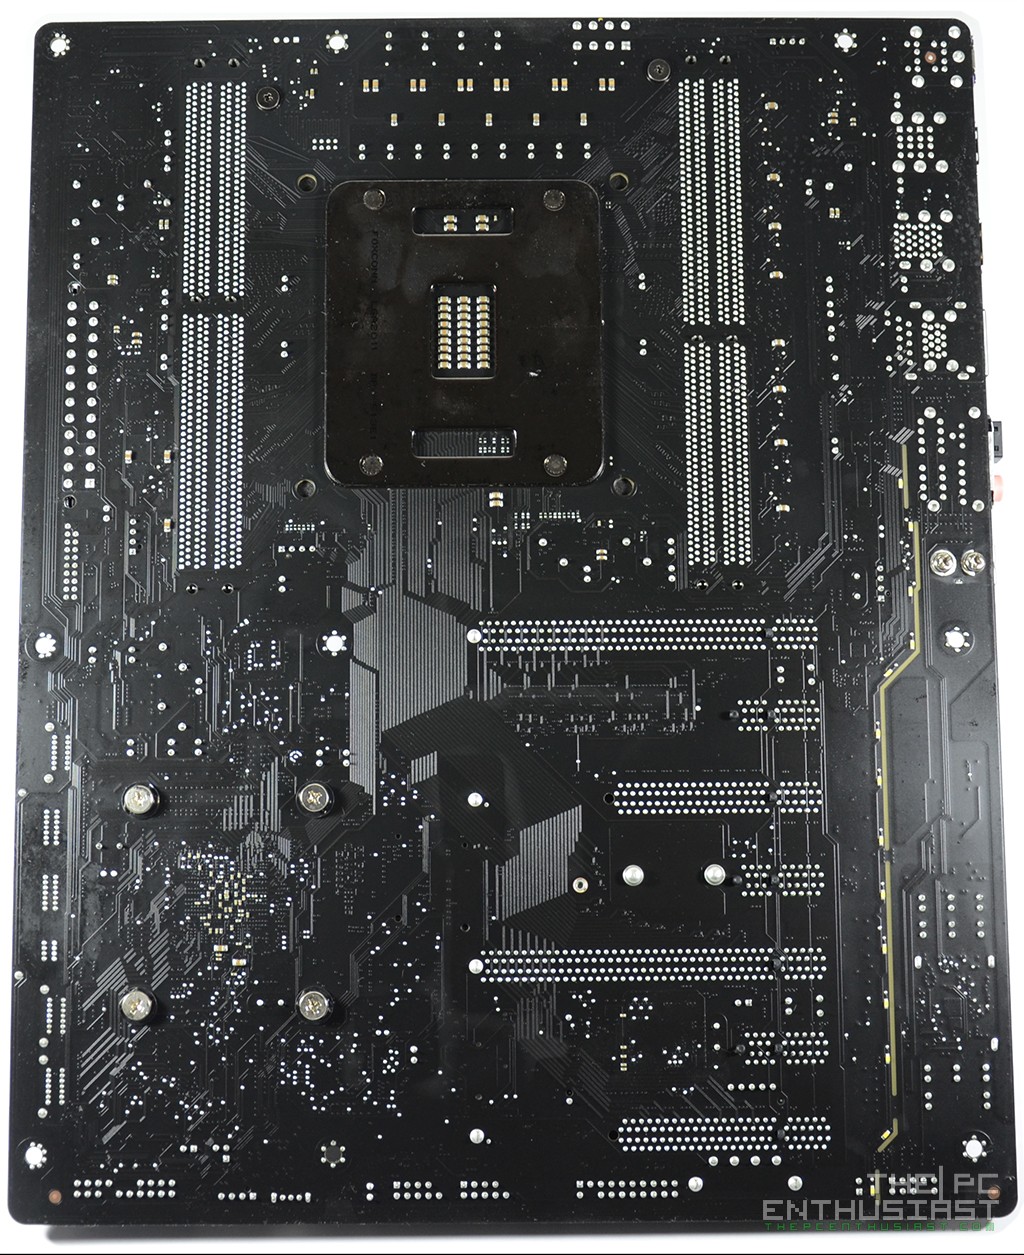
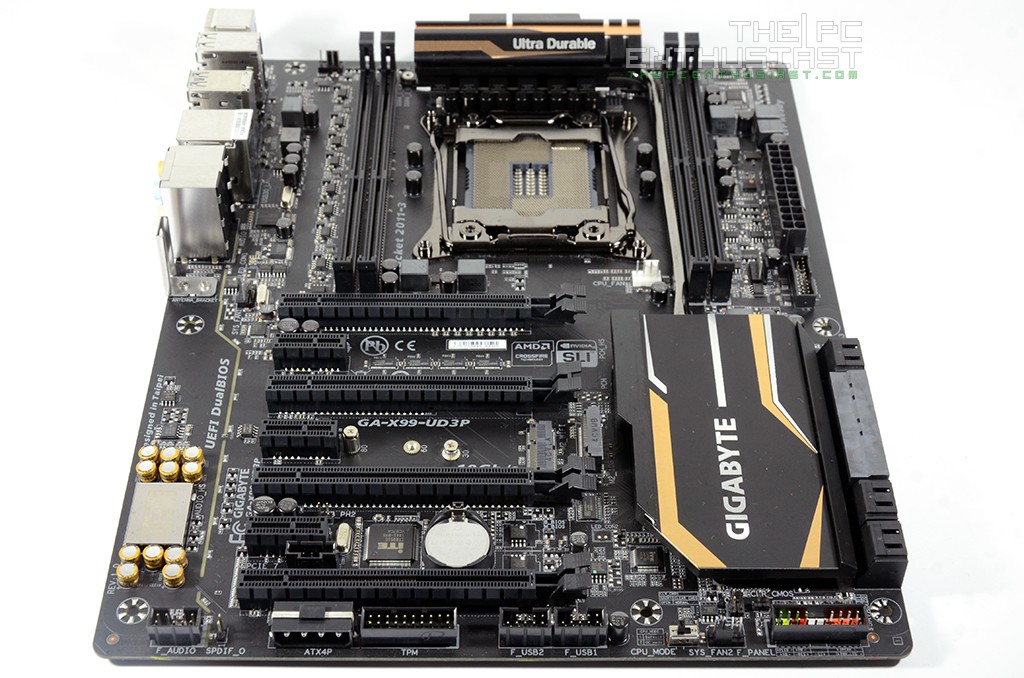
Above you can see the front and rear view of the GA-X99-UD3P. The motherboard is almost entirely black, with a highlight of gold tone on its heatsink, matching the color of the Nichicon audio capacitors and the LED light path that separates the audio component. The PCB has a matte black finish, giving it that nice and clean looking surface. Honestly, the board looks very simple, but it looks much better on real life compared to the pictures you see above.
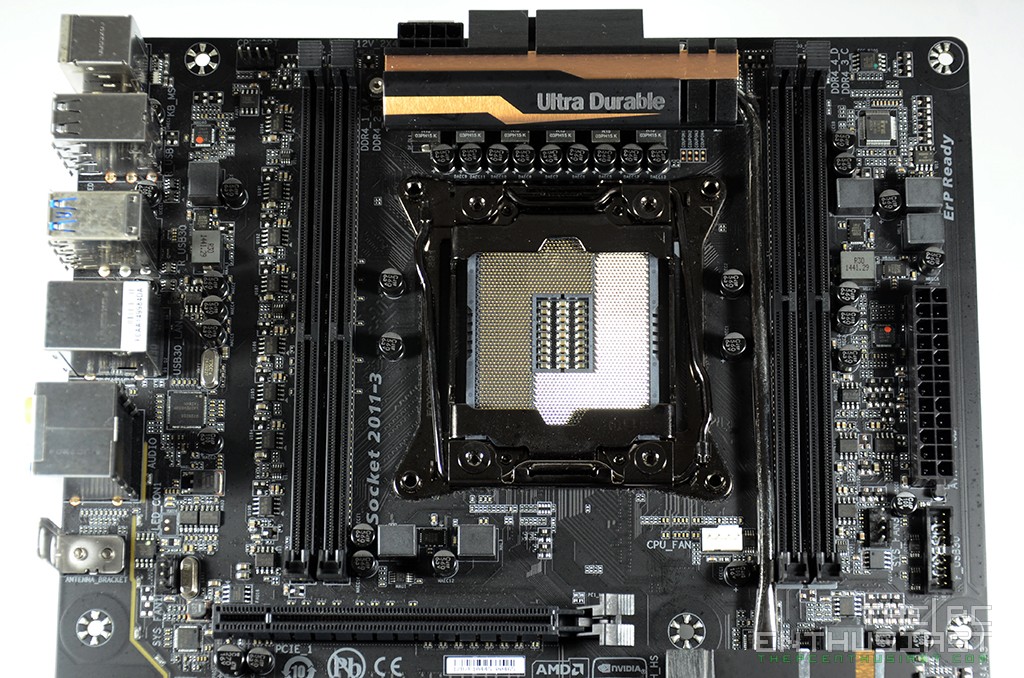
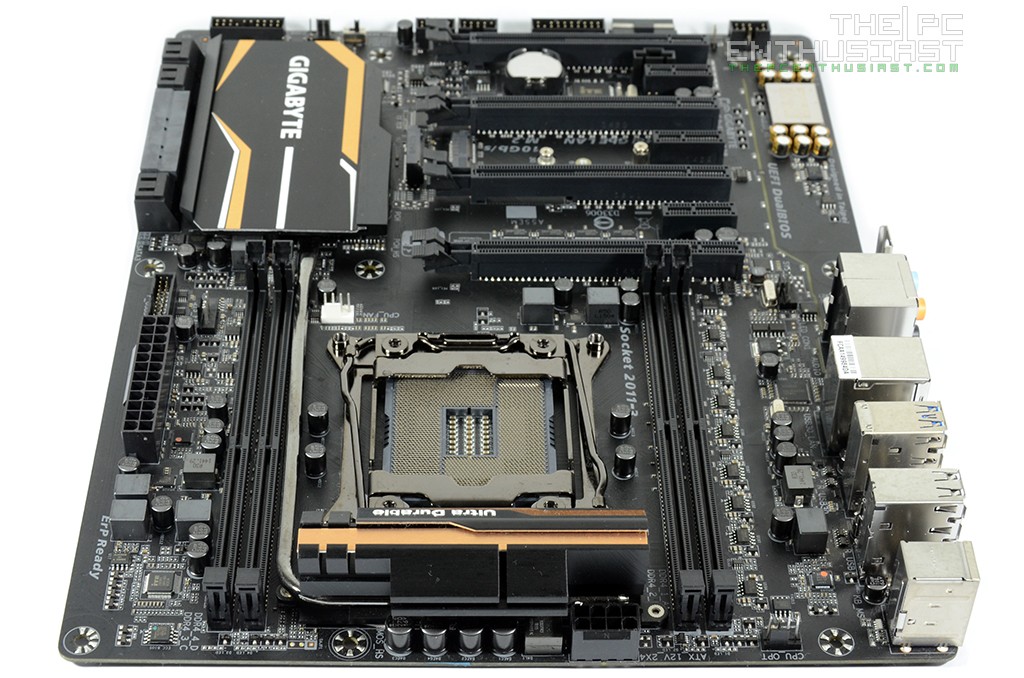
There are only four DIMM slots on the Gigabyte X99-UD3P supporting up to 64GB of DDR4 memory and XMP profile. One thing I noticed is that during my test the motherboard didn’t accepted the Kingston HyperX Fury DDR4 memory 32GB (8GBx4) memory kit. However all other DDR4 16GB (4x4GB) memory kit got validated and their respective XMP profile was working properly. I’m not sure if this is an issue with the BIOS or not, perhaps an update would fix this problem in the (near) future. For now, better stay within 16GB with this motherboard.
At the top center is the 8-pin CPU power connector, and there are three fan headers on the upper portion. However, the CPU_OPT is located farther from the main CPU_FAN. I think it would be better if the CPU_FAN and CPU_OPT were placed nearer or side by side somewhere on the top portion. You can also see the usual 24-pin motherboard power connector and a USB3.0 header.
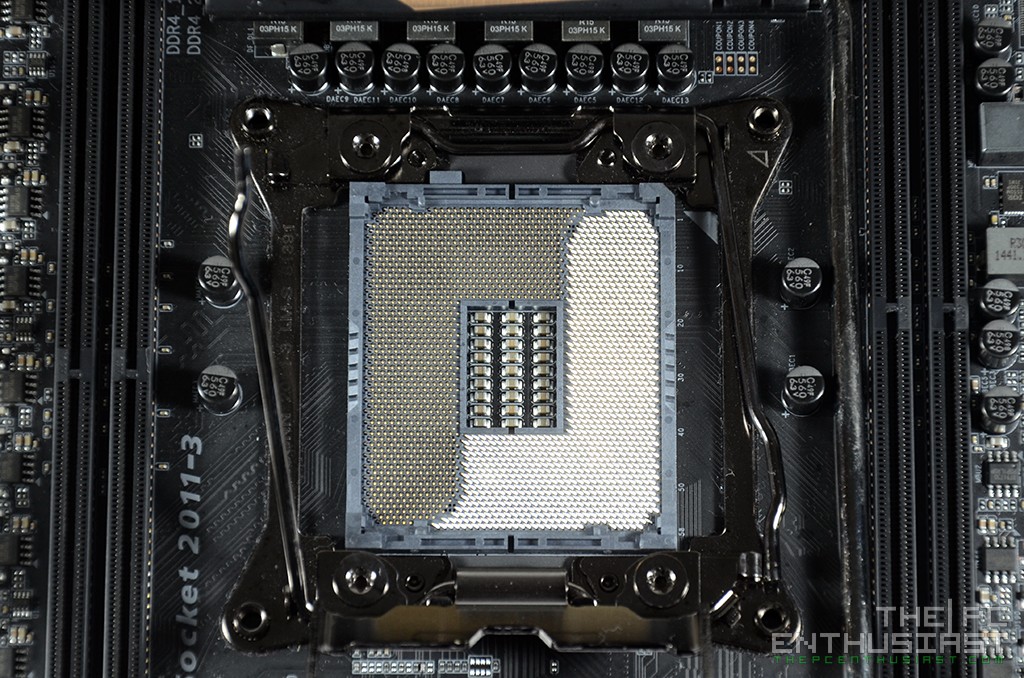
Here’s a closer look on the socket of the Gigabyte X99-UD3P, surrounded by Durable Black solid capacitors. One thing that I like about the socket LGA2011-3 is that you don’t need to install a CPU backplate whenever you install a third party cooler (whether air or water). There are mounting holes where you can screw directly the CPU cooler.
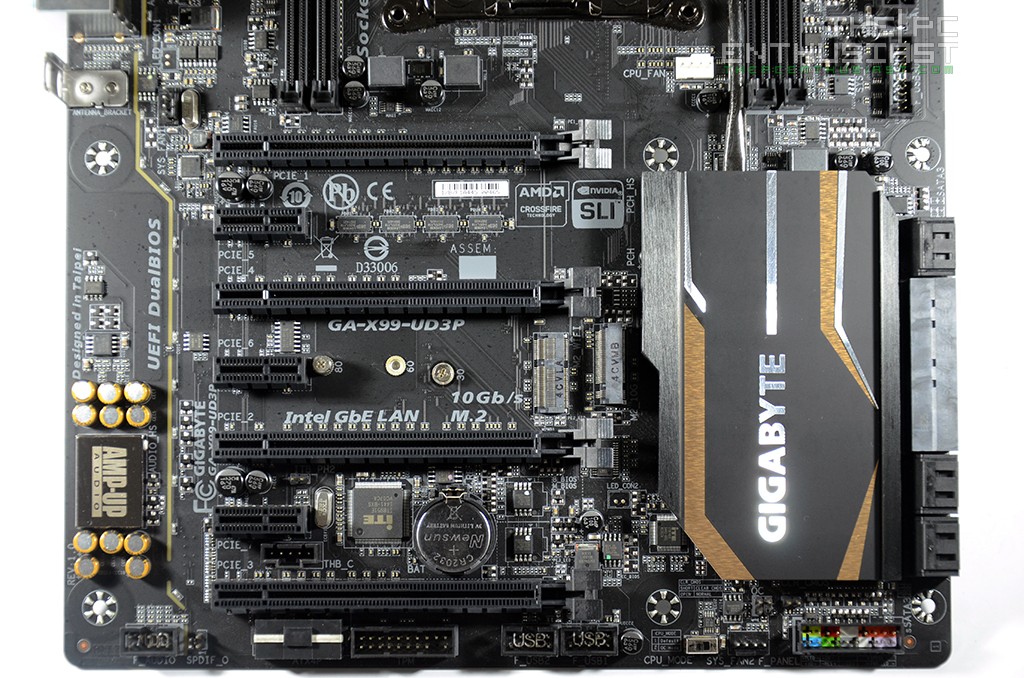
On the lower half of the GA-X99-UD3P, you can see four PCIE x16 slots and three PCIE x1 slots. All of them are placed evenly, making it great for a multi-GPU configuration. PCIE_1 and PCIE_2 slots are capable of running at x16 speeds, while the third and fourth slots runs at x8 speed. The motherboard can support up to 320Gb/s of bandwidth, but you will have to use a processor like the Intel Core i7-5960X Extreme, which is 40-lanes capable. There are two M.2 slots in between the PCIE x16 slots 2 and 3 for M.2 SSDs and WiFi card. The M.2 slot supports type 2242/2260/2280 SATA & PCIe x2/x1 SSD. There’s also a Thunderbolt add-in card just right above the last PCIE x16 slot.
There are a number of headers on the bottom portion like the front panel audio header, 4-pin ATX power connector for added power when doing multi-GPU configuration, Trusted Platform Module (TPM) header, USB 2.0 headers, another system fan header, and front panel headers. There’s also a CPU_MODE switch which can be activated when overclocking.
On the audio component of the Gigabyte X99-UD3P, it has a Realtek ALC1150 115dB SNR HD audio with built-in rear audio amplifier. The AMP section is surrounded by Nichicon audio capacitors, and the whole audio component is separated by a LED path. You can turn off the LED light path, set it to beat, pulse or still via the App Center. On top of that, the right and left audio channel has its own separate PCB layer to help eliminate channel crosstalk.
Almost forgot to mention, the Gigabyte X99-UD3P features a DualBIOS design. You can see the two BIOS chips right beside the CMOS battery. “GIGABYTE DualBIOS™ means that you motherboard has both a ‘Main BIOS’ and a ‘Backup BIOS’, making users protected from BIOS failure due to virus attack, hardware malfunction, improper OC settings or power failure during the update process.” You can’t switch from BIOS 1 to BIOS 2, the second BIOS chip simply serves as a backup.
Here’s an angled view of the motherboard from top to bottom and vice versa.
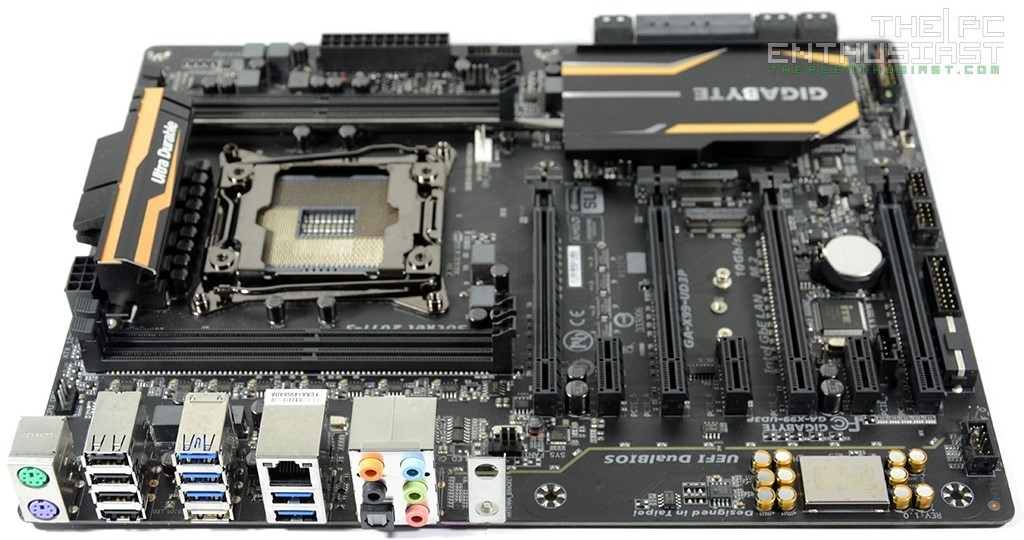

On the rear I/O section, you can see the usual faces. You have the good old PS/2 keyboard and mouse ports, 6x USB 3.0 ports (1 is for the Q-Flash), 4x USB 2.0 ports, an Intel Gigabit RJ-45 LAN port, audio jacks, an optical S/PDIF out connector and empty holes for the WiFi antenna.
On the opposite side, you have a 6x SATA 6Gb/s ports supporting RAID 0, RAID 1, RAID 5, and RAID 10; another 4x SATA 6Gb/s supporting IDE and AHCI modes or 2x SATA + 1 SATA Express.
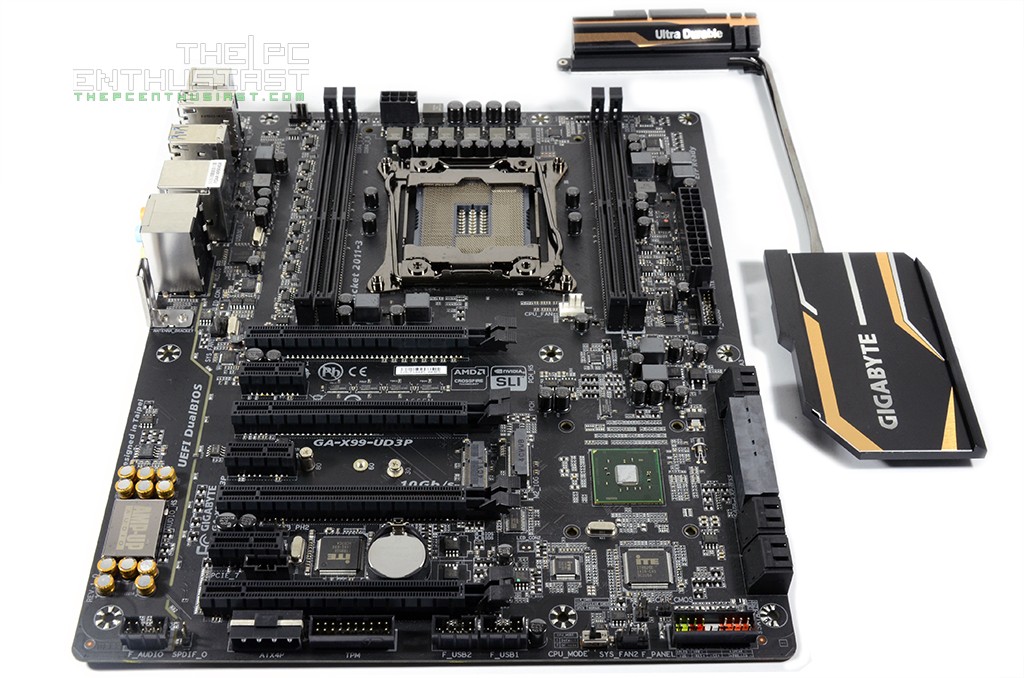
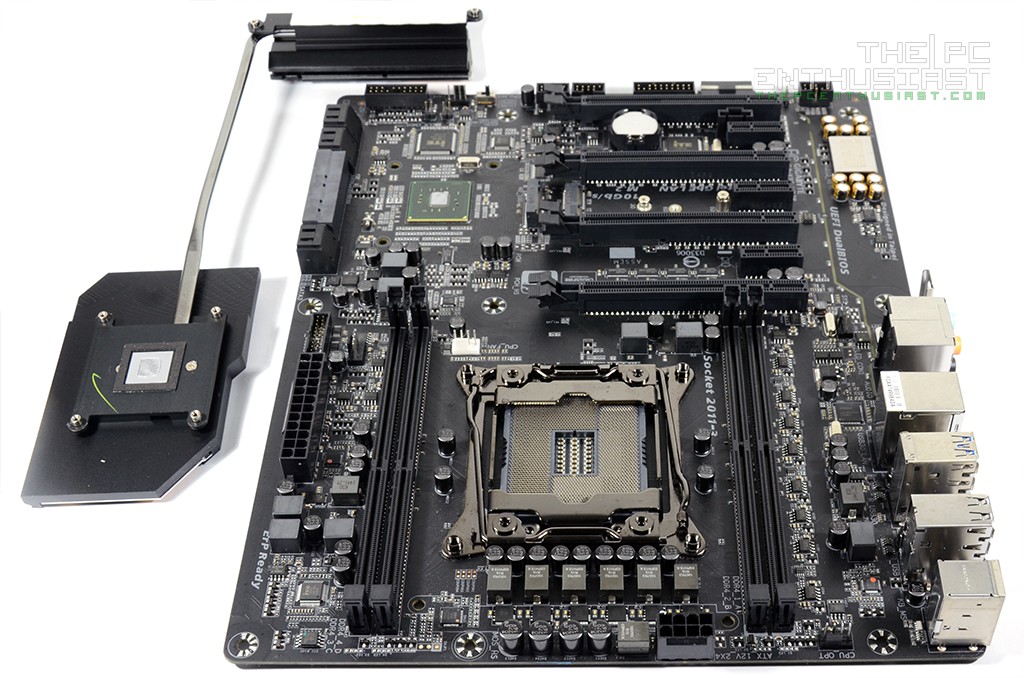
Here’s how the GA-X99-UD3P looks like without its heatsink. The heatsink of the MOSFETs and the Intel X99 chipset is connected by a single heatpipe.
On the next page, let’s take a look at the UEFI BIOS and the Gigabyte App Center.