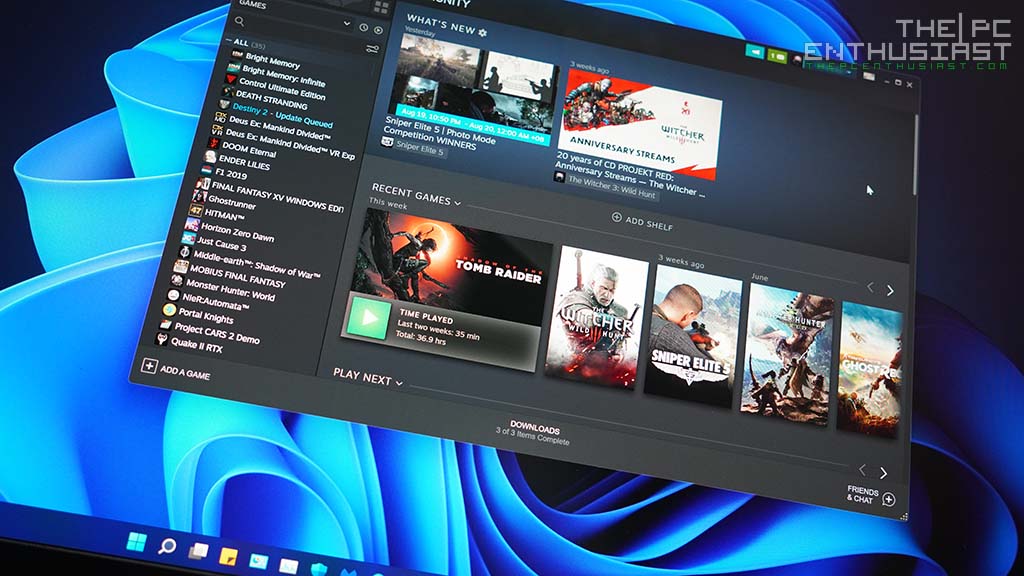
Gaming has emerged as more than an entertaining activity. It gives you a sense of community, like joining guilds and collaborating with people worldwide. Some even turn to it to earn money, with many successful gamers making it their full-time job. However, gaming requires a powerful computer to load games without lag or low-quality graphics. Therefore, you need to optimize and prepare your PC to load and support games without interruptions.
Microsoft has recently released its latest Windows 11, and since its launch, it has been adopted swiftly by the community. The new Windows comes with some brilliant additions that streamline the gameplay. Even Microsoft has marked Windows 11 as a gaming-friendly OS. However, some features might not be required for games, affecting the overall gaming experience. To ensure that you get a buttery smooth experience, you should make some tweaks to the features of Windows 11.
Tweaks for enhancing gaming performance in Windows 11
Update graphics drivers
Graphics are the heart of PC games. Therefore, the first thing that you need to do is update your graphics drivers. You can also consider adding additional graphic cards if required.
Most of the PCs have AMD or NVIDIA graphics cards embedded in them. No matter if your game requirements are more or less, you need to update the graphics drivers of your Windows PC. On the other hand, if your game requirements are high, you can add an external graphics card.
You can get them embedded too, but for that, you may have to get the entire motherboard. To ensure that you get the dedicated update, use dedicated software such as ‘AMD Radeon Software’ or ‘GeForce Experience.’ These are the best ones on the web.
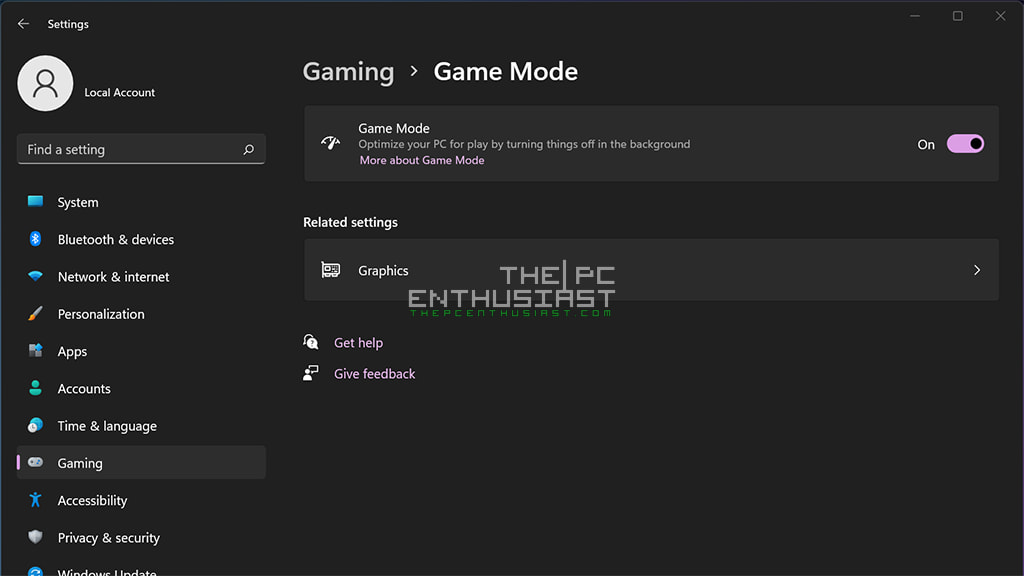
Use game mode
The game mode is one of those features that Microsoft has worked hard on. The new OS gets rid of all the previous bugs, such as game lags, unsynchronized inputs, and more. In the new Windows 11, Microsoft has made it easy to turn on the game mode and use it further.
Unlike previous versions, you will not face any issues while gaming, such as pop-up notifications, driver updates, or restart requests. Thus, it improves your gaming experience.
Delete temporary files
If you have noticed your game lagging after taking care of all the other crucial or relevant aspects, it could probably be due to the temporary files. These files keep gathering in your PC as you use them. But fortunately, there is a way to get rid of them.
If you are experiencing lag or delay in your gaming, you can delete these temporary files by pressing Windows+R, followed by typing “temp.” When you tap enter, you will see a folder with the temporary files. Here, you just must press Ctrl+A to select them all and then press delete.
Other than these, you can follow the same process, but instead of typing “temp,” you must type %temp% and prefetch and delete those files too. Doing this will surely boost your gaming performance on Windows 11.
Check internet connection
It might be wrong to blame your PC for a poor experience when gaming. When you play online games, your internet connection also plays a crucial role. For instance, you should always use a wired connection instead of connecting to Wi-Fi. Wired one is better at withstanding interruptions and can fully support your experience.
Furthermore, your Internet Service Provider (ISP) can also be responsible for unexpected lags during gaming. It is possible that they will throttle internet speed when they notice you performing bandwidth-heavy activities. It usually happens during peak hours, likely during the evenings. You can prevent this by enabling a VPN for PC. As soon as you connect to servers, your internet traffic will be encrypted. It prevents ISPs from detecting bandwidth-heavy activities and enabling throttling.
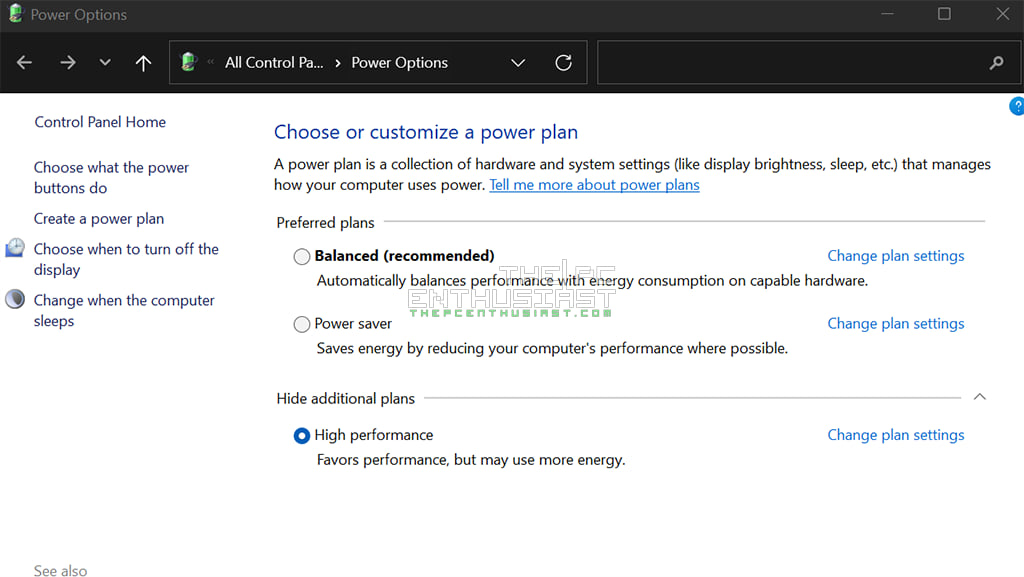
Change the performance power settings
Windows limits your power settings to ensure efficient use of the battery. Therefore, if you are using Windows 11, you may have to make changes to these power settings to make your gaming experience better.
It is best to go for a high-performance plan or an ultimate performance mode. The latter one is not as it is available on the PC, but you must opt for it using a command prompt.
All these power plans will appear in the power options of your PC. You just type in and choose a power plan, and all the options will be in the next window.
Per-app graphics options
If you are in for a treat, look at this feature! In Windows 11, you can set the graphics options for each app individually. For example, in the Display > Graphics > App list, you can tap on the app, followed by options. Post this; you can select from three available options, namely,
- Let Windows decide
- Power saving
- High performance
You can set your game to high performance for uninterrupted and smooth gameplay.
Disable unnecessary apps on startup
Whenever you open your desktop, there are some apps that run in the background and affect the system speed. These apps always begin and keep running without you knowing it. Therefore, to ensure that you get the best speed during your gaming session, disable these apps.
You can do this by going to the control panel followed by the startup tab. Here you can select the app you want to disable and tap on that disable button. You can also remove or uninstall any app that you no longer use. You can do this by going to settings > apps > apps and features > select the app and tap on uninstall.