Wooting one – Packaging and Closer Look
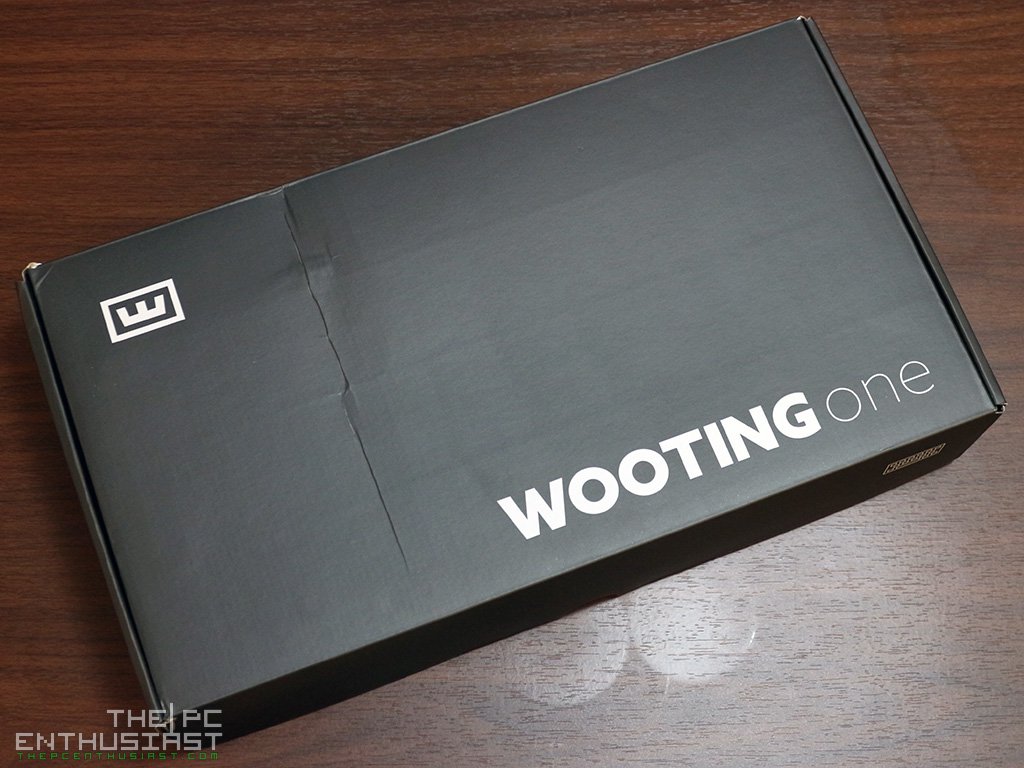
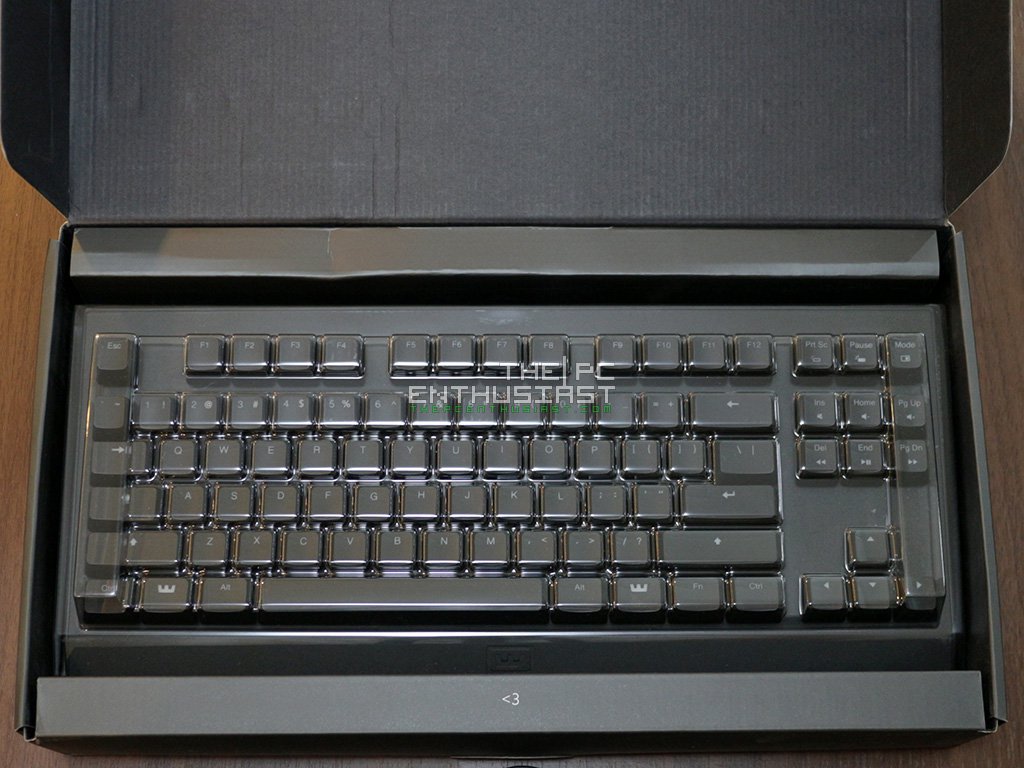
Wooting one’s packaging is simple and compact. You get a dark grey box with the name and logo of the product on top, at the bottom is the site’s address. Opening the box reveals the Wooting one, protected by a plastic covering. The accessories are located on the bottom compartment, below the keyboard.
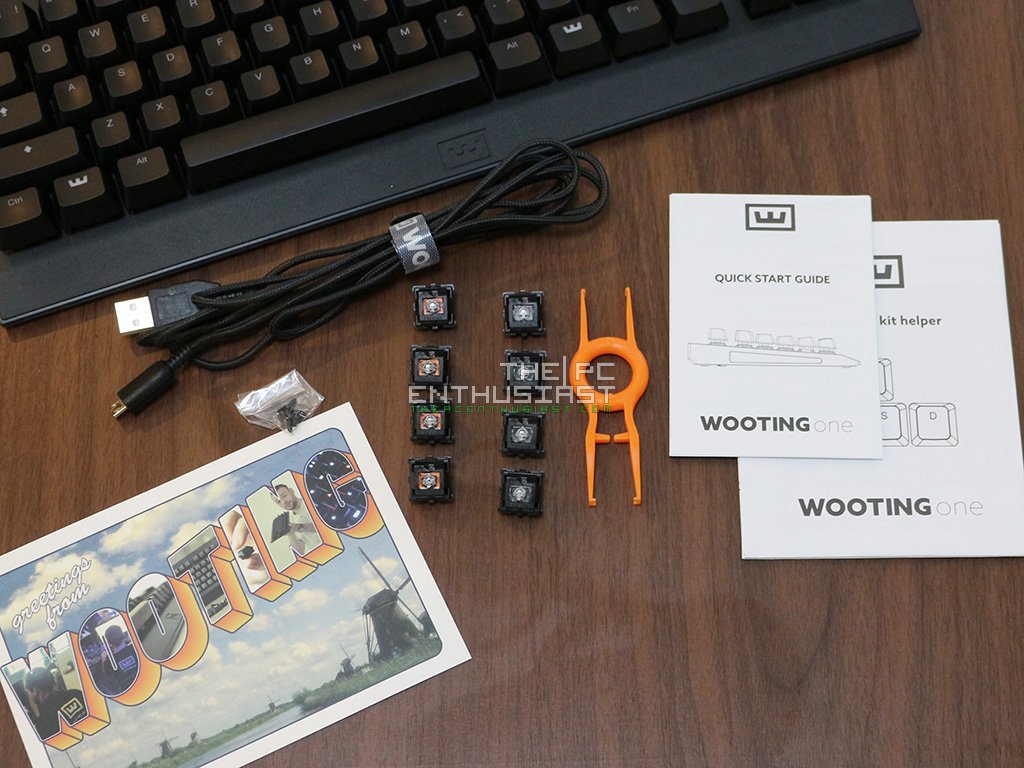
The box includes the following: the keyboard itself, a USB cable, one keycap / switch puller, five top plate screws, four Red flaretech switches, four Blue flaretech switches, some reading materials and a post card. Our unit is installed with Red flaretech switches, the non-clicky and linear type.
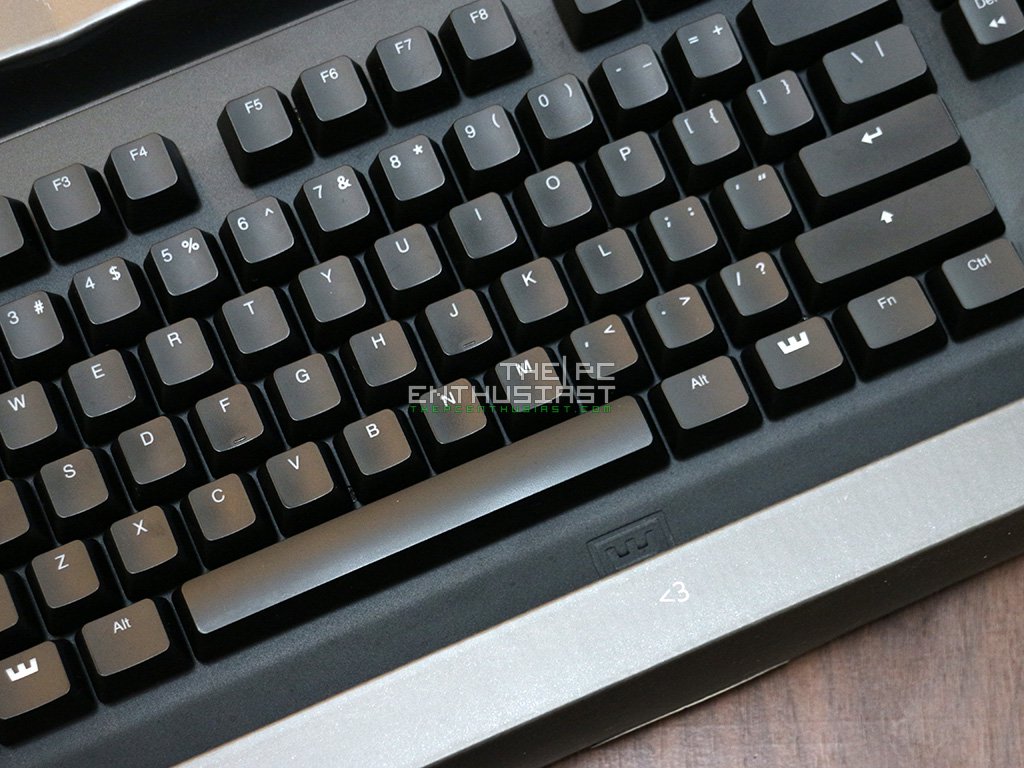

The Wooting one’s design is simple, basic, minimalist and looks clean. There are two layouts available, ANSI or ISO; and there are 5 different languages as well – US, UK, Nordic, German and Belgium. The keyboard measures 369mm x 161mm x 41mm and weighs less than a kilo. Wooting uses OEM profile ABS keycaps for backlight and UV-coating, and the keycap layout follows OEM standard size.
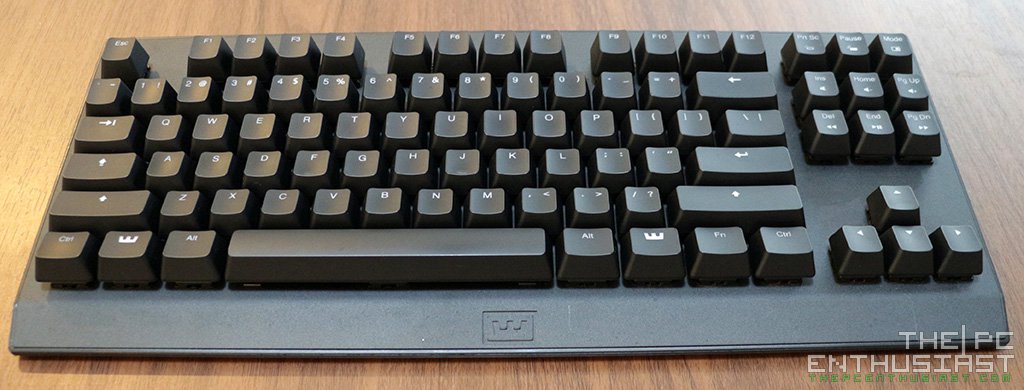
The top portion is made of sand-blasted high-grade aluminum and its build quality in general feels very sturdy. The top-plate is said to be removable and can be replaced with another top plate with different color but I have yet to see a top plate that comes in different colors. Perhaps you may be able to spray paint the top panel with the color of your choice.
There are no USB expansion slots and the media keys are integrated with the special keys or control keys. You’ll have to press Fn + Ins (to mute the volume) or Fn + End to play or pause. The brightness of the RGB light can be increased, decreased or turned off using Fn + Prt Sc or Fn + Pause.
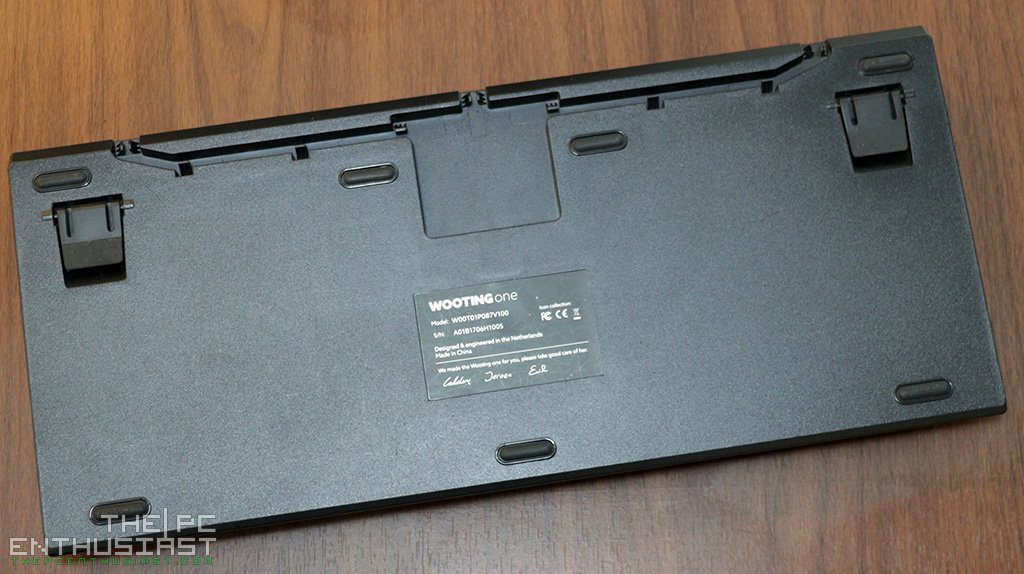
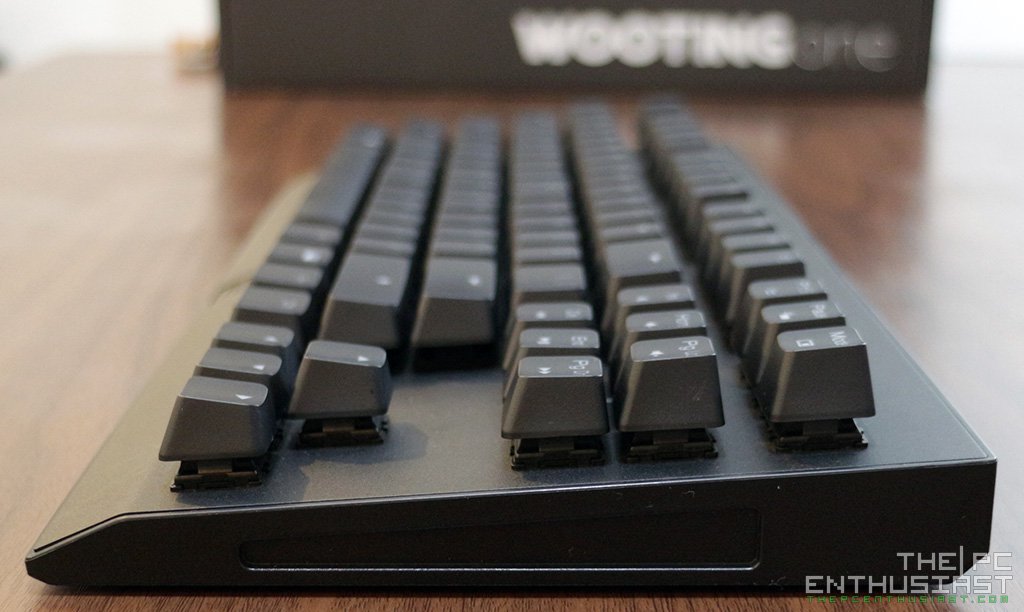
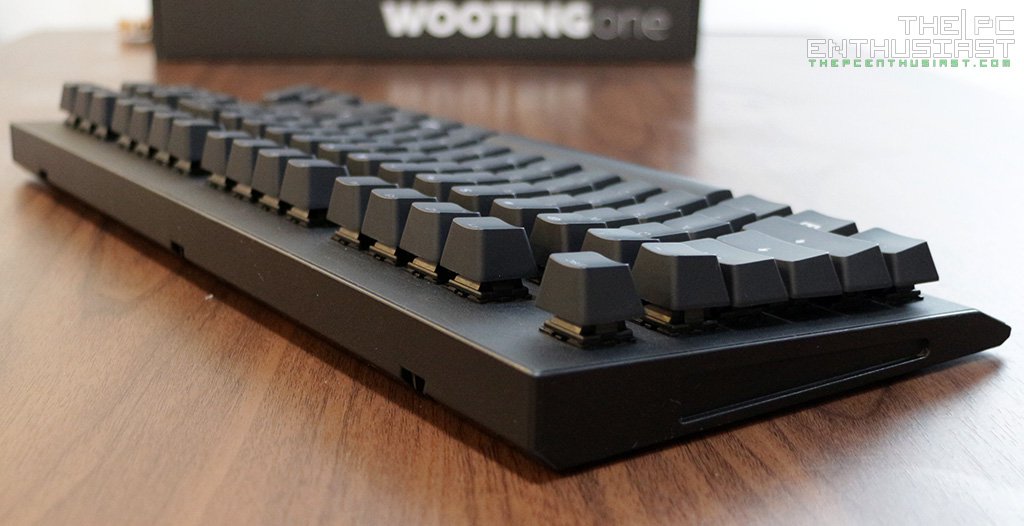
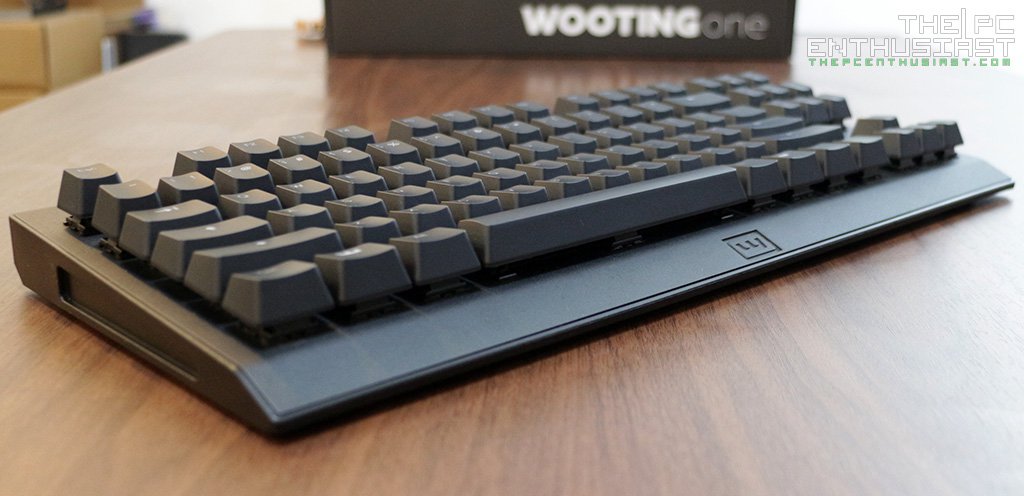
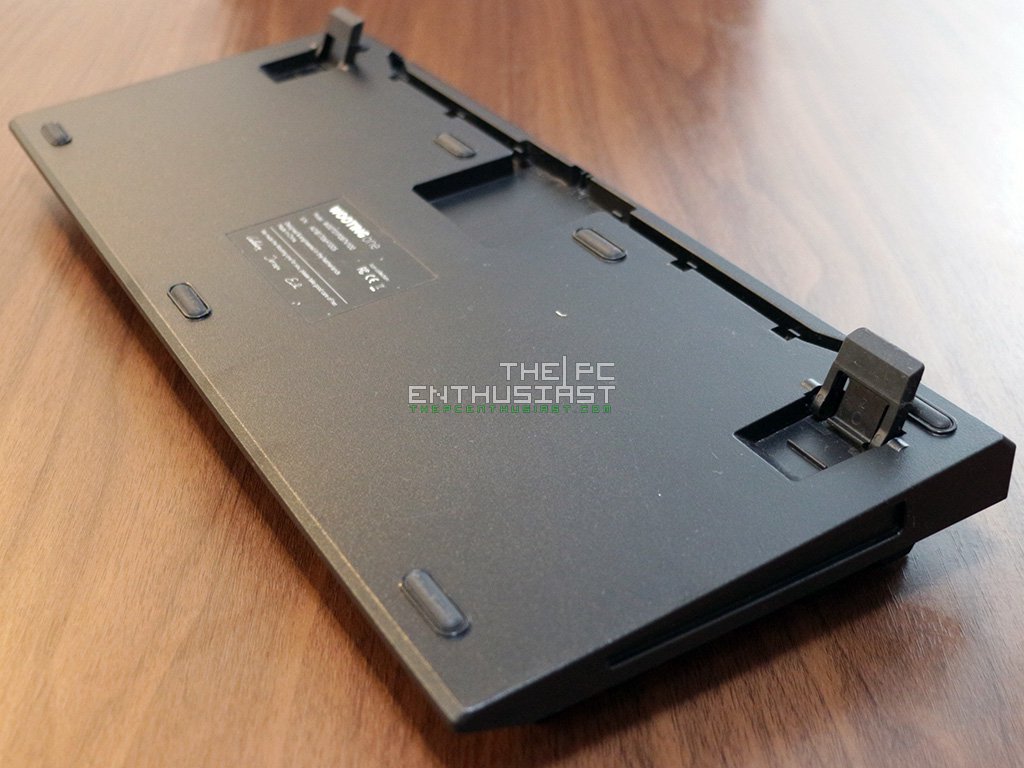
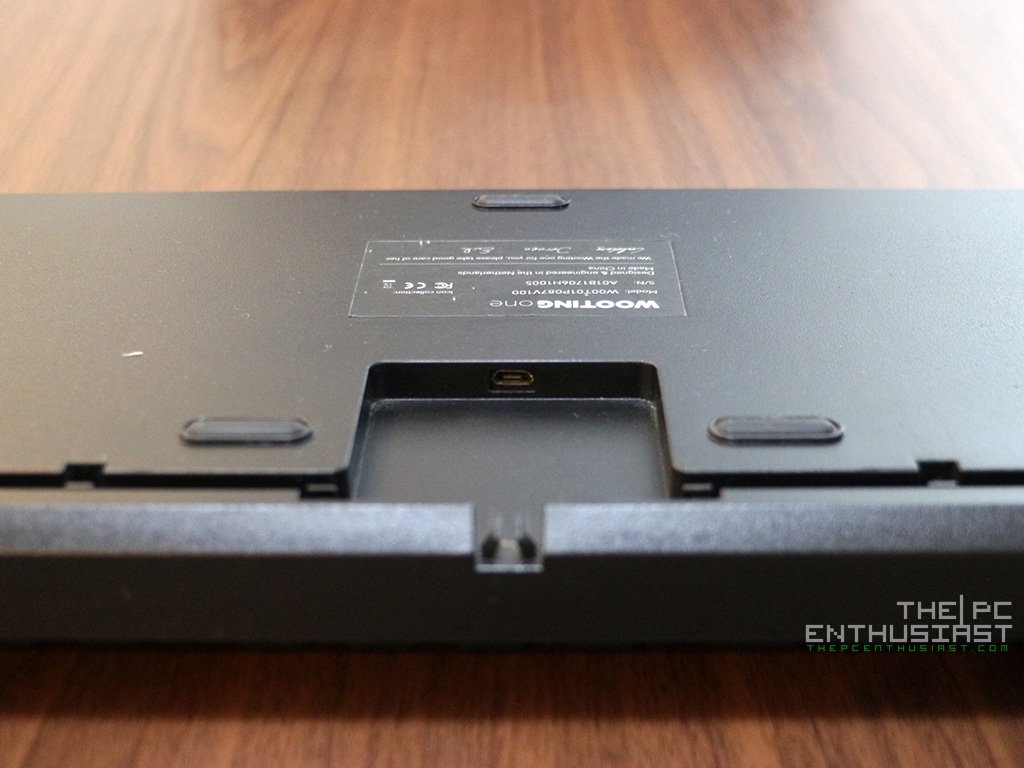
The Wooting one has a decent amount of height and angle, but if you prefer it to be a little bit elevated you can simply pop out the two feet underneath. The micro USB port is located in the middle, and there are routing guides for the cable. There are also seven rubber bumps underneath the chassis for surface grip, so that the keyboard will stay in place.
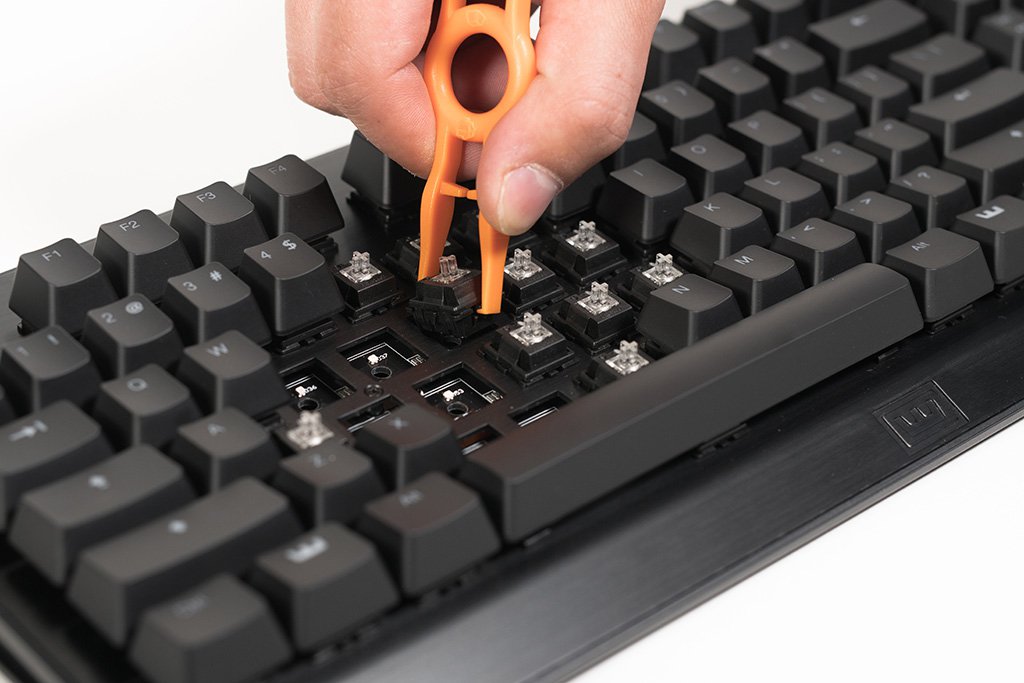
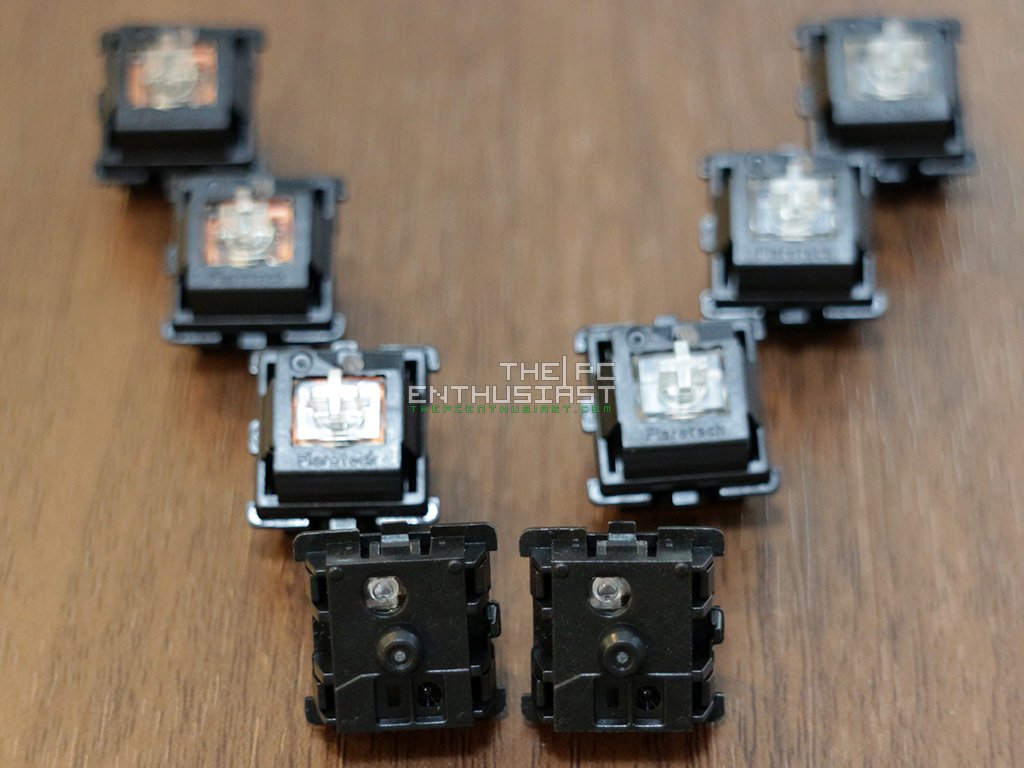
Another interesting feature on the Wooting one is that not only can you remove the key caps but you can also remove the switches and replace them as well. According to the team, Flaretech will come out with more different type of switches in the future, aside from the Red and Blue switches. This means that you can replace the switches with another type of switches, I just hope that they will come out soon and buying those switches would be as easy as buying a replacement keycaps.
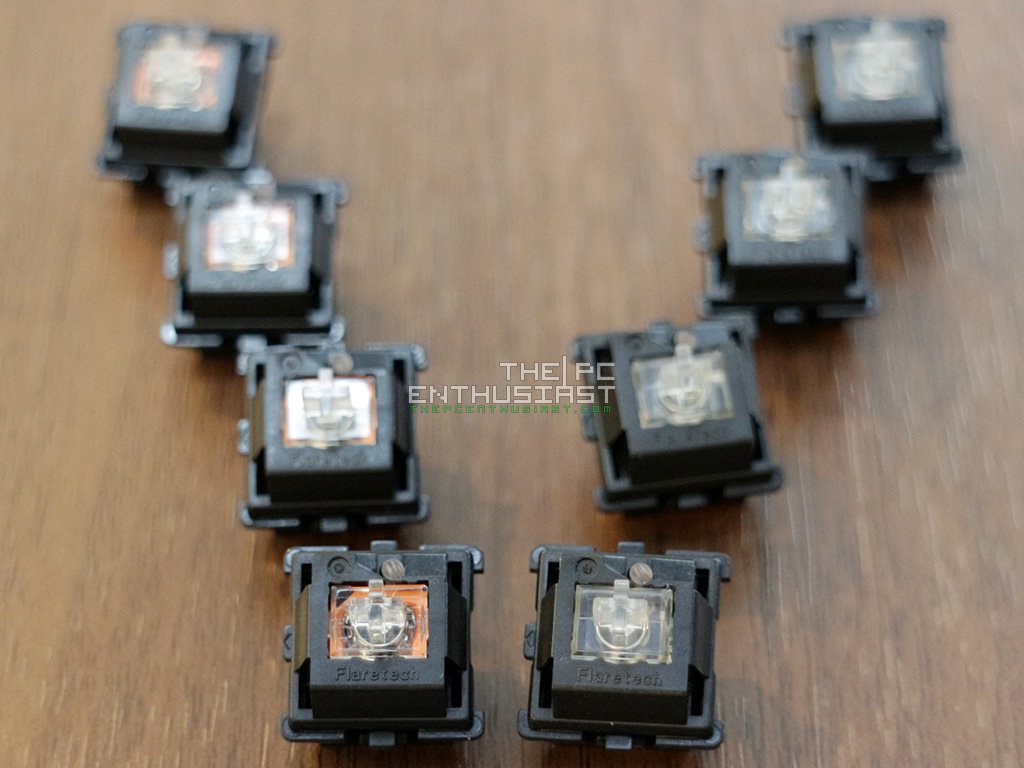
There are two types of switches on the photos above. The one of the left hand side of the photo, the one with orange color in the inside is the Blue Flaretech switch. Is has a tactile feedback and clicky feeling. Meanwhile, the switches on the right hand side are the Red Flaretech switches and they look transparent on the inside.
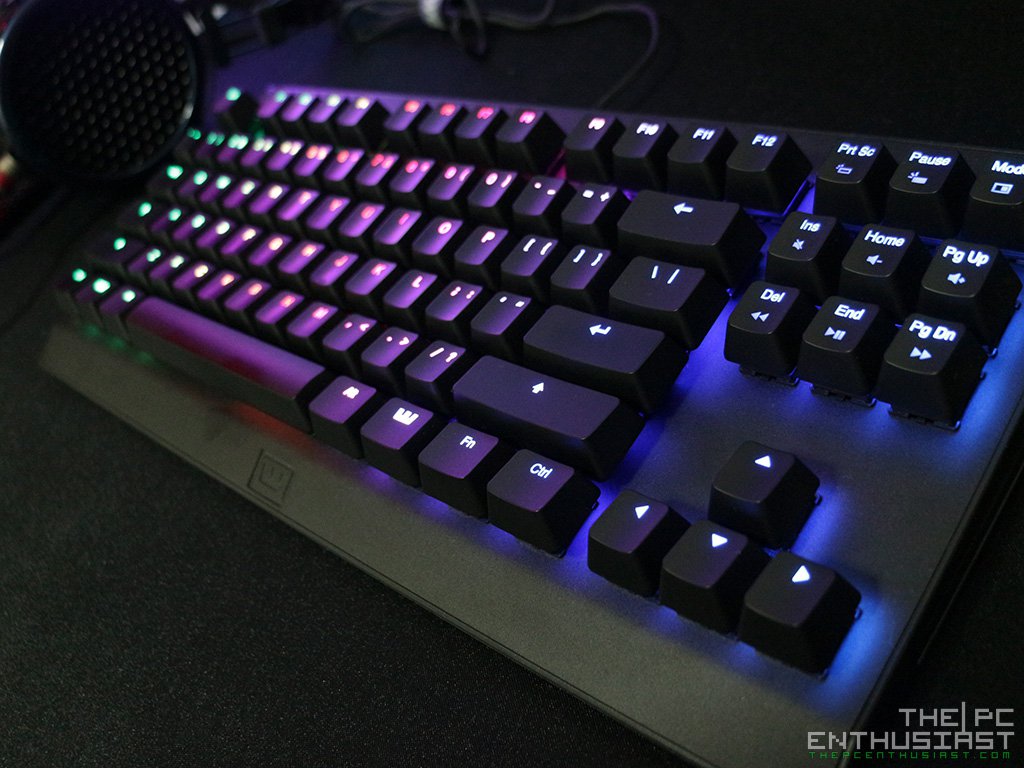
Above are photos of the Wooting one in action. The early version of Wootility doesn’t have lighting effects preset. If I remember correctly, you can change the colors but you’ll have to do it individually. Anyway, it’s a thing of the past and now the newer Wootility 2.3.4 is more polished and feature rich compared to the earlier versions.
Now, let’s check out the Wootility – you definitely need to install this software to take advantage of Wooting one’s capabilities.