SteamOS just recently went live and Steam has opened it for the public to try and test it with their own Gaming PC. According to Steam, this SteamOS is the first public release of their Linux-based operating system which is based from Debian 7, codenamed Debian Wheezy. To build your own Steam Machine, the system requirements are as follows: Intel or AMD 64-bit capable processor, at least 4GB of memory of more, at least 500GB of hard drive, an NVIDIA graphics card since AMD and Intel graphics processors are currently unsupported with this version, a UEFI boot support, and a USB port for installation.

How to Build Your Steam Machine
Building your own Steam Machine is as easy as putting your own components together and installing the SteamOS. There are two ways on how you can install the SteamOS in your machine. The first one is the Default method, a pre-configured imaged-based install with the help of CloneZilla. The other one is the Debian Installer which allows you more customization options after the automated install.
NOTE: You need a 1TB hard drive for this one. If you have data on your drive, better transfer them to another drive. Whichever installation method you choose it will delete ALL content on that drive. Below are the step by step installation guide from Steam’s “build your own” page. Please follow it carefully.
Default SteamOS Installation Guide
You will need to create a SteamOS System Restore USB stick to perform this install. The image provided here requires at least a 1TB disk.
- Download the default SteamOS beta installation here.
- Format a 4GB or larger USB stick with the FAT32 filesystem. Use “SYSRESTORE” as the partition name.
- Unzip the contents of SYSRESTORE.zip to this USB stick to create the System Restore USB stick.
- Put the System Restore USB stick in your target machine. Boot your machine and tell the BIOS to boot off the stick. (usually something like F8, F11 or F12 will bring up the BIOS boot menu).
- Make sure you select the UEFI entry, it may look something like “UEFI: Patriot Memory PMAP”. If there is no UEFI entry, you may need to enable UEFI support in your BIOS setup.
- Select “Restore Entire Disk” from the GRUB menu.
- When it is complete it will shutdown. Power on the machine to boot into your freshly re-imaged SteamOS.
Debian/Custom SteamOS Installation Guide
The second method is based on the Debian Installer. It requires multiple configuration steps:
- Download the custom SteamOS beta installation here.
- Unzip the SteamOS.zip file to a blank, FAT32-formatted USB stick.
- Put the USB stick in your target machine. Boot your machine and tell the BIOS to boot off the stick. (usually something like F8, F11, or F12 will bring up the BIOS boot menu).
- Make sure you select the UEFI entry, it may look something like “UEFI: Patriot Memory PMAP”. If there is no UEFI entry, you may need to enable UEFI support in your BIOS setup.
- Selected “Automated install” from the menu.
- The rest of the installation is unattended and will repartition the drive and install SteamOS.
- After installation is complete, log onto the resulting system (using the Gnome session) with the predefined “steam” account. The password is “steam”. Run steam, accept the EULA, and let it bootstrap. Logoff the steam account.
- Log on with the “desktop” account. The password is “desktop”.
- From a terminal window, run ~/post_logon.sh. This will prompt for a password – enter “desktop”. This script will perform the post-install customizations, delete itself, then reboot into the recovery partition capture utility.
- Confirm “y” to continue and the recovery partition will be created. When it is finished, reboot into your freshly installed SteamOS.
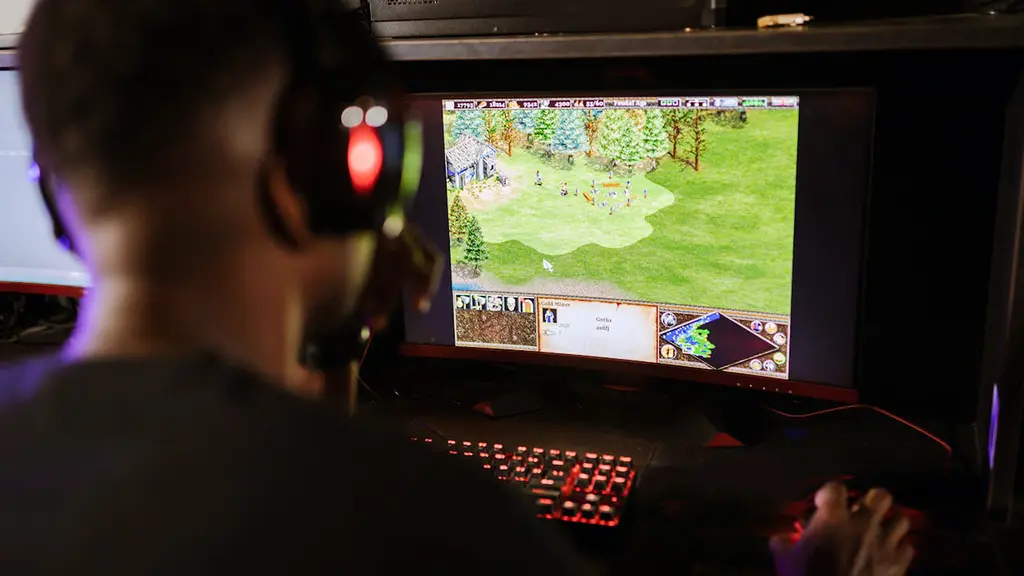
There you have it guys. It’s not that complicated. It’s just like installing a Windows OS into your Gaming PC. By the way, there are no Steam Controllers available for sale right now. You will have to stick with a keyboard and mouse for now.