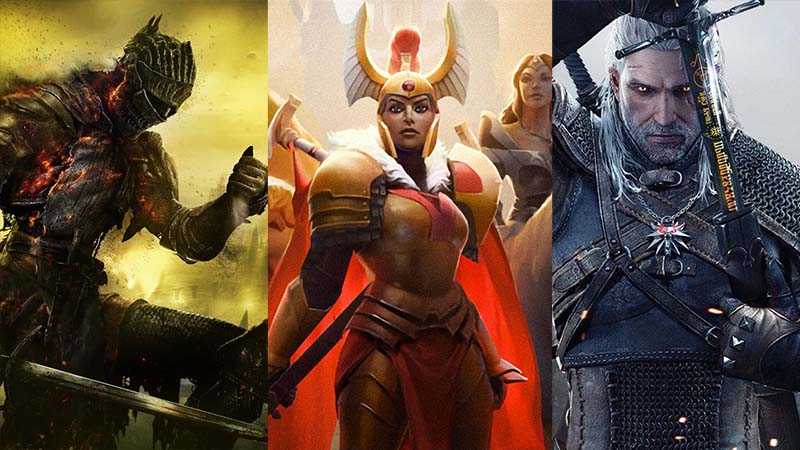
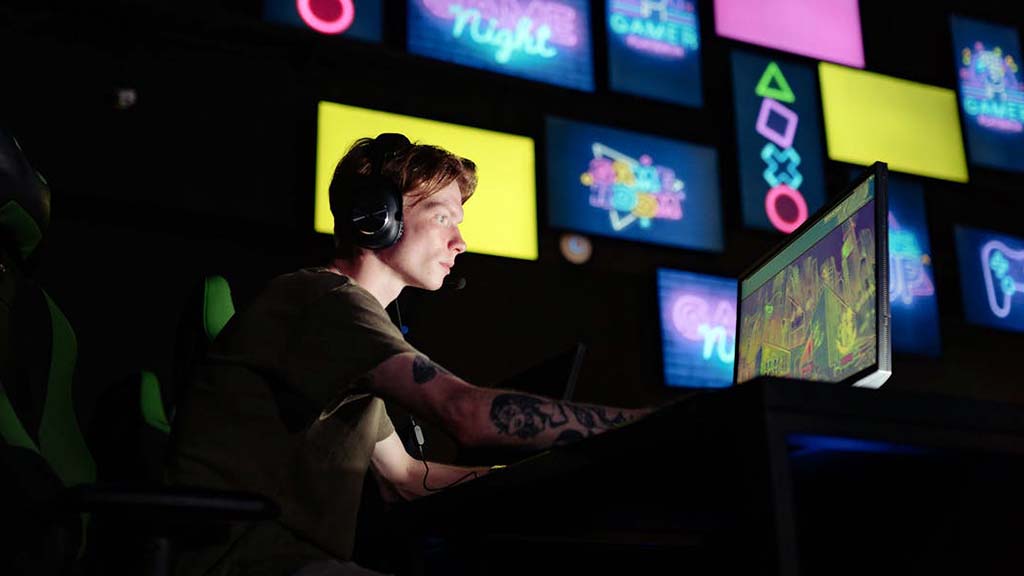
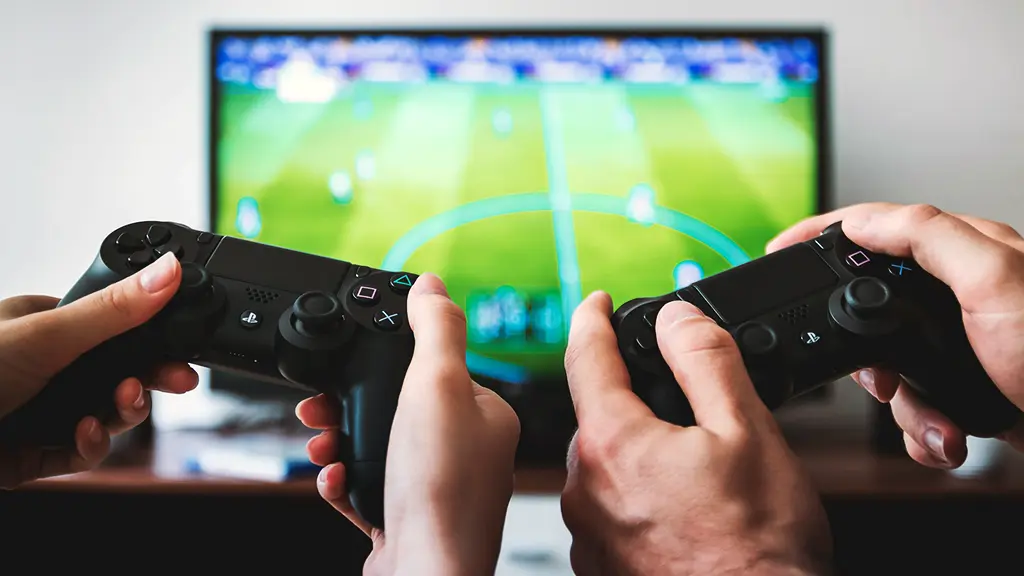
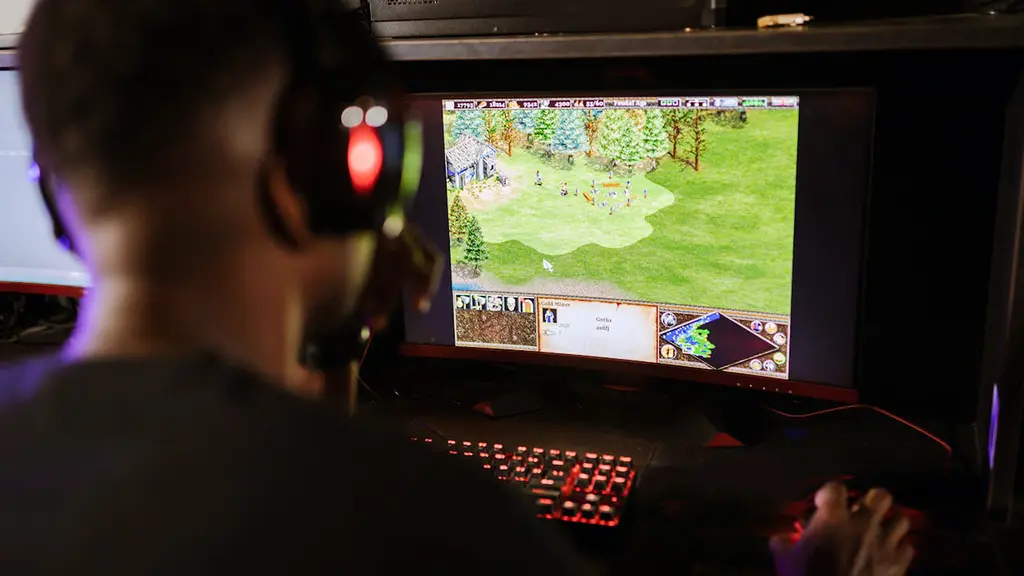
Modern video games have changed from being a two dimensional side scrolling challenge to being an immersive experience. Modern-day video games have been designed to blur the line between playing a game and watching an expensive Hollywood blockbuster. Video game consoles are now a place where the entire family gets together to enjoy relaxation and social interaction. Understandably, you want to get the most out of your gaming projector.
A family’s gaming projector is often the same projector they use to watch movies. This is why it’s important to do research before selecting the gaming projector that’s right for your home. To help you with this, we invite you to take a look at Steve Scott’s epic review of gaming projectors. He has them broken down by size/cost/quality on over 10 different models.
Gaming projectors have features that allow them to work well with ambient light and process video quickly. One of the features gamers demand from their projectors is low input lag. They want to be able to push the button on their controller and see an immediate response on the screen. Some of the same hardware that makes a projector good for gaming makes it potentially good for other tasks. For example, if you are recording or processing 4k as well, some of these units are a great for playing back video.
Let’s take a few minutes and examine some of the tweaks you can make to your gaming projector in order to get the most out of it.
Adjusting for Blackness and Contrast
When you adjust the brightness, blackness, and contrast on your projector, you need to remember a basic principle. On your projector, black is simply the absence of light, and brightness is full light. Some gamers have the luxury of having a completely dark room to play their games in. Most of us don’t, and so we need to tweak our image based on the ambient light that’s going to be around us. If you are able to close the curtains even a tad bit, this will improve the black levels as well as the brightness.
Play around with the settings. Most gaming projectors have a game mode. You want to find a sequence in your game that has a lot of black, maybe a sequence with a space backdrop. Then adjust the blackness style under the picture setting until the image is bright enough but at the same time allows the black areas to be convincing.
You want the black to be black, but you also want to be able to see the details within the black. For example, if you are playing a game that has a space scene, you want the darkness of space to be black while at the same time allowing you to see the individual stars. Or if a character is wearing a black suit, you want to be able to tell the suit is black while at the same time seeing the texture of the suit. If you look at a space scene and everything is uniformly black, then you have adjusted the brightness too far in the wrong direction.
With the contrast slider, you want to make the same type of adjustments for the white areas of the image. You want the white areas of the image to be bright, for example, a white cloud, but you also want to be able to see as much detail as possible.
Color Tint and Sharpness
When you are tweaking your gaming projector for color and tint, you want to use skin tones as the basis for what color looks right. You might need to throw a Blu-ray disc into your gaming console and find a scene that has close-ups of a number of natural looking humans.
Now, you are going to start to adjusting the color slider until they look normal. A normal skin tone is subject to interpretation. However, you want to avoid the temptation of over saturating the image. This a problem because as humans our eyes are attracted to rosy warm colors. So we might over saturate the image and at first think that it looks nice. After looking at it for some time, though, it starts to irritate your eyes.
When you adjust color, you need to use a little bit of intuition. From our experience, it is better to err on the side of being conservative.
You will also need to use a little bit of intuition when adjusting the sharpness of your projector. If you over adjust, the images in your gaming are going to take on a jagged, overly defined appearance. A good way to test this is to push the sharpness level to its maximum and then incrementally reduce it until you see jagged lines turned smooth.
Screen Over White Wall
It can be tempting to project the image on a white wall to avoid paying for a screen. However, you can do more to improve the image during gaming by purchasing a high-quality screen than you can by making minor tweaks on the projector itself. Projector screens come equipped with a black edge around them that makes your brain think that it is seeing better contrast. This is one of the reasons why an image projected on a screen has a greater impact than one on a white wall.
But what really gives a screen its power is its gain. A screen’s gain is a measurement of how well the screen reflects light. Every single screen on the market today is going to have better gain than a plain white wall.
Positioning is important when setting up your projector. Ideally, your projector should be at the same level as the middle of the screen. This will prevent you from needing to use kerning as a way of correcting lopsided images.
Many of the same calibrations and techniques you will use to prepare your projector for gaming are the same calibrations you would use when preparing a projector for cinema. This is great because in many homes the same projector used for gaming is used for watching movies. Most projectors come ready to use. Within as little as 15 minutes, you can fine-tune your projector with the goal of getting the best image possible.
We would love to hear from you. What steps have you taken to improve the image of your projector? Let us know in the comments section below.


