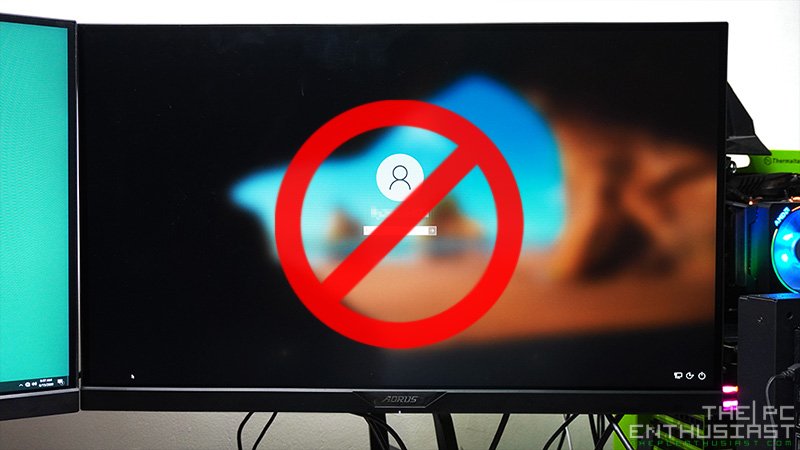
In this article I am going to show to you how to disable Windows 10 login or remove the login password screen. This method works for the later or latest version of Windows 10 (version 2004); where the option to remove the username and password via the Netplwiz is no longer present. This will turn on automatic logon in Windows; however, it’s not as easy as unchecking a button, but it’s doable. There are two methods below, go ahead and check them.
How To Disable Windows 10 Password and Login to Windows Automatically
Recently, I downloaded the latest copy of Windows 10 from Microsoft. Currently, I am using Windows 10 Pro version 1909 in one of my PC. I didn’t realize that the media creation tool downloaded the latest Windows 10 version 2004.
Usually, I remove or disable the logon screen, so that it will automatically login to Windows without asking for a password. I am aware that IT IS NOT SAFE to remove or disable the login protection. But I am just using the system as a test bench. It’s quite inconvenient to key-in the password every time the PC logs into Windows.
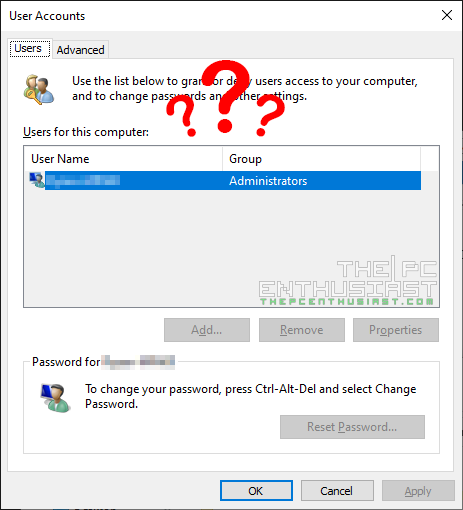
Little that I know and to my surprise, aside from the issues that the newer Windows 10 version 2004 have, the usual method to disable and remove Windows 10 password is no longer present in Netplwiz. Below is how the Netplwiz looks like in Windows 10 version 2004.
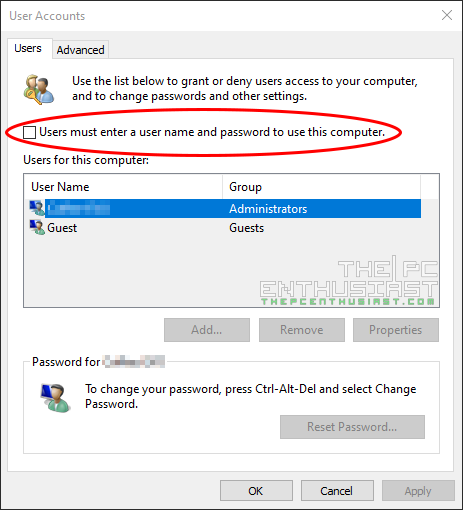
To disable the login screen and remove Windows 10 password, you only need to run Netplwiz and uncheck the “users must enter a user name and password to use this computer”. But that’s for the older version of Windows, like version 1909 down. Below is a screenshot of the Netplwiz in Windows 10 version 1909.
So, in the newer version of Windows 10, I haven’t found an easy way (yet) to remove and disable the login screen. Fortunately, Microsoft has provided a guide on How to turn on automatic logon in Windows. This is equivalent in disabling the login screen and removing the password.
WARNING! Before You Proceed
I can’t stress enough the importance of a password. Disabling the logon screen and removing the password in Windows 10 is basically removing any protection or unlocking the door to your PC. Anyone could literally turn on and access your PC without the password screen. Only do this if you know what you are doing.
Also, the first method below involves editing your system’s registry. If you are uncomfortable and you are not familiar in editing the system registry, I suggest that you do not proceed with the registry method. Instead, you can try the second method, although I haven’t tried the second method yet. If you messed up the system’s registry, it could potentially result in unwanted issues with your PC.
Important Note from Microsoft:
“The autologon feature is provided as a convenience. However, this feature may be a security risk. If you set a computer for autologon, anyone who can physically obtain access to the computer can gain access to all the computer’s contents, including any networks it is connected to. Additionally, when autologon is turned on, the password is stored in the registry in plain text. The specific registry key that stores this value can be remotely read by the Authenticated Users group. This setting is recommended only for cases in which the computer is physically secured and steps have been taken to make sure that untrusted users cannot remotely access the registry.”
Method 1: How to enable automatic logon in Windows 10
“This method contains steps that tell you how to modify the registry. However, serious problems might occur if you modify the registry incorrectly. Therefore, make sure that you follow these steps carefully. For added protection, back up the registry before you modify it. Then, you can restore the registry if a problem occurs.”
To use Registry Editor to turn on automatic logon, follow these steps:
- Click Start, and then click Run.
- In the Open box, type Regedt32.exe, and then press Enter.
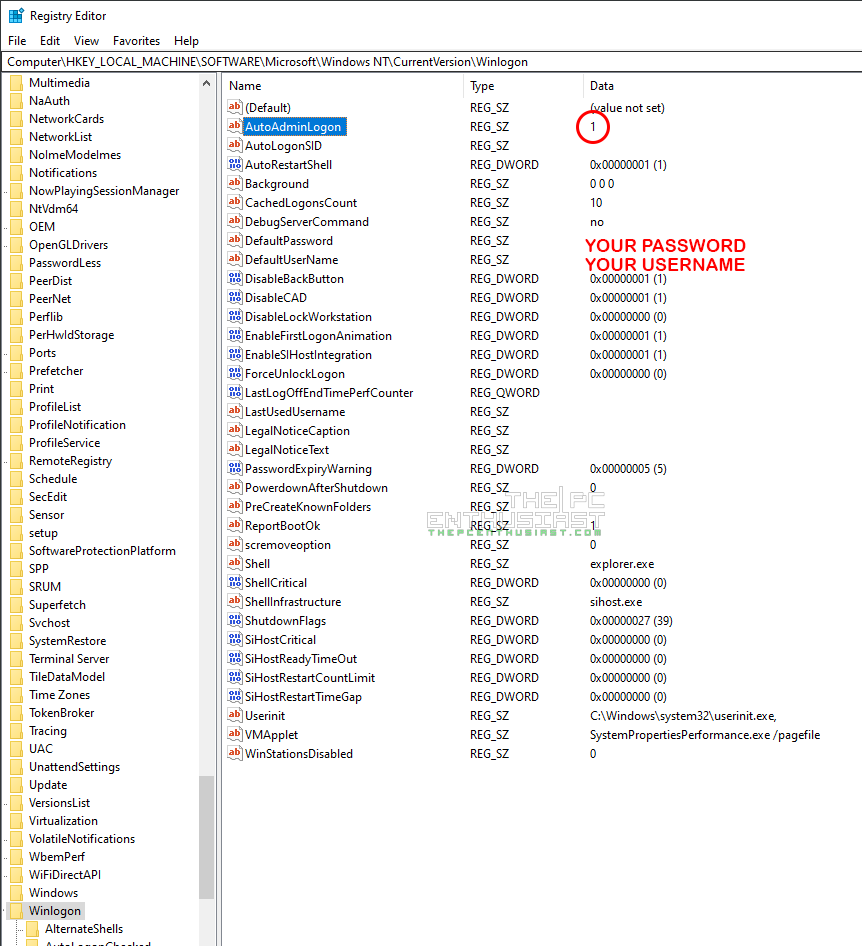
- Locate the following subkey in the registry:
HKEY_LOCAL_MACHINE\SOFTWARE\Microsoft\Windows NT\CurrentVersion\Winlogon - Double-click the DefaultUserName entry, type your user name, and then click OK.
- Double-click the DefaultPassword entry, type your password, and then click OK.
- Note If the DefaultUserName and DefaultPassword value does not exist, it must be added. To add the value, follow these steps:
- On the Edit menu, click New, and then point to String Value.
- Type DefaultPassword, and then press Enter.
- Double-click DefaultPassword.
- In the Edit String dialog, type your password and then click OK.
- Note If no DefaultPassword string is specified, Windows automatically changes the value of the AutoAdminLogon key from 1 (true) to 0 (false), disabling the AutoAdminLogon feature.
- Note If the DefaultUserName and DefaultPassword value does not exist, it must be added. To add the value, follow these steps:
- On the Edit menu, click New, and then point to String Value.
- Type AutoAdminLogon, and then press Enter.
- Double-click AutoAdminLogon.
- In the Edit String dialog box, type 1 and then click OK.
- If you have joined the computer to a domain, you should add the DefaultDomain value, and the data for the value should be set as the fully qualified domain name (FQDN) of the domain.
- Exit Registry Editor.
- Click Start, click Shutdown, and then type a reason in the Comment text box.
- Click OK to turn off your computer.
- Restart your computer. You can now log on automatically.
Additional Notes:
- To bypass the AutoAdminLogon process and to log on as a different user, press and hold the Shift key after you log off or after Windows restarts.
- This registry change does not work if the Logon Banner value is defined on the server either by a Group Policy object (GPO) or by a local policy. When the policy is changed so that it does not affect the computer, the autologon feature works as expected.
- When Exchange Active Sync (EAS) password restrictions are active, the autologon feature does not work. This behavior is by design. This behavior is caused by a change in Windows 8.1 and does not affect Windows 8 or earlier versions. To work around this behavior in Windows 8.1 and later versions, remove the EAS policies in Control Panel.
- An interactive console logon that has a different user on the server changes the DefaultUserName registry entry as the last logged-on user indicator. AutoAdminLogon relies on the DefaultUserName entry to match the user and password. Therefore, AutoAdminLogon may fail. You can configure a shutdown script to set the correct DefaultUserName.
Method 2: How Login to Windows Automatically with AutoLogon Tool
Now, if you do not want to execute method 1, Microsoft suggested that you use the Sysinternals tool AutoLogon instead. This will enable automatic logon in Windows easier than the registry method. This tool also helps you to use an encrypted version of password.
A little disclaimer, I haven’t used this method in my system. I might try it on another unit later and see how it works from there. Also, when I visited the page, the Autologon tool was last updated in 2016. So, it’s quite an old tool and I haven’t seen other guides recommending this method; removing the Windows 10 password via Netplwiz was easier.
If you want to try the Autologon tool, you can check Microsoft’s page here
I hope this guide on how to remove login password in Windows 10 or disable the logon screen has help you. Please do share with your friends if you find this article helpful.