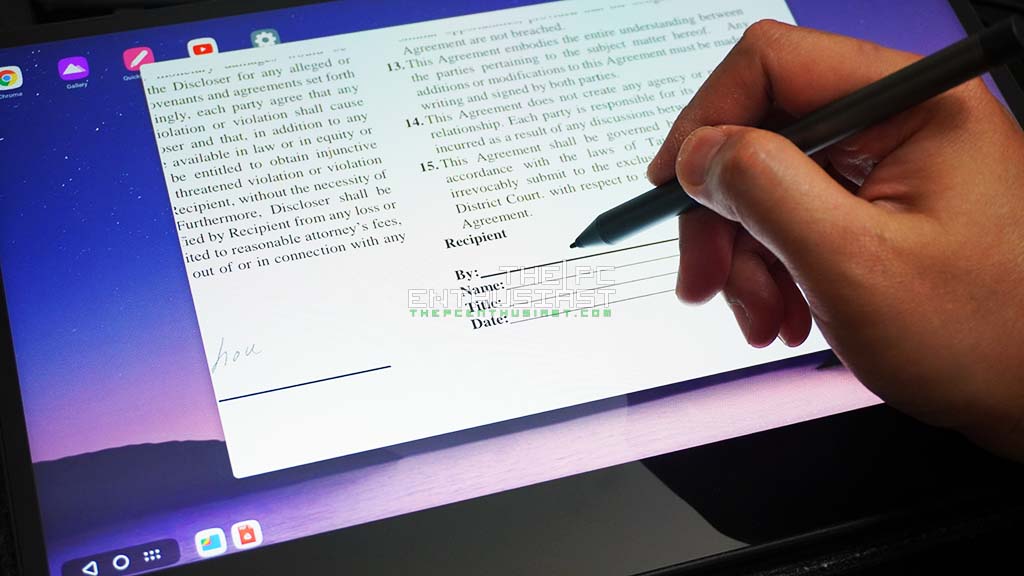
Signing contracts and agreements with wet ink isn’t as easy to complete as it used to be. Collaborators are working across the globe, and even team members who would usually be sharing desk space are now likely working from home a lot (if not all) of the time. Luckily, there are an array of online and downloadable tools that allow you to sign your documents digitally, and a few even offer it for free!
Smallpdf is one such online tool. There are around 20 different tools available for almost everything PDF-related, but one of their standout features is their eSign tool, which is even available free of charge. ‘But how do I use their tool?’ you may ask. Just keep reading to find out.
How to eSign with Smallpdf
- Go to Smallpdf’s electronic signature tool.
- Select, or drag and drop your required PDF into the box.
- If you have your file in a format other than PDF, you can first use their PDF converter tool to change it. You can also reverse this process in the same tool at any stage.
- Add your signature and/or initials as needed by clicking on the sections on the right-hand side of your PDF. (If you are a Pro User this signature will also be saved for future use.)
- You will then be given 3 options for how to create your signature/initials: draw, type, and upload.
- Draw – allows you to draw your signature with your trackpad or mouse
- Type – you can choose from 3 different fonts that mimic typical signature styles and simply type your name on your keyboard
- Upload – upload an image of your wet signature, which will be digitized
- Drag and drop your signature to its required location on your PDF. You can also resize it at this stage.
- Hit ‘Finish & Sign’ which will set your signature in place, and you’re all set! You can then save your signed document on your device, to Dropbox or Google Drive.
Extra Features
Date Field
Most documents that require a signature also require you to state the date that it has been signed on. You can do this with just the click of the button on the right hand-side, below your signature and initials. Similarly, you just need to drag and drop it to its needed location on the page, and it will automatically use today’s date. You can also change the date format, for example instead of DD-MM-YY you can alter it to YYYY-MM-DD.
Checkbox
If you’re signing a form, there may be checkboxes that need to be selected. When it’s not a fillable PDF the general go-to is to use a freehand pen tool to draw a messy tick in the box. Not any more! Again, just drag the ticked checkbox from the right onto the page, and resize it as needed.
Invite Signers
Whether you have signed first or not, you can also invite additional signers. Just add their first and last name, as well as their email address to send to, and then hit the Tick to confirm. If you have a long list of signers you can also import from CSV. To inform each signer where they need to place their signature, all you have to do is click on the file where they need to sign, and select the signature and/or initials symbols. A coloured box will then appear in place which will indicate to the signer where they need to sign.
This feature is unfortunately only available to Pro Users, but you can get a free 7-day trial to test out all of the pro features across all of Smallpdf’s tools.
Smallpdf is a great online tool for managing and editing your PDFs and is definitely worth checking out. Their user-friendly interface makes it quick and easy to sign PDF documents (among many other things) and leaves you time to focus on other important tasks.